Sapling #7 - lath, 1st coat and second coat. (Copy)

My daughter special requested this piece. She asked if I could make her a sapling. My response was I could try, but the pencil size steel limits how thin I can make the tree limbs. Long story short, the sapling grew old fast. After the first coat the sapling limbs we're no longer sapling thin.

Covered in lath

Covered in lath

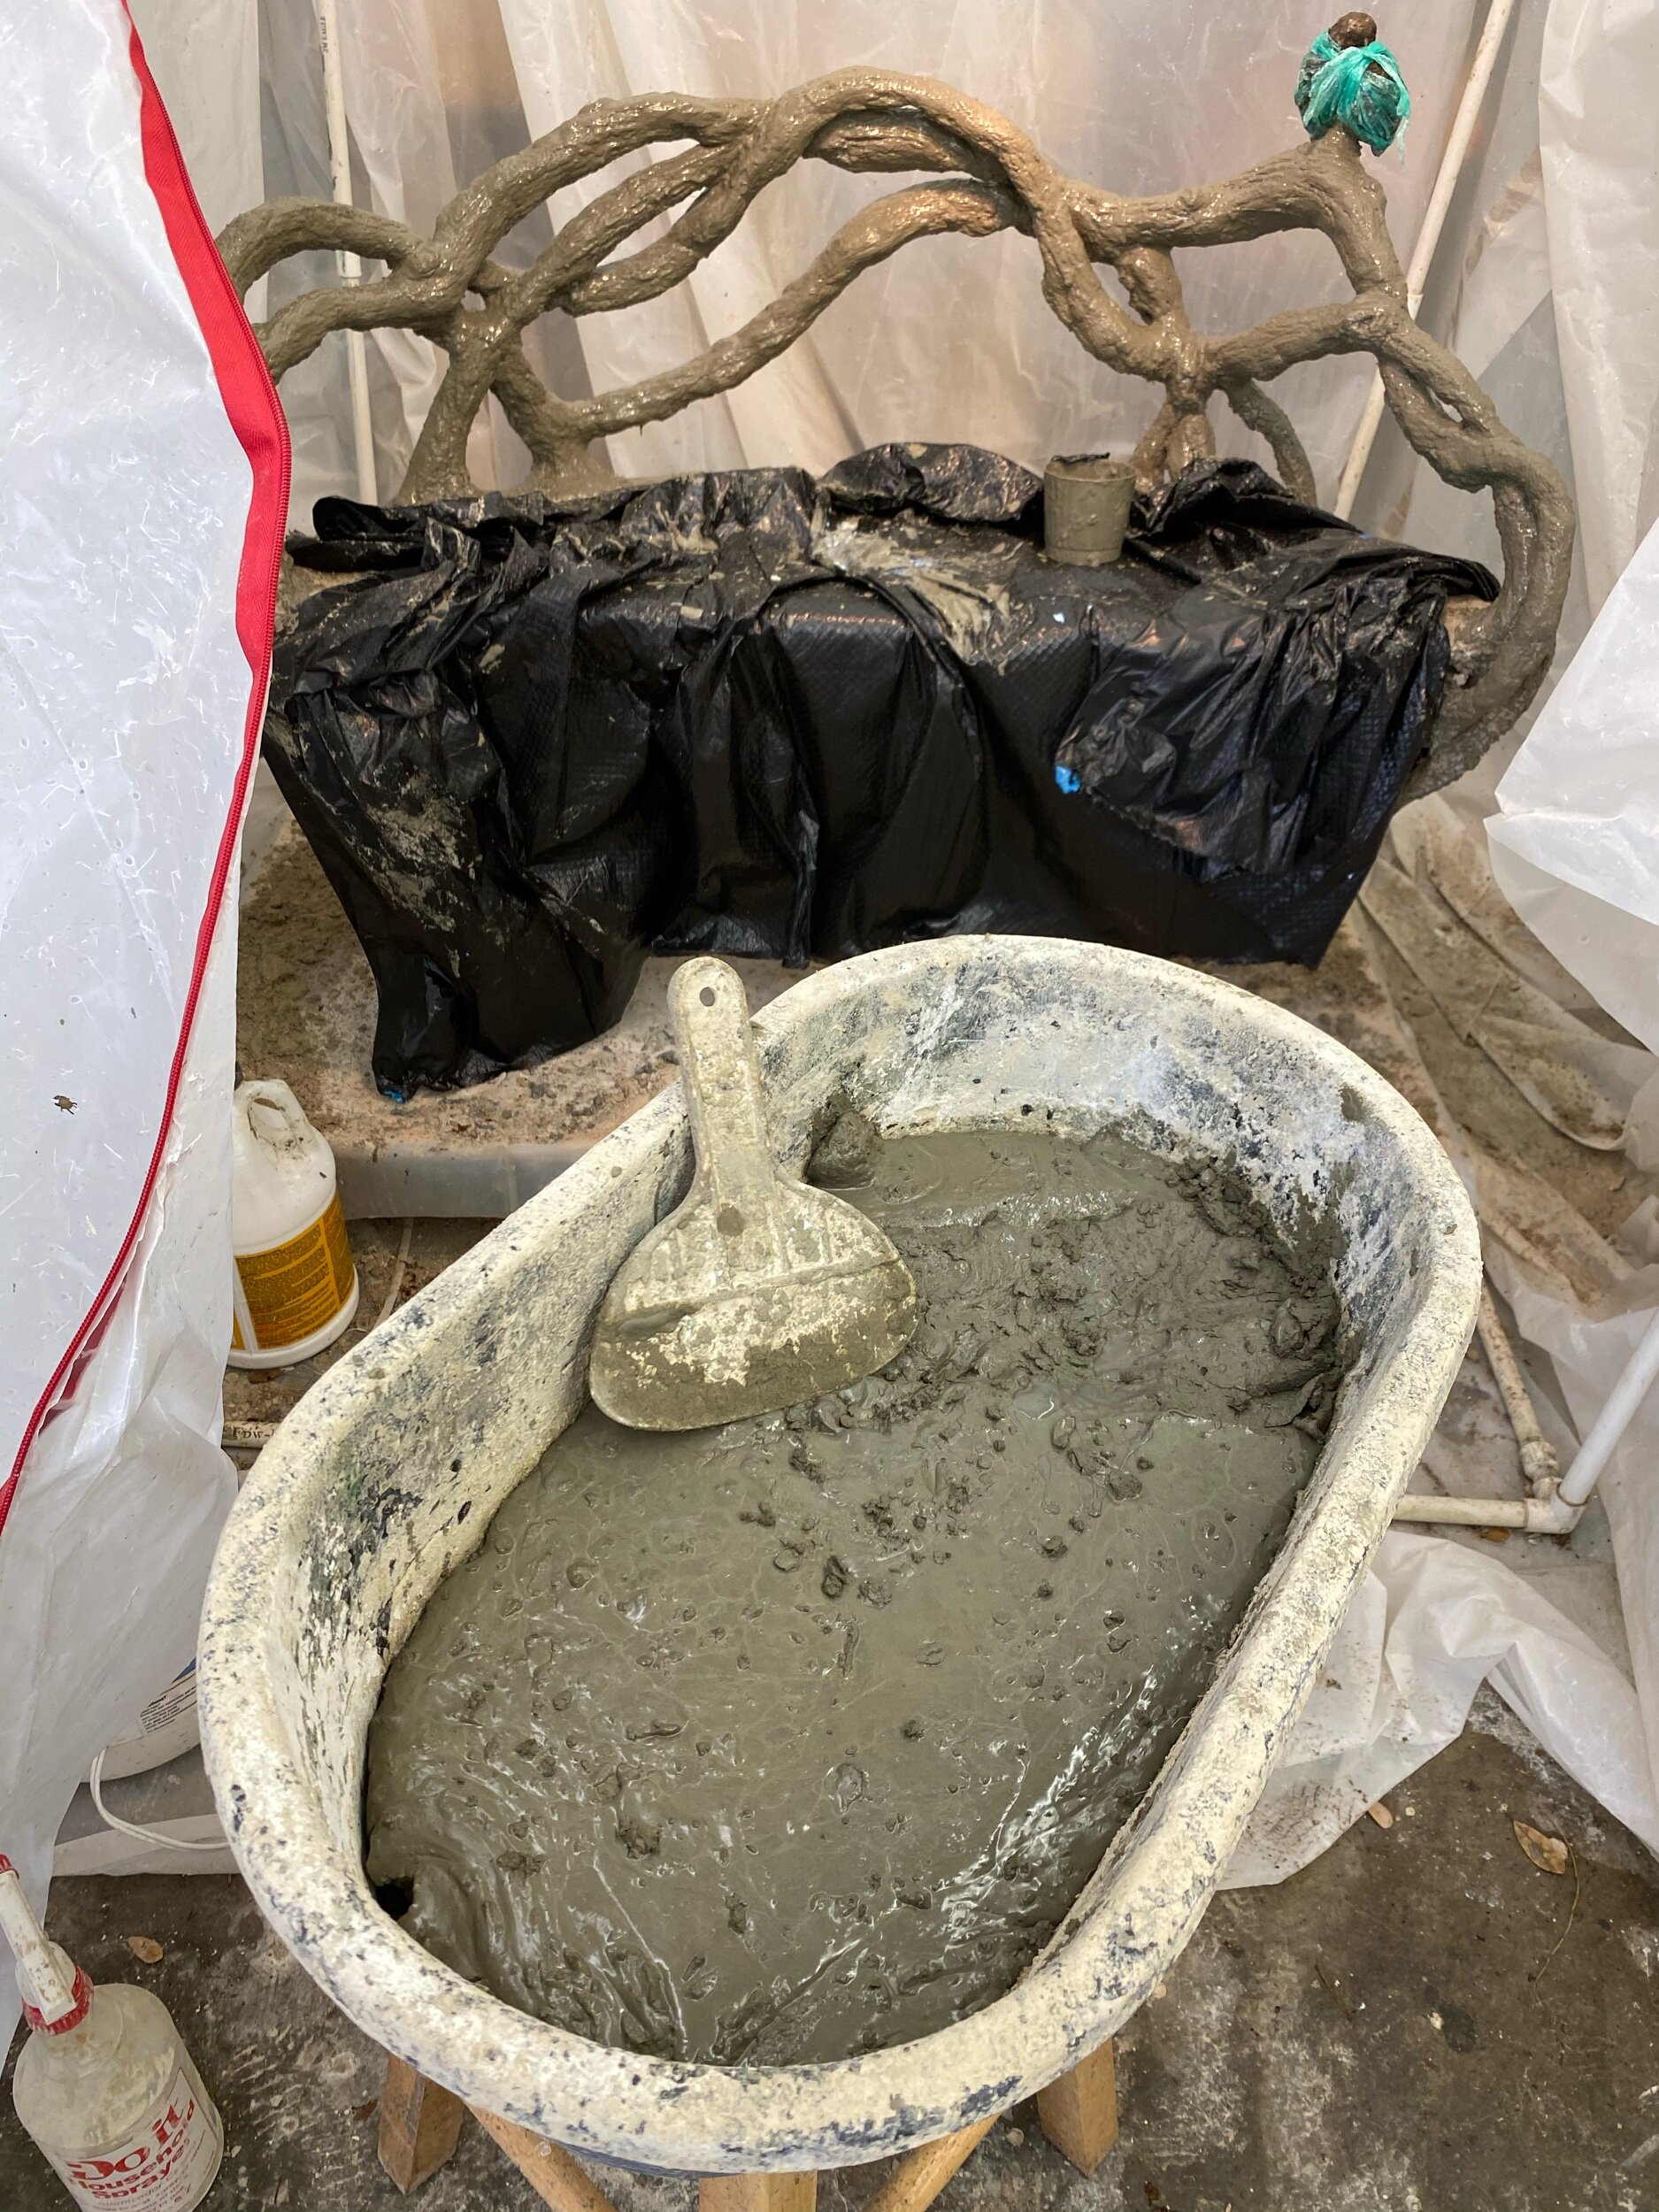
Keeping an eye on my mix

Keeping an eye on my mix

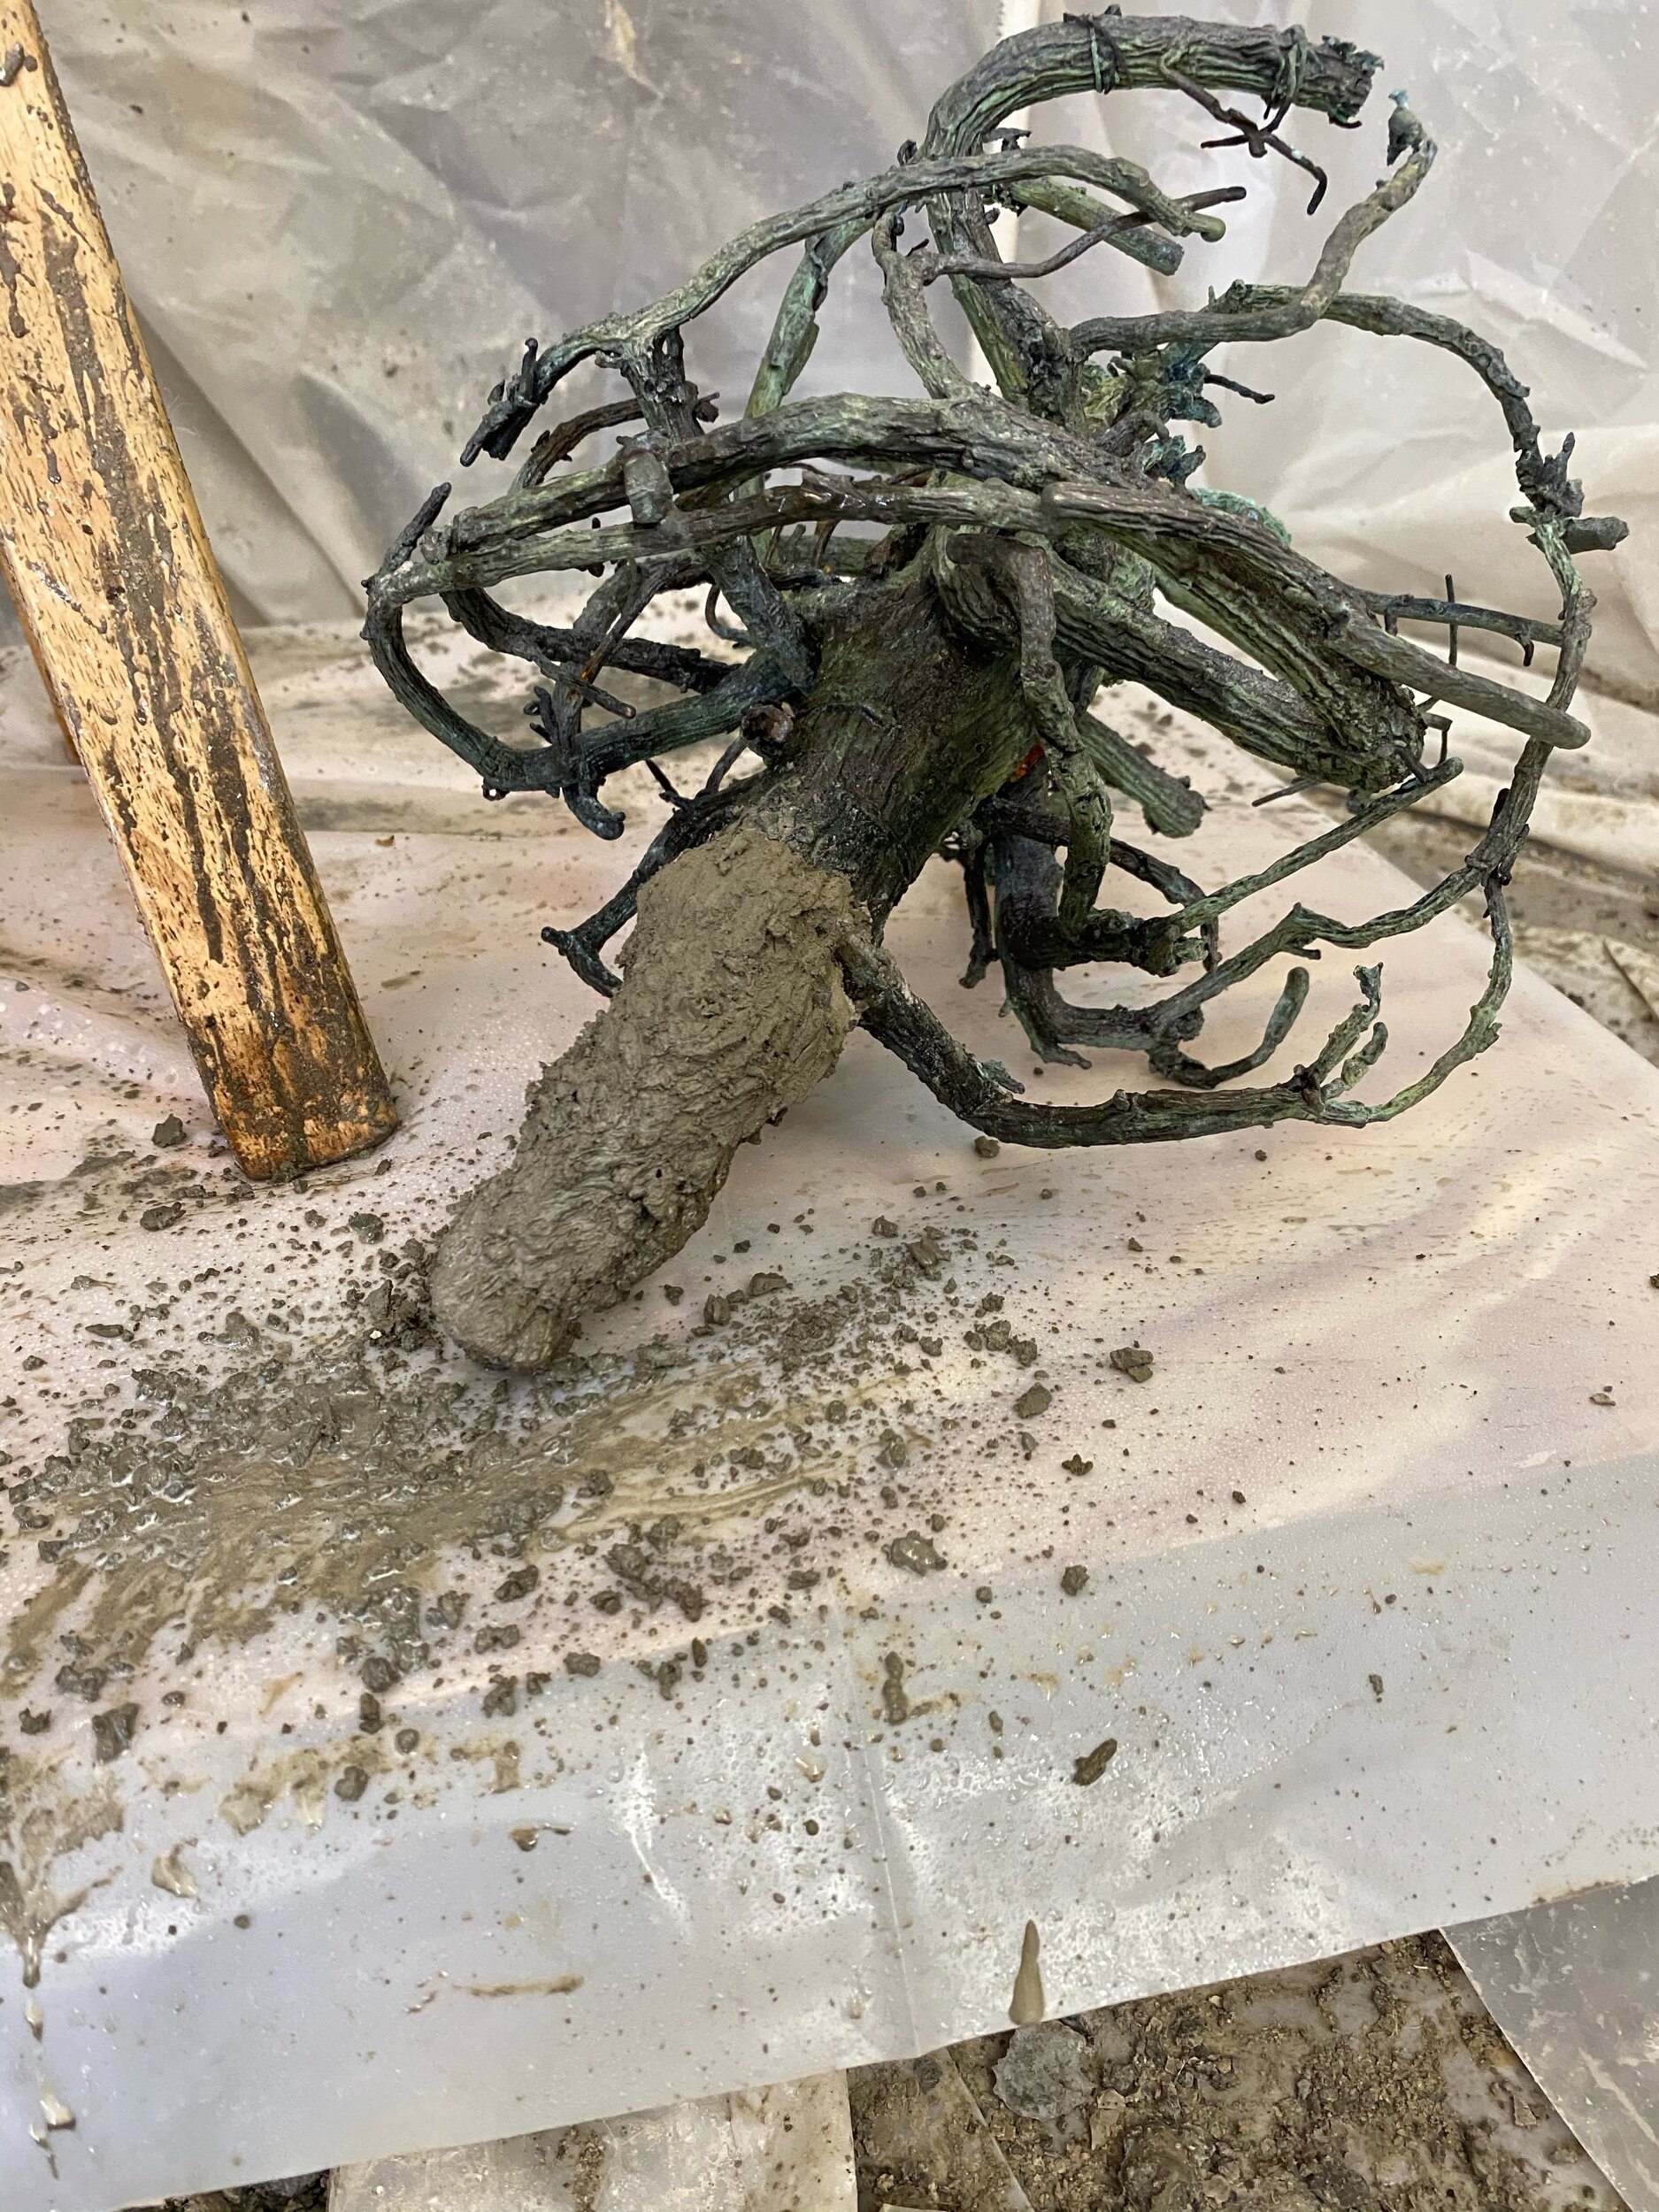
The first coat - the bronze leaves are covered in green plastic to protect them.

The first coat - the bronze leaves are covered in green plastic to protect them.

First, I paint on the bonding liquid.

First, I paint on the bonding liquid.

The piece is now ready for coat number 2.

The piece is now ready for coat number 2.

Coat number 2 ✅

Coat number 2 ✅

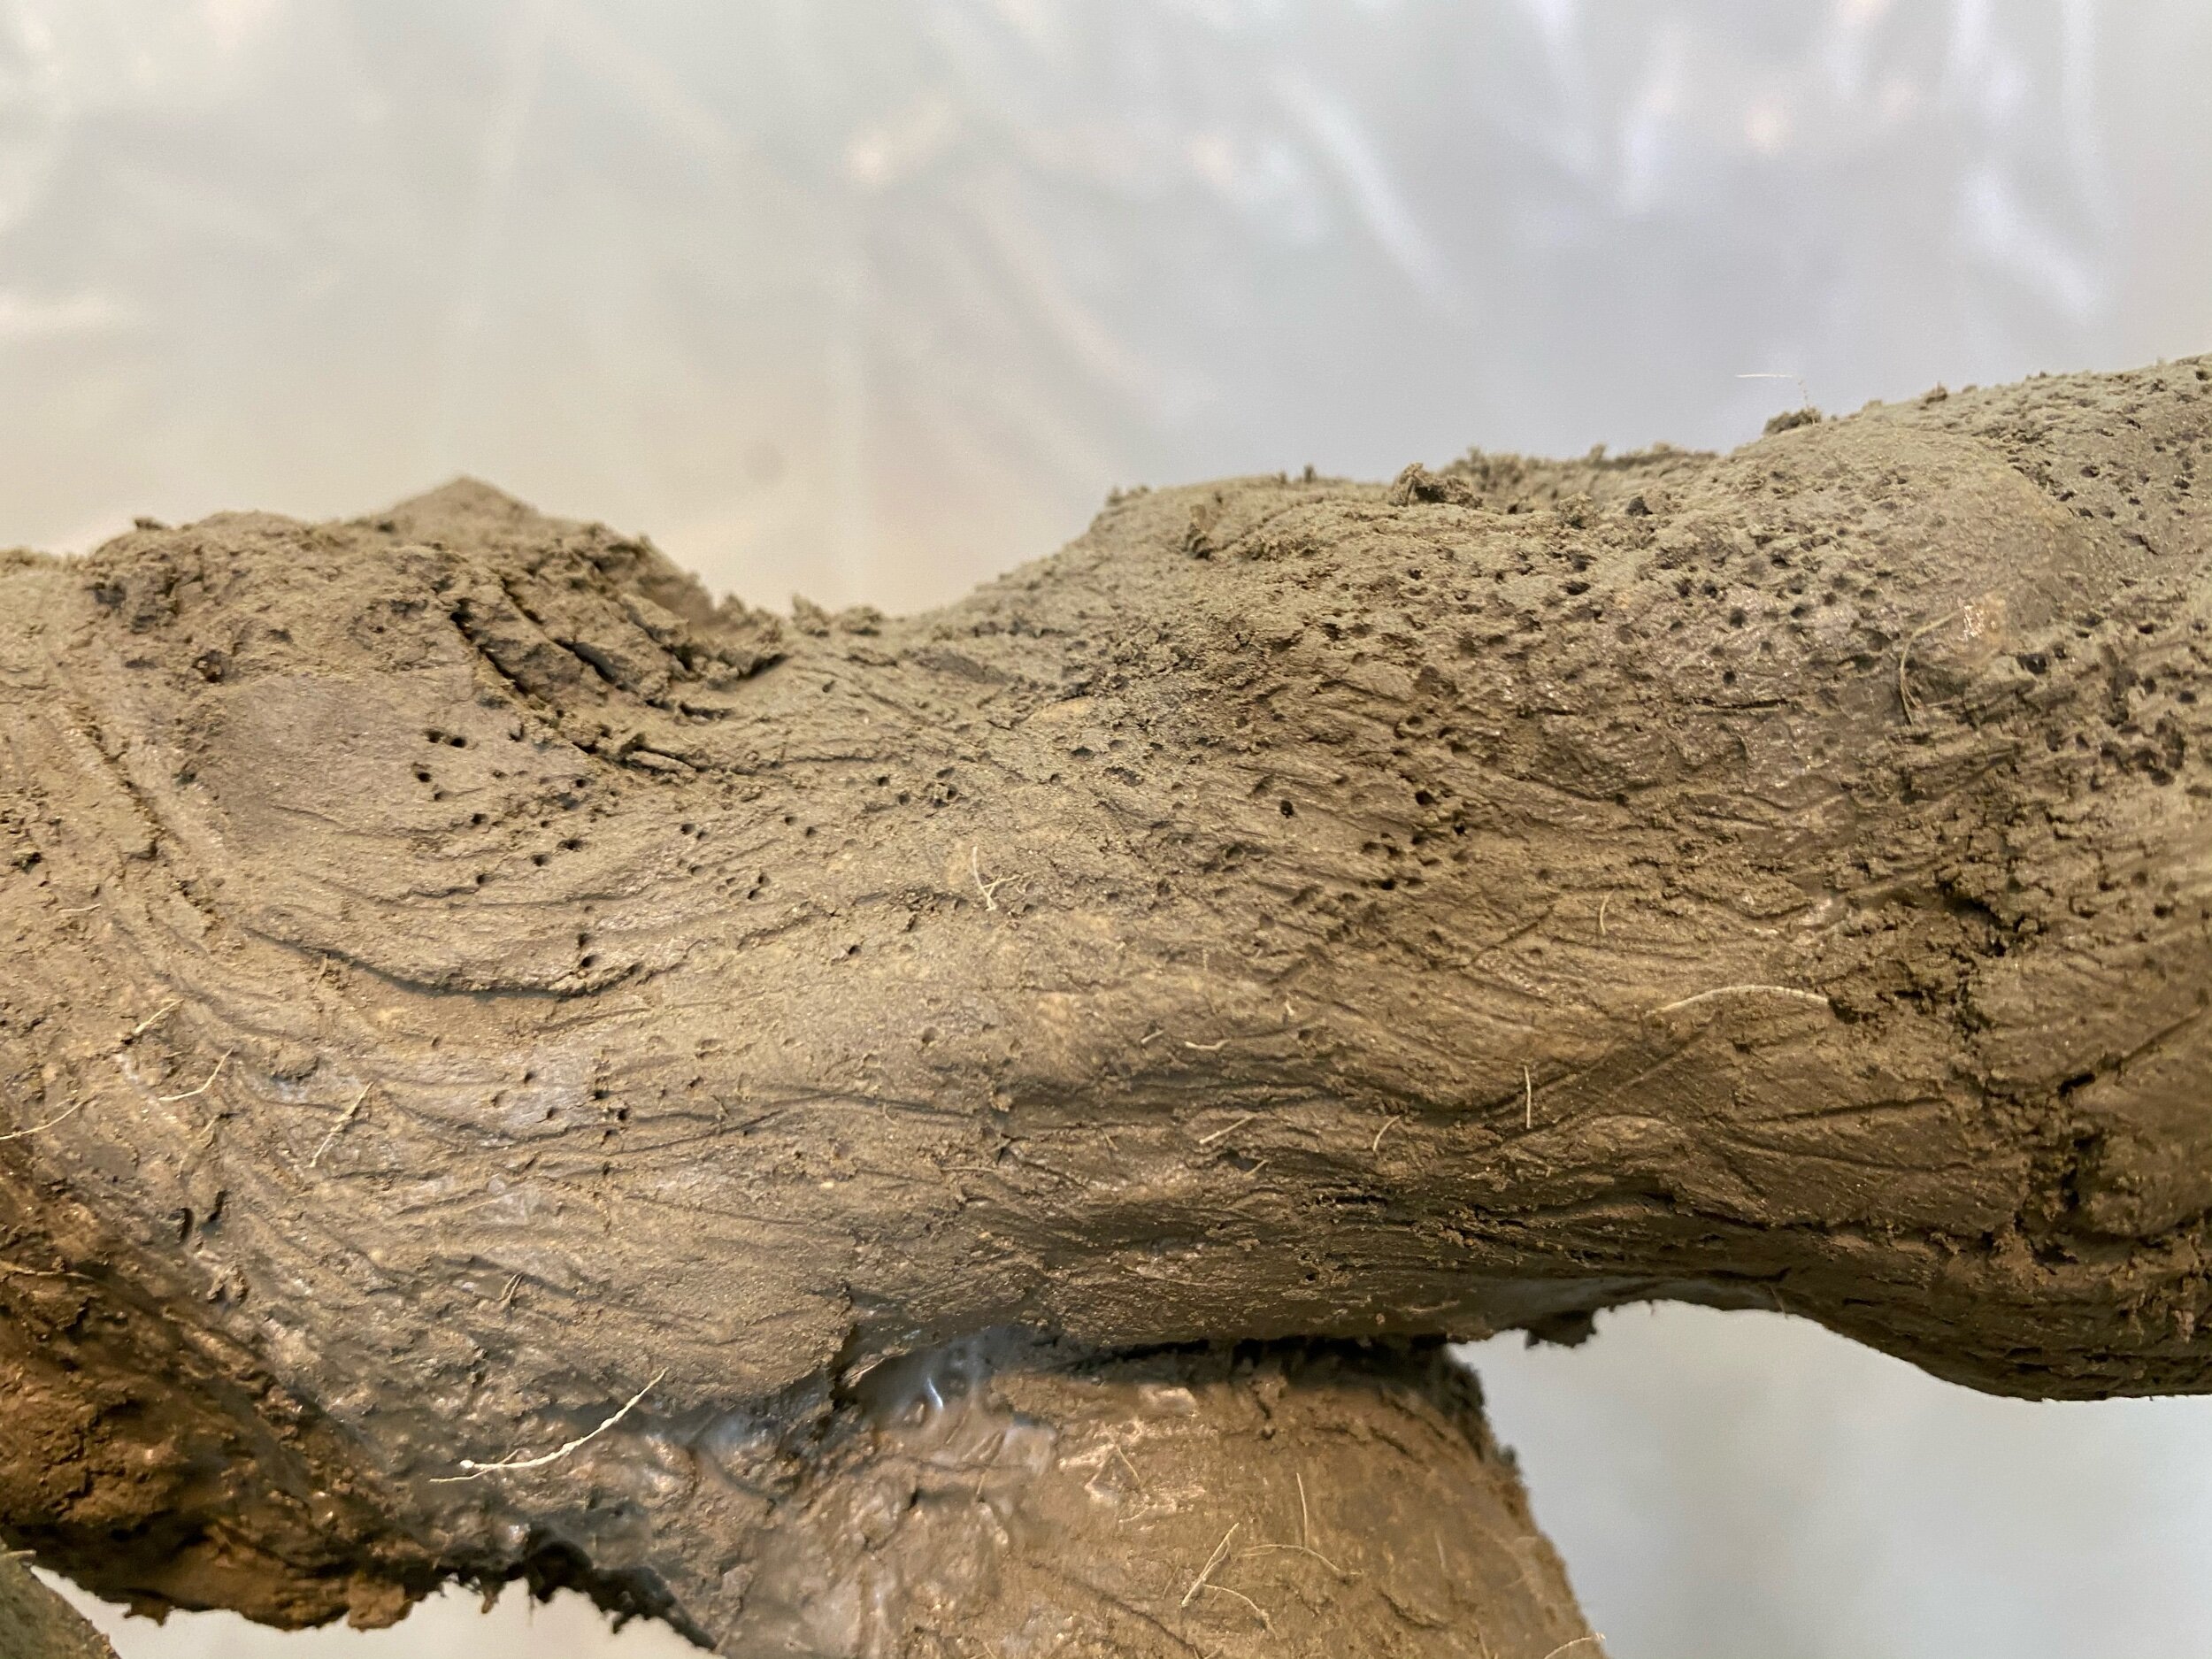
Here is the image edited super light in order to show the texture.

Here is the image edited super light in order to show the texture.

More details

More details

Detail of upper branches

Detail of upper branches

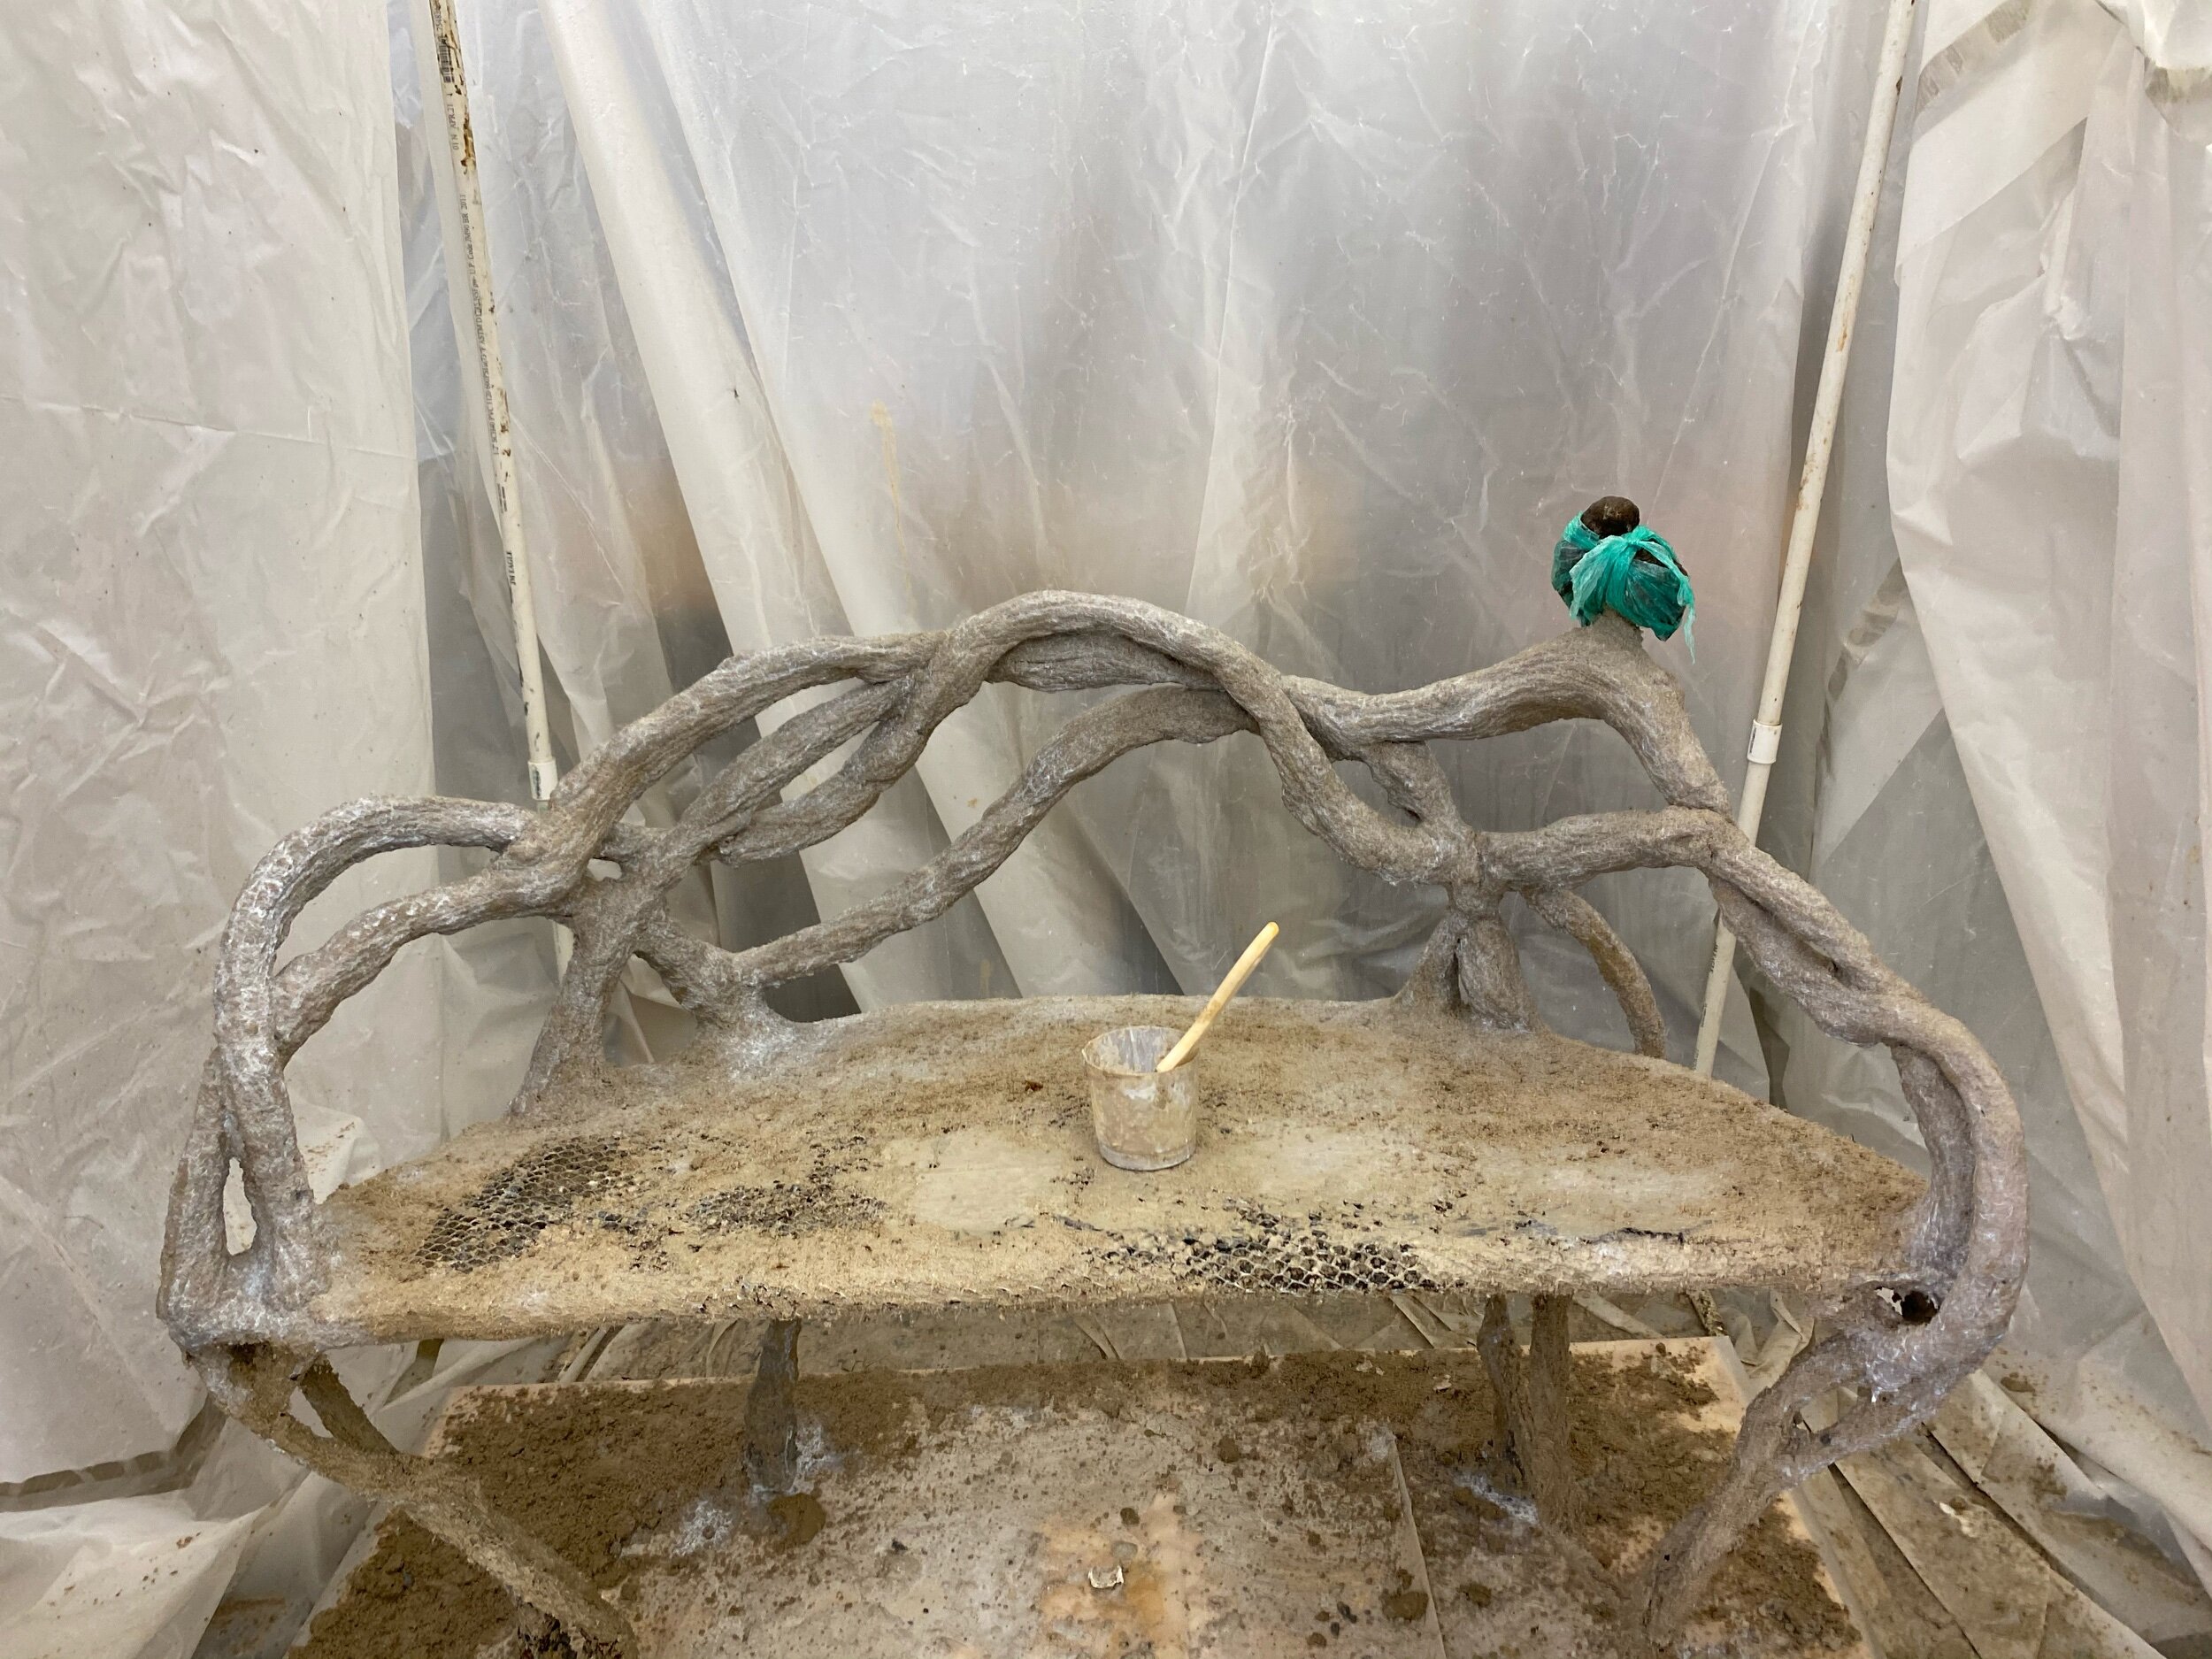
A little more concrete need under the bird.

A little more concrete need under the bird.

Detail of trunk

Detail of trunk

The lower trunk and base.

The lower trunk and base.

The abundance of knots is evidence that this tree is the host of many insects and good bacteria. Bees and other insects use trees for nesting and receive antiviral properties from the fungus and bacteria that grow on the tree.
Faux bois Wedding gift ❤️❤️#18

It turns out I did the first finish coat in white concrete. I have decided to put another coat on in the great concrete.

Here you can see the difference between the white and the grey Portland concrete.

Here you can see the difference between the white and the grey Portland concrete.

I also have a repair to make on a back leg.

I also have a repair to make on a back leg.

Repair made

Repair made

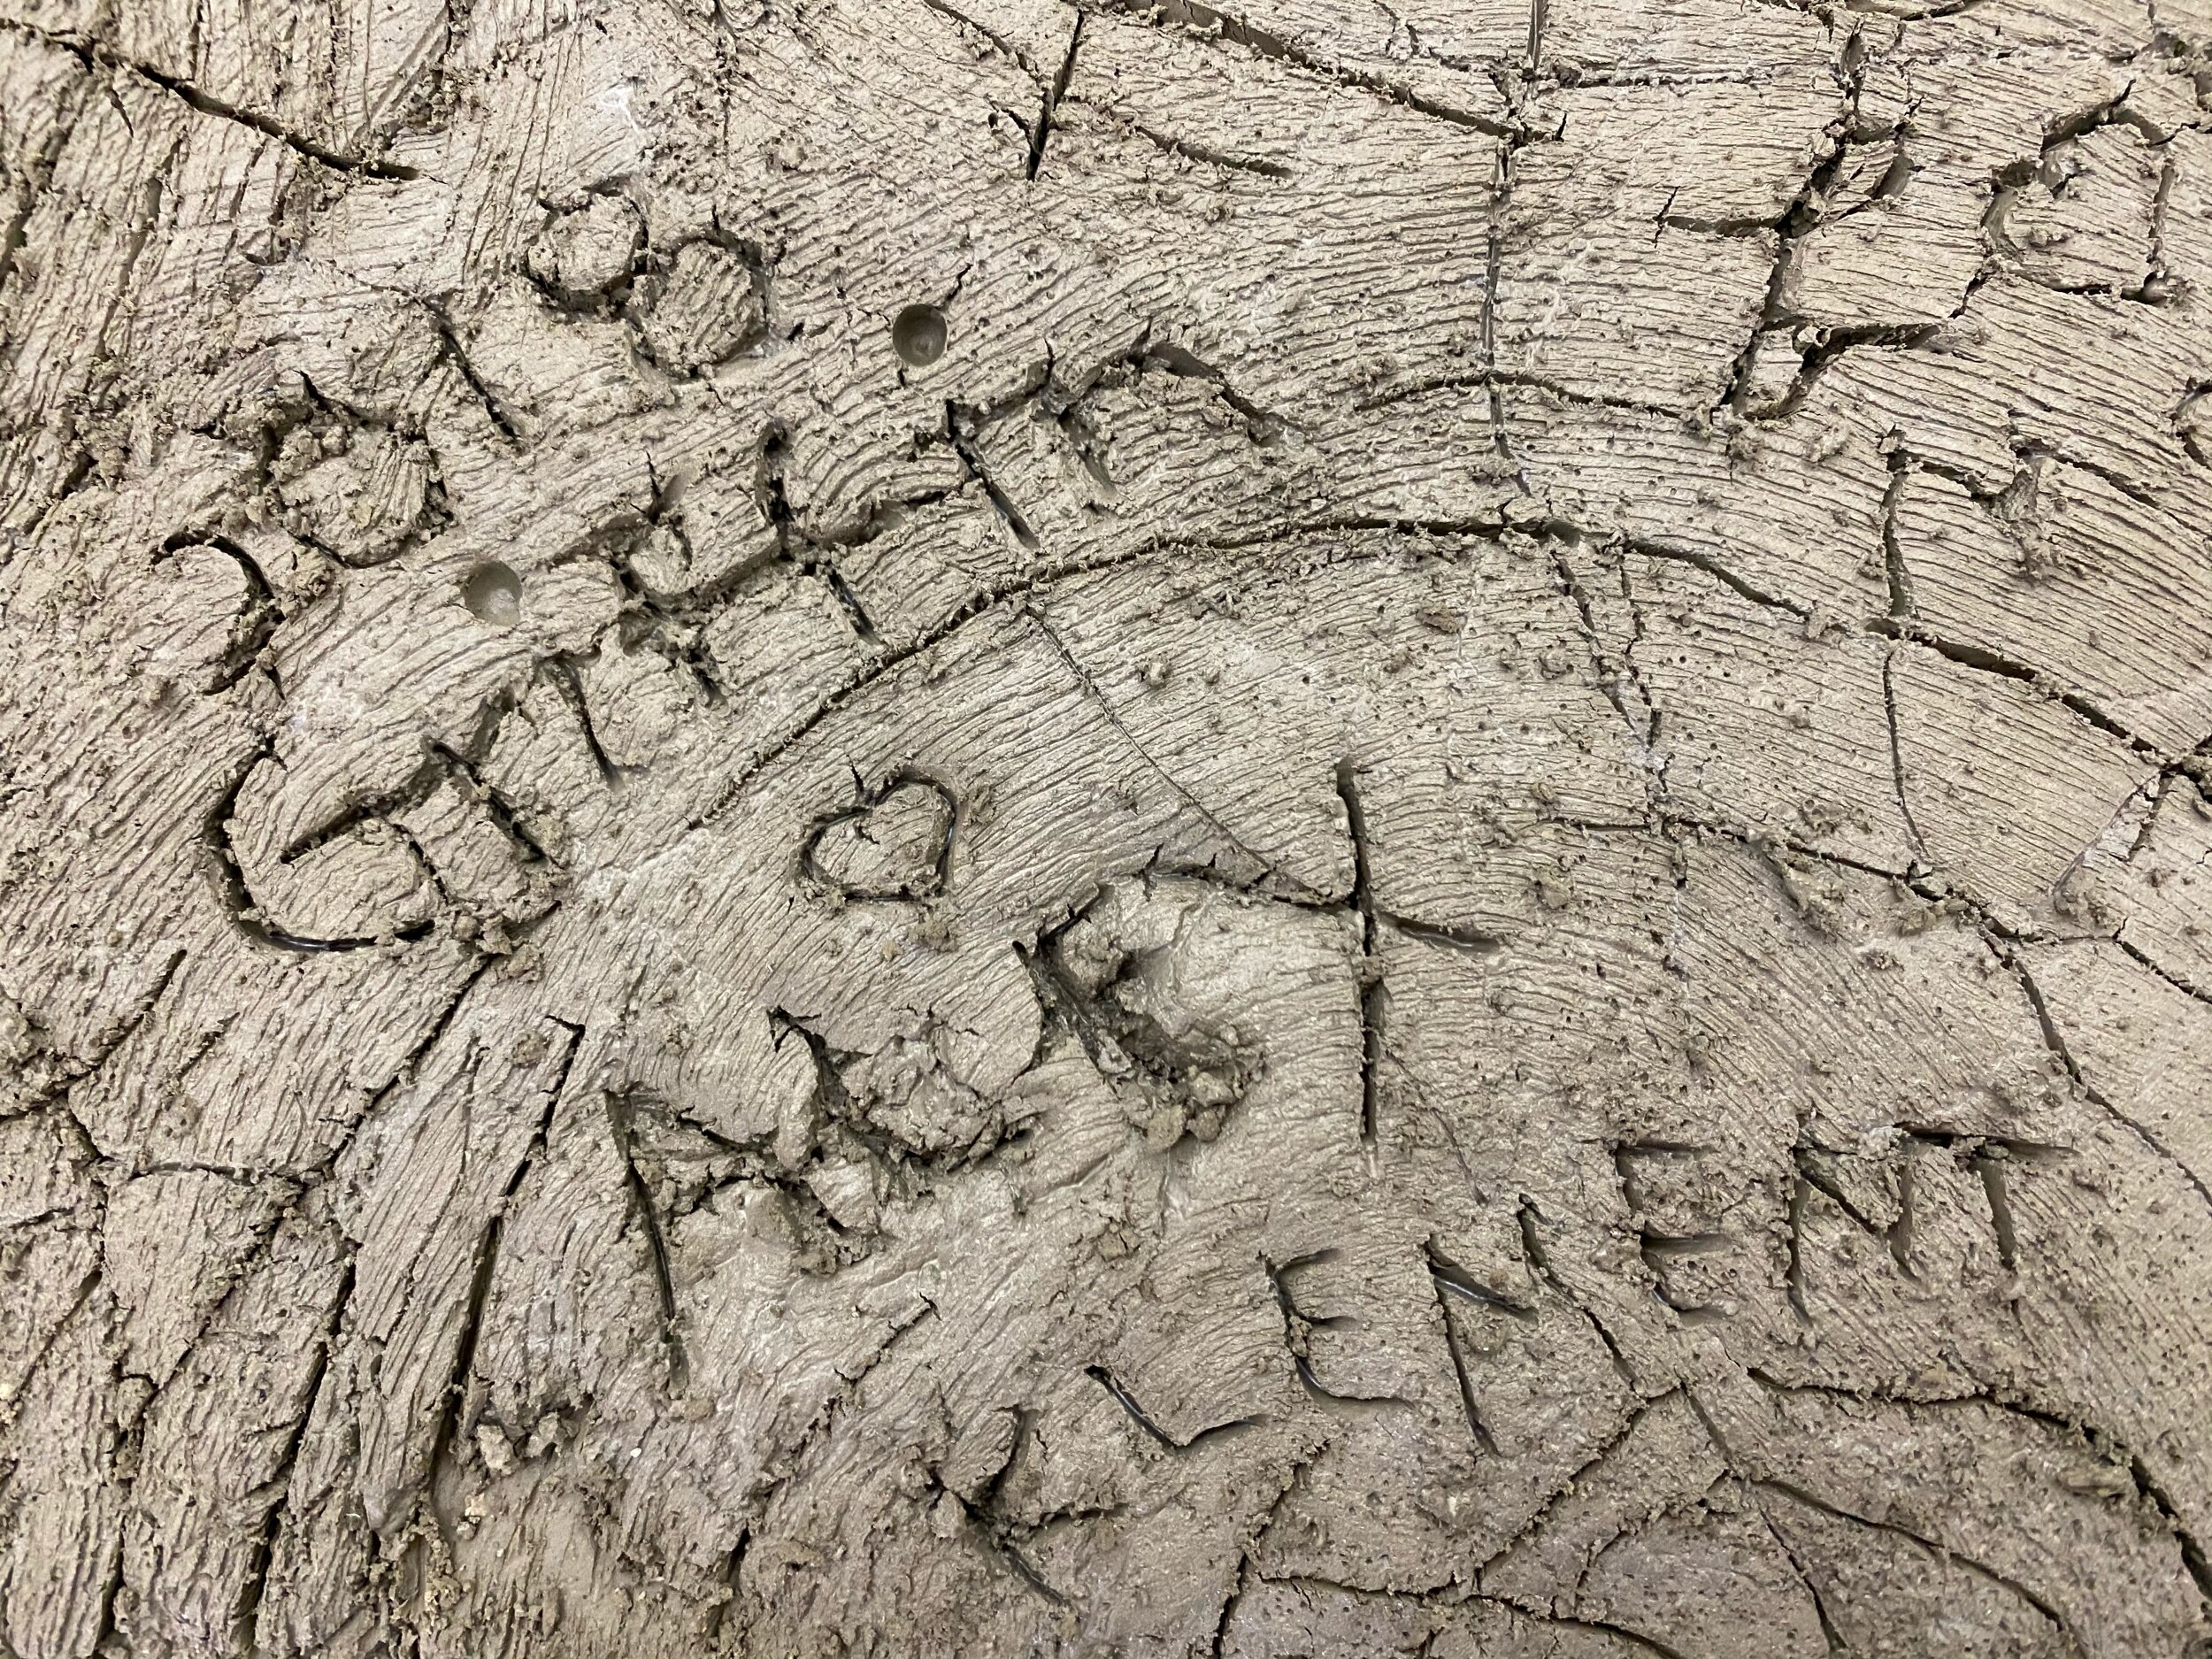
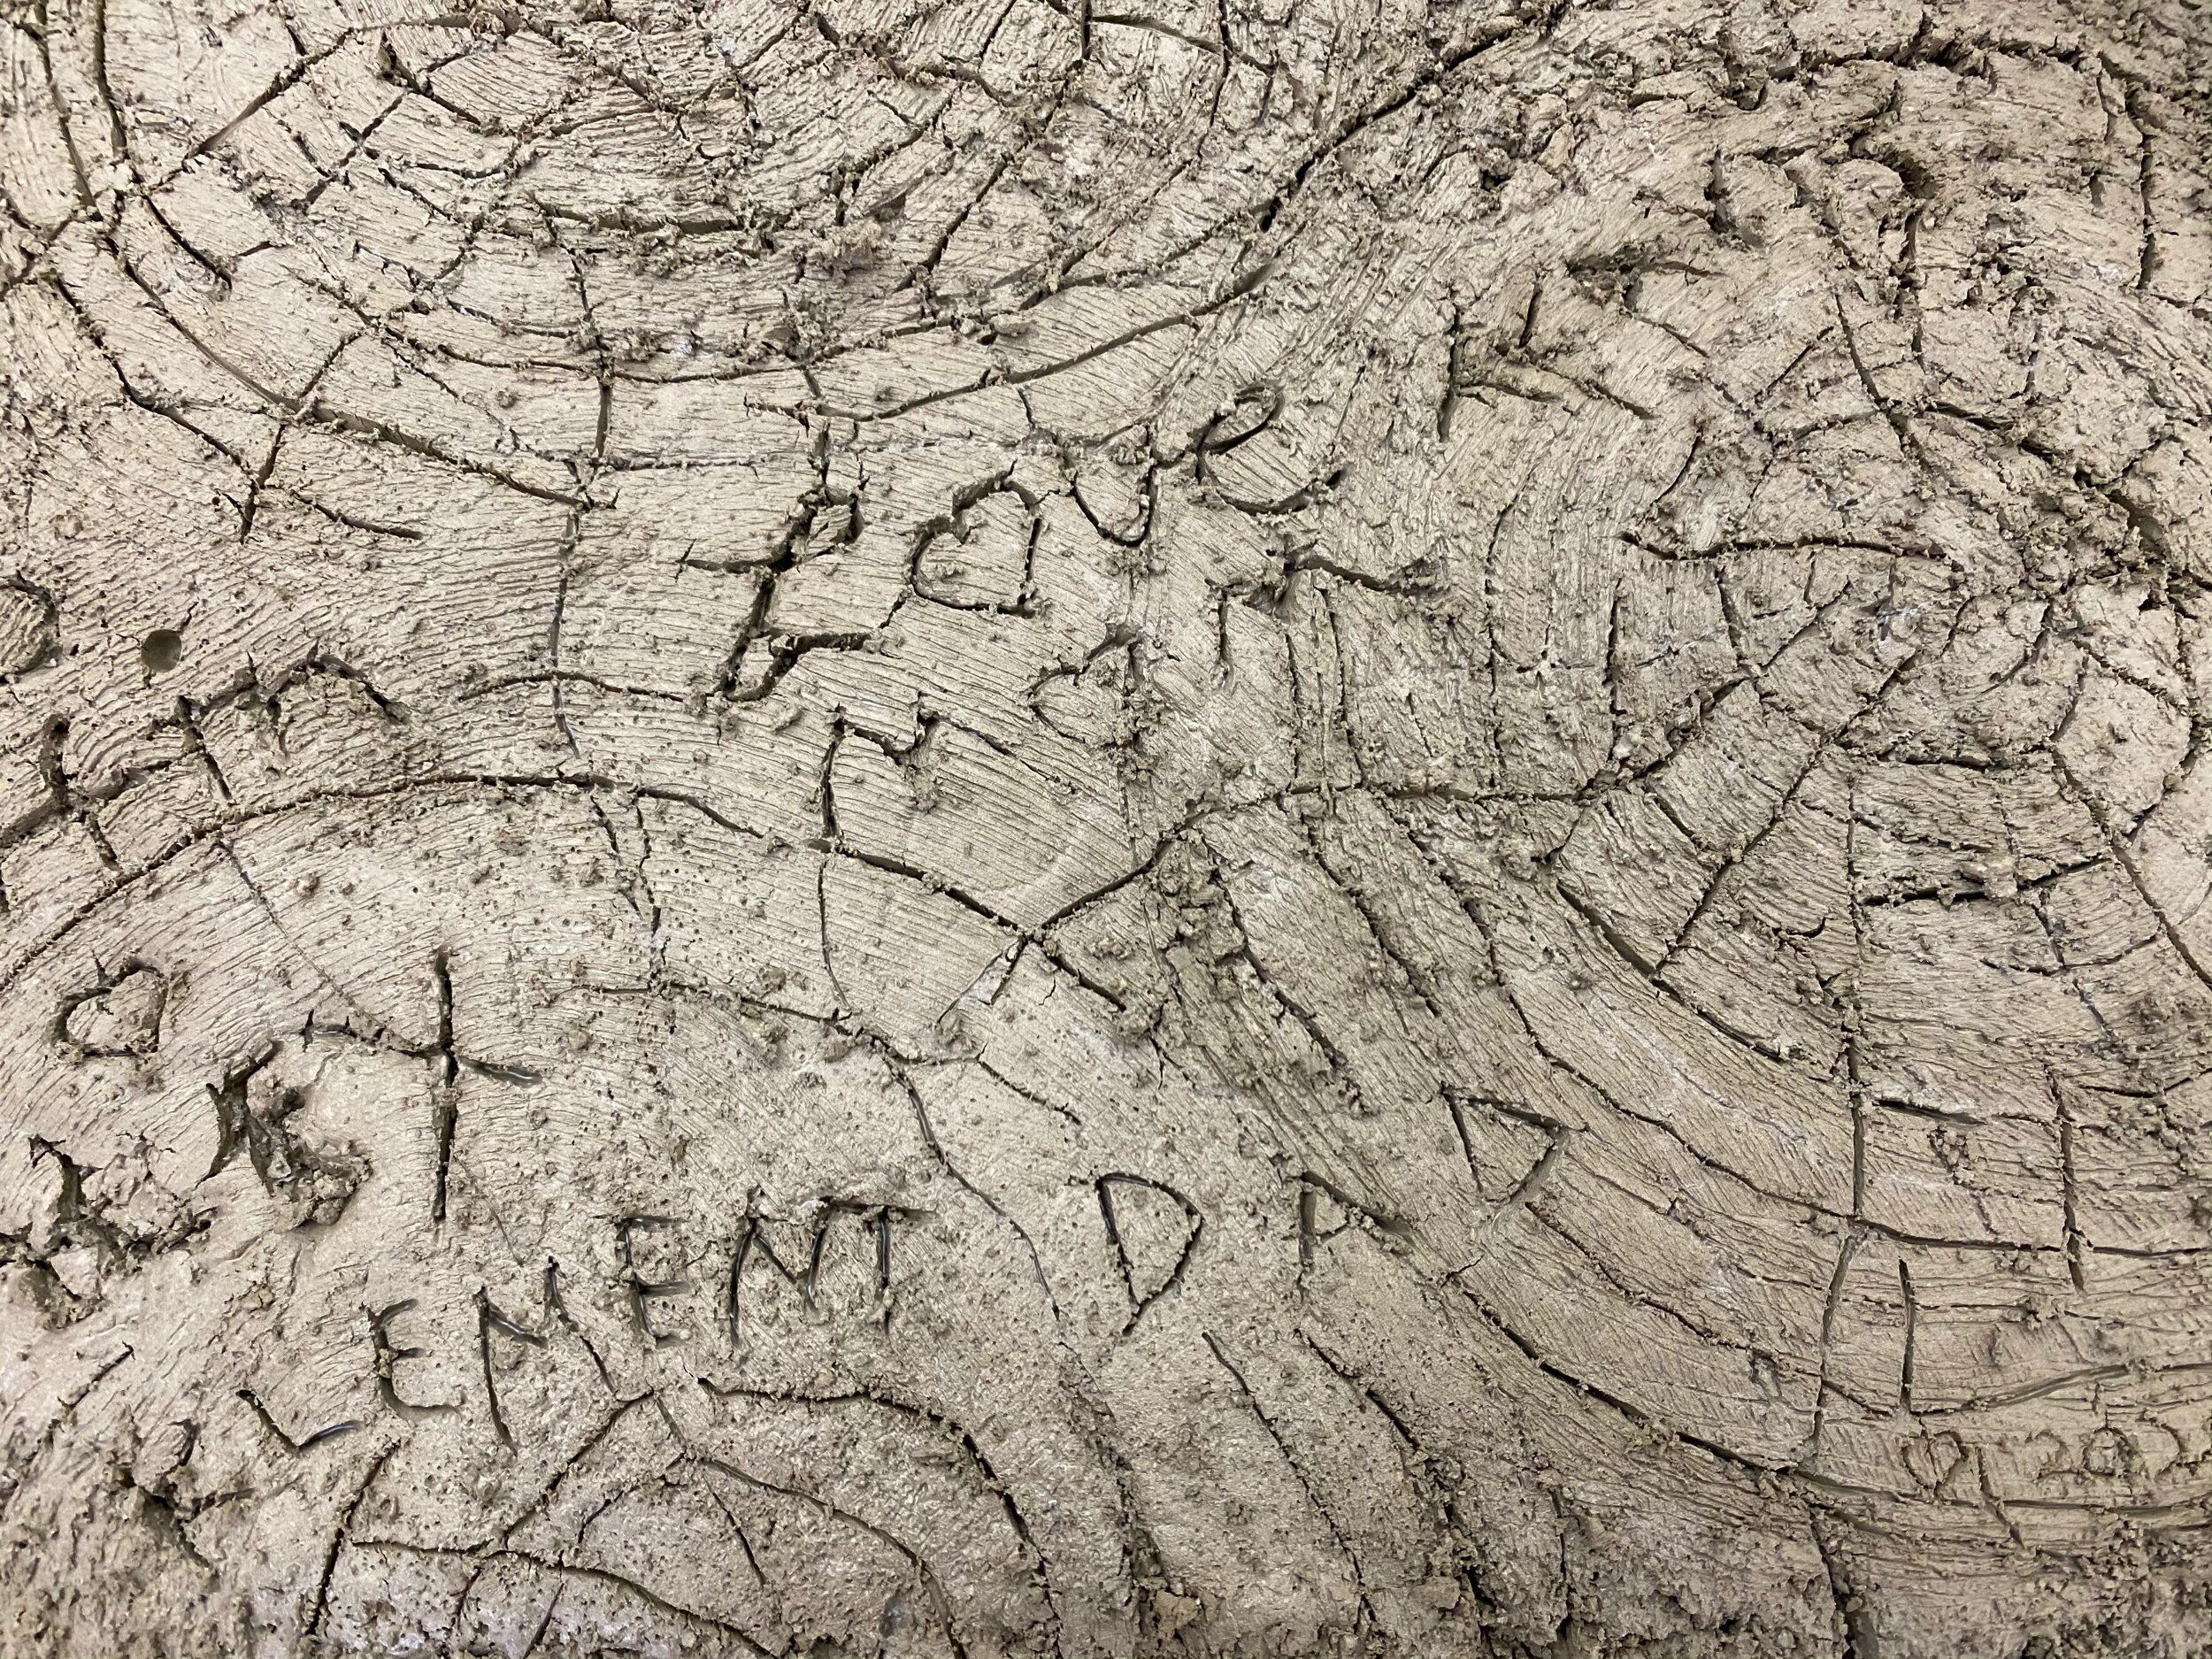
The new underside top coat with personalization note for The newly weds.

The new underside top coat with personalization note for The newly weds.

The year the married 1/3/2018 and there names griffin Joseph Klement and Alexandra Marie Groome Klement

The year the married 1/3/2018 and there names griffin Joseph Klement and Alexandra Marie Groome Klement

With love from me- Mom -cindee Travis Klement and Curtis Joseph KlementThe inspiration is from my grandparents yearbook page so I added my maiden name to the left of my name. I put the Klement last name between both sets of names.

With love from me- Mom -cindee Travis Klement and Curtis Joseph Klement

The inspiration is from my grandparents yearbook page so I added my maiden name to the left of my name. I put the Klement last name between both sets of names.

Adding a stump to this root. I am on the fence on this.

Adding a stump to this root. I am on the fence on this.

Faux bois Wedding gift ❤️❤️#14

I was not happy with the results of last Thursday's work on the upper branches. The concrete was not sticking to the scratch coat. Afterwards I went through the past blog posts for this piece and this is not the first time I have had trouble with the cement sticking. I made note that the liquid part of the concrete mix was too old. Good to know, the best part of a blog is the documentation of the work. As a result of the old liquid the branches ended up lacking detail. That is what happens when one takes multiple year's to finish one project. Today's work looks better. It does have it's share of wormholes and I love wormholes. I am a sucker for any piece of old wood eaten up by worms. That is the beauty of old wood.

Wormholes and knots

Wormholes and knots

Below is a photo journal of the process.

Mixing the wet part of the concrete mix.

Mixing the wet part of the concrete mix.

Mixing concrete is very similar to baking, you have to measure every ingredient precisely and mix them in the correct order.

A sound concrete mixer is a must; hand-mixing concrete is just too physical. I love this machine. Behind the mixer you can see roots for future bronze pieces drying on the plant trellis

A sound concrete mixer is a must; hand-mixing concrete is just too physical. I love this machine. Behind the mixer you can see roots for future bronze pieces drying on the plant trellis

Fifteen minutes of mixing the dry ingredients.

Fifteen minutes of mixing the dry ingredients.

While I wait for the dry ingredients to mix I paint a bonding agent onto the scratch coat.

While I wait for the dry ingredients to mix I paint a bonding agent onto the scratch coat.

A close up of the white bonding agent after application.

A close up of the white bonding agent after application.

All branches are coated with the bonding agent and drying while I check on the cement mixer.

All branches are coated with the bonding agent and drying while I check on the cement mixer.

When you look closely you can see the fibers I put in the concrete last week. The fiberglass fibers help the new layers of concrete bind to the last coat.

When you look closely you can see the fibers I put in the concrete last week. The fiberglass fibers help the new layers of concrete bind to the last coat.

Just like in baking, you pour just a little wet ingredients in the middle of the dry ingredients.

Just like in baking, you pour just a little wet ingredients in the middle of the dry ingredients.

I clip a cardboard door to the mixer, to keep the dust down.

I clip a cardboard door to the mixer, to keep the dust down.

The mixer kicks up a lot of dust.Even before ppe was a thing, I wore a respirator and a head covering when mixing cincrete. There is nothing like shampooing concrete dust out of your hair.

The mixer kicks up a lot of dust.

Even before ppe was a thing, I wore a respirator and a head covering when mixing cincrete. There is nothing like shampooing concrete dust out of your hair.

Here the mix is starting to stick together and make marble and golf size balls. Ut us about 1/2 way ready.

Here the mix is starting to stick together and make marble and golf size balls. Ut us about 1/2 way ready.

Ready to start applying the concrete to the branches.

Ready to start applying the concrete to the branches.

First, I mix a little concrete with the white bonding agent and make a slurry. I paint the slurry mud into the branches to help the first coat stick. Then I wait for it to get tacky.

First, I mix a little concrete with the white bonding agent and make a slurry. I paint the slurry mud into the branches to help the first coat stick. Then I wait for it to get tacky.

Another detail look. Some of the fibers from the prior coat are still sticking out. That is ok, when I am finished I will take a small torch Abd burn them off.

Another detail look. Some of the fibers from the prior coat are still sticking out. That is ok, when I am finished I will take a small torch Abd burn them off.

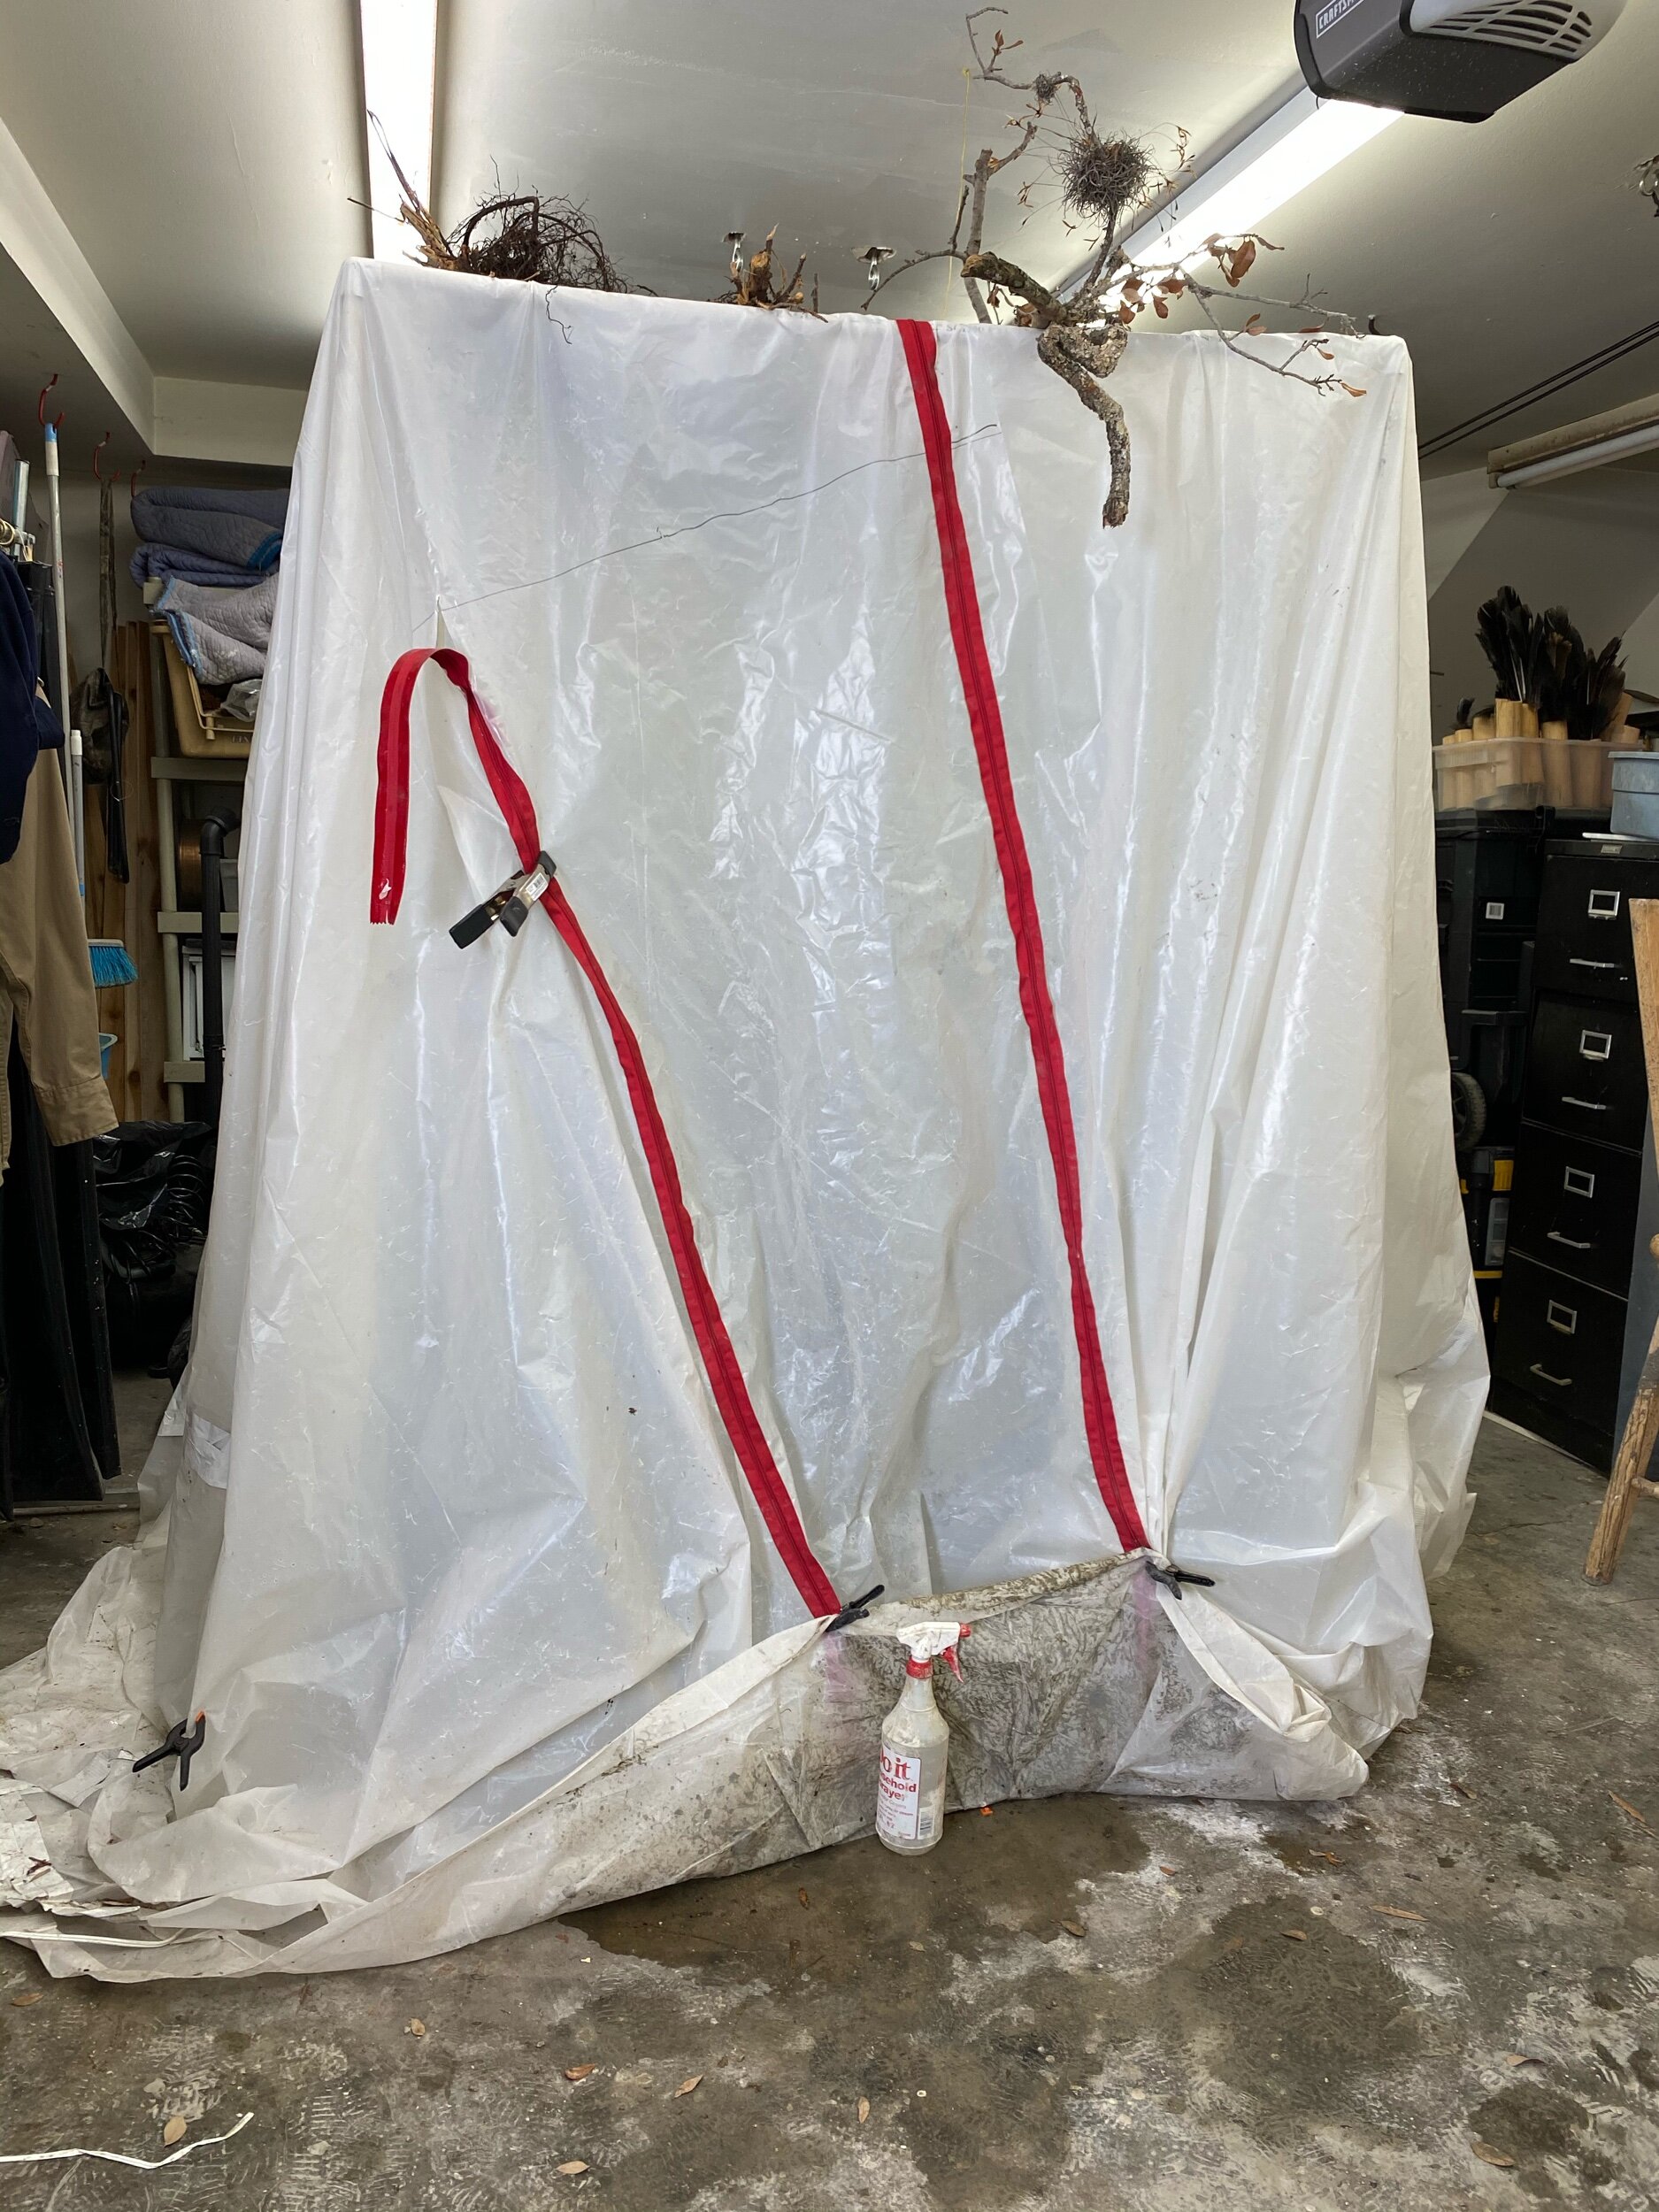
My hydrating tent is getting a bit caddy campus.

My hydrating tent is getting a bit caddy campus.

Five more days of hydrating and then I pour the cement for the seat.

Packing the hanging pieces for transporting to the silos.

Last week I spent everyday packing and boxing the pieces I made this summer. I needed boxes they could hang in. Regular wardrobe boxes are not wide enough, so I made my own wardrobe style boxes to transport the sculpture pieces. I took two 30” X 30” X 30” boxes, stacked them and taped them to make them 78” tall.

Then I wrapped each element of each piece in thin plastic dry cleaning bags and kitchen zip lock bags. I don’t want any thing getting tangled. Each little section is in its own plastic cocoon.

Each small element bagged separately making bouquet of bee cocoons

Each small element bagged separately making bouquet of bee cocoons

Making my own wardrobe style boxes.

Making my own wardrobe style boxes.

My pieces hang from the top of the boxes. I needed something to support the top of the box. Southland hardware yard sticks were the cheapest thing I could find. I think they will work.

My pieces hang from the top of the boxes. I needed something to support the top of the box. Southland hardware yard sticks were the cheapest thing I could find. I think they will work.

My sculpture wardrobe boxes have doors.

My sculpture wardrobe boxes have doors.

The pieces in bags make awesome amnion shadows

The pieces in bags make awesome amnion shadows

7 boxes ready to go.

7 boxes ready to go.

public.jpeg

Hurricane Harvey - sculpture day 9 “bringing home the bacon”

Today I adjusted the shoulder width, started the chest and connected the back extensions at the top.  

FullSizeRender.jpg

View from the front  

FullSizeRender.jpg
FullSizeRender.jpg

View from the back  

FullSizeRender.jpg

I might need to trim up his chest tomorrow. Grrrrrr

Hurricane Harvey - sculpture day 6 “bringing home the bacon”

FullSizeRender.jpg
FullSizeRender.jpg
IMAGE.JPG
FullSizeRender.jpg

Hurricane Harvey - sculpture day 5 “bringing home the bacon”

Today I spent a lot of time cutting off and rewelding. The upper leg/booty was too big. After four hours  it now has a trimmer. 

IMAGE.JPG
IMAGE.JPG
IMAGE.JPG
IMAGE.JPG

I am trying to decide if I need to reinforce the lower half of the body or move on. Once I reinforce the joints it is a lot more difficult to make changes. If I move on without reinforcing the welding joints, the piece could fall apart. That is my dilemma. 

Sapling #7 - lath, 1st coat and second coat.

My daughter special requested this piece. She asked if I could make her a sapling. My response was I could try, but the pencil size steel limits how thin I can make the tree limbs. Long story short, the sapling grew old fast. After the first coat the sapling limbs we're no longer sapling thin.

Covered in lath

Covered in lath

Keeping an eye on my mix

Keeping an eye on my mix

The first coat - the bronze leaves are covered in green plastic to protect them.

The first coat - the bronze leaves are covered in green plastic to protect them.

First, I paint on the bonding liquid.

First, I paint on the bonding liquid.

The piece is now ready for coat number 2.

The piece is now ready for coat number 2.

Coat number 2 ✅

Coat number 2 ✅

Here is the image edited super light in order to show the texture.

Here is the image edited super light in order to show the texture.

More details

More details

Detail of upper branches

Detail of upper branches

A little more concrete need under the bird.

A little more concrete need under the bird.

Detail of trunk

Detail of trunk

The lower trunk and base.

The lower trunk and base.

The abundance of knots is evidence that this tree is the host of many insects and good bacteria. Bees and other insects use trees for nesting and receive antiviral properties from the fungus and bacteria that grow on the tree.

“score” #19 tieing down the lath

The lath is what holds the concrete or plaster to the figure. Concrete liquefies with movement so the lath has to be tied securely, it can not have any play.

The tools  I use a hammer to manipulate the lath and to smash the sharp edges of the cut lath. The pliers are used to tie or twist the ties to secure the lath to the armature. The clippers are used to cut the lath. 

The tools  

I use a hammer to manipulate the lath and to smash the sharp edges of the cut lath. The pliers are used to tie or twist the ties to secure the lath to the armature. The clippers are used to cut the lath. 

IMAGE.JPG

Materials 

Small piece of cut lath and stainless steel wire.  

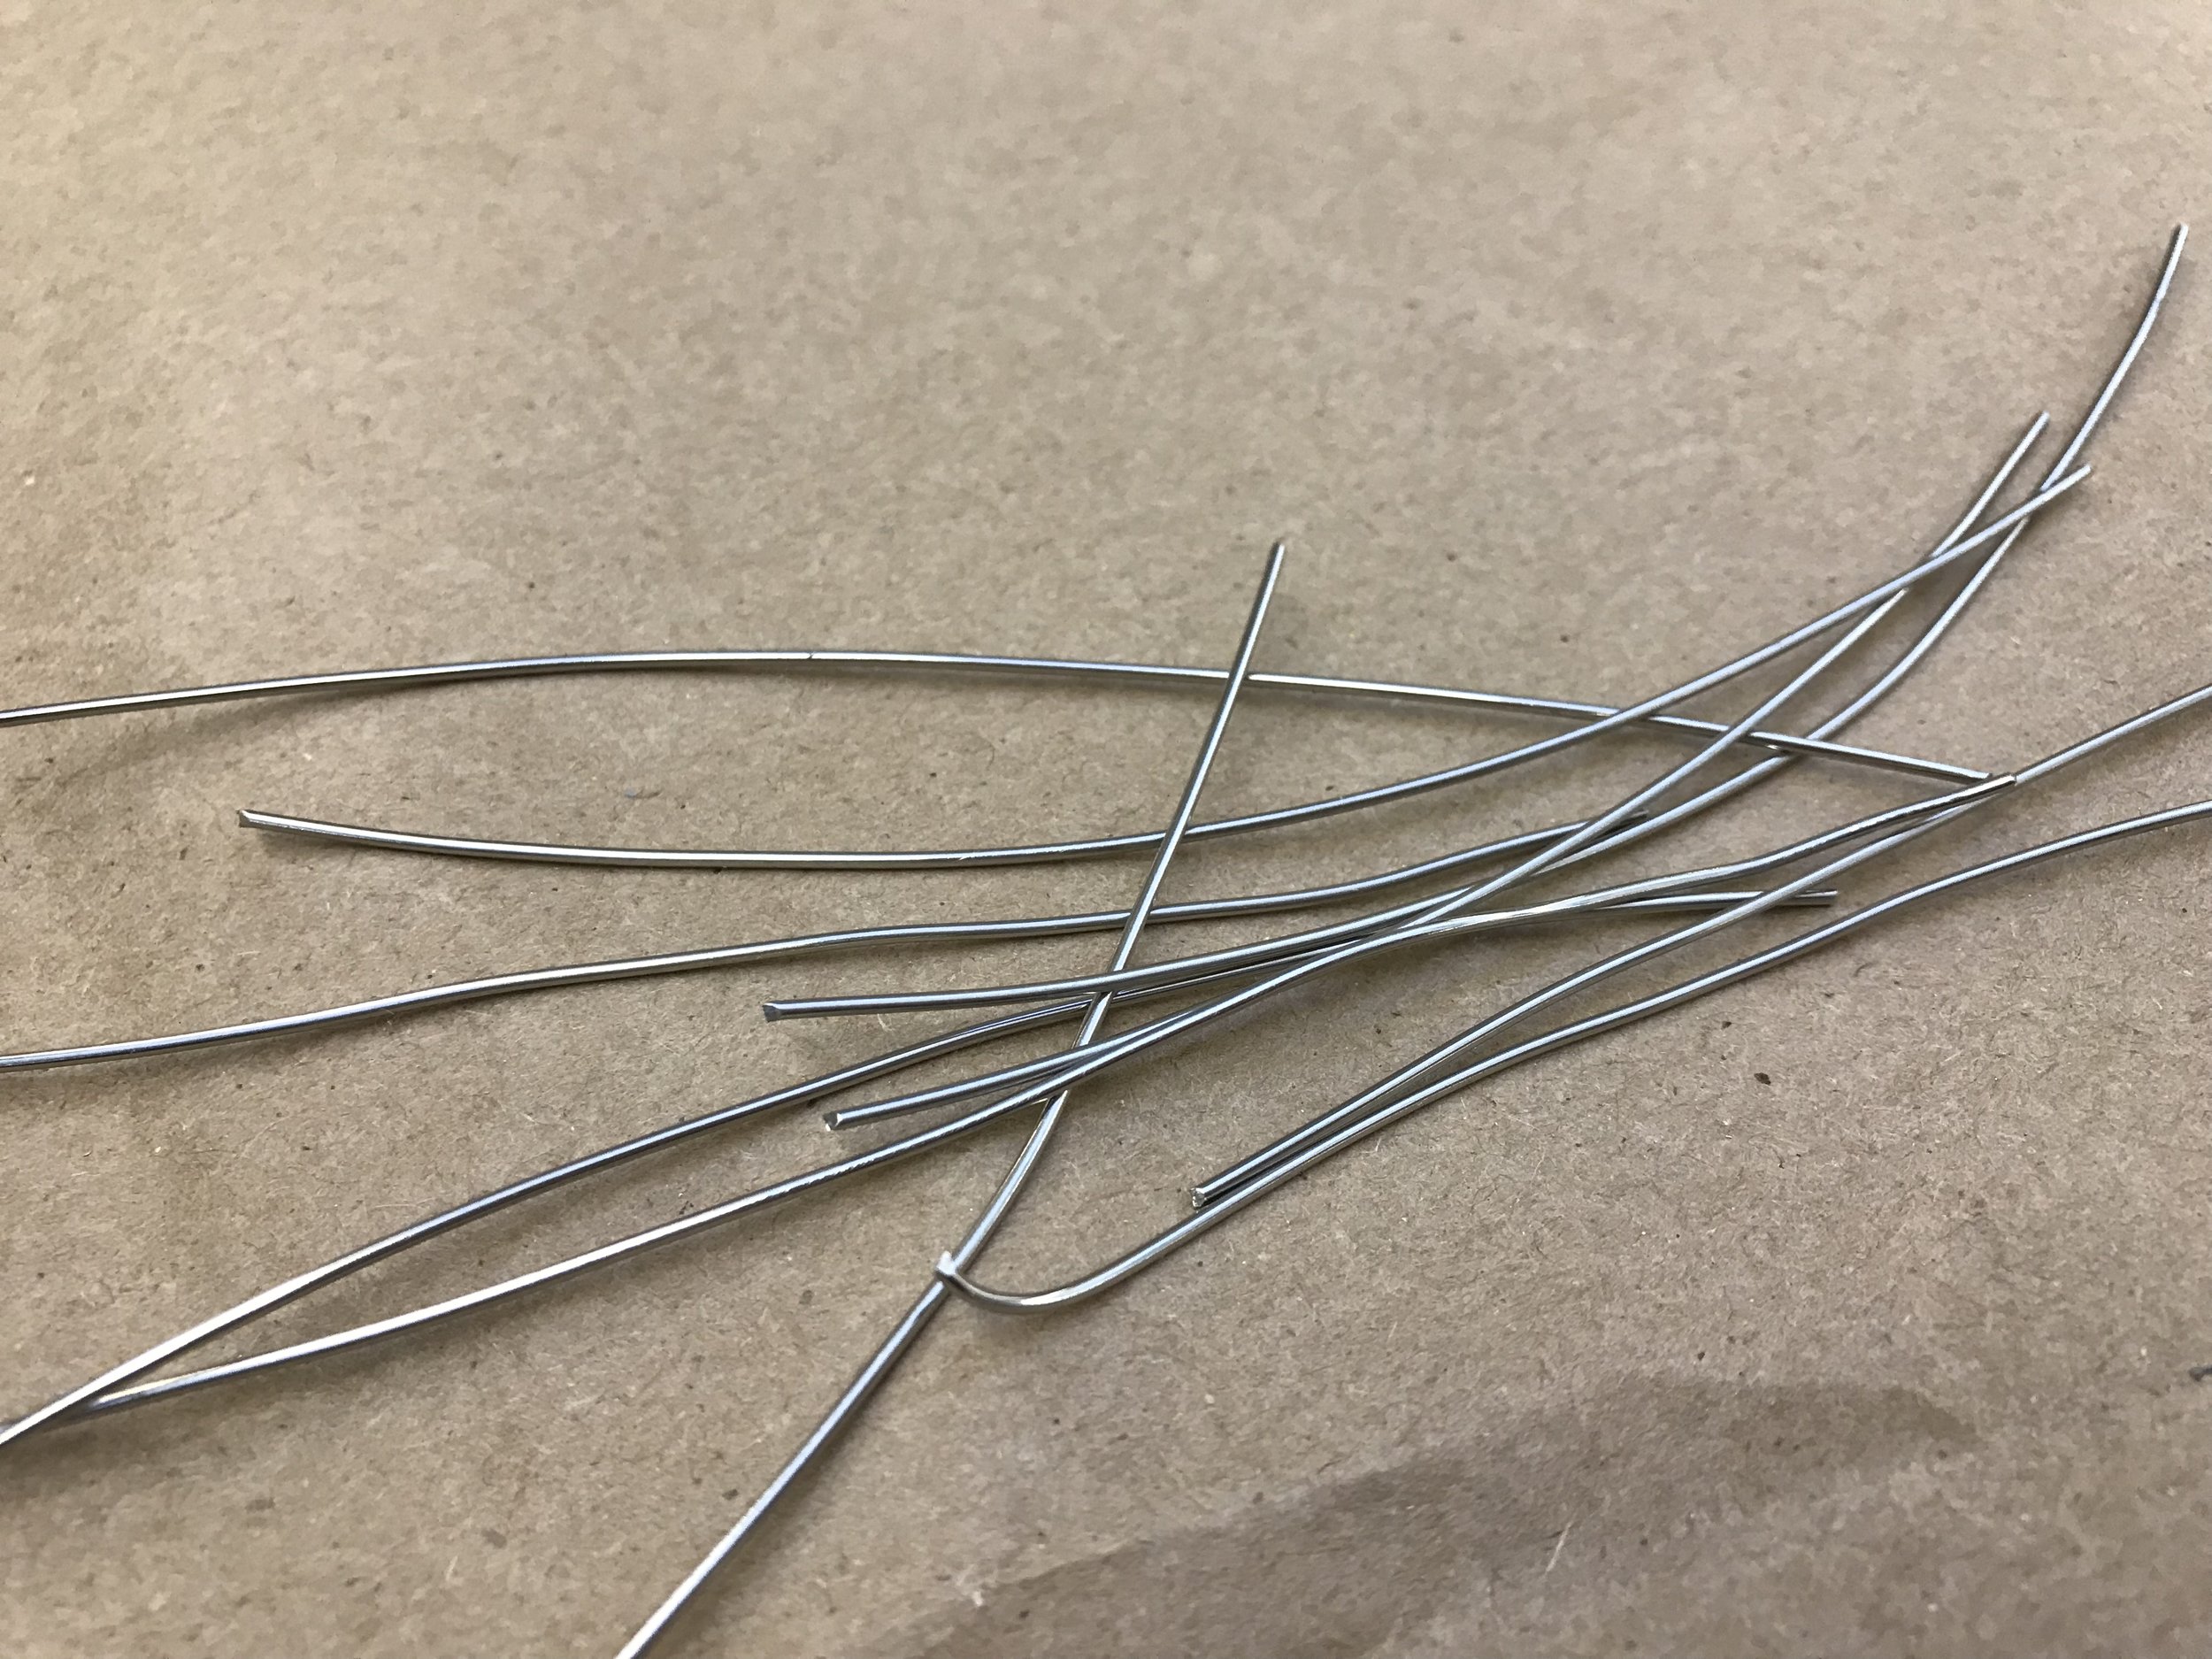
The Stainless steel is cut into small pieces that is used to tie the lath to the rebar. 

The Stainless steel is cut into small pieces that is used to tie the lath to the rebar. 

Lath tied down with small piece of stainless steel.  

Lath tied down with small piece of stainless steel.  

FullSizeRender.jpg

The tie is clipped and the sharp end is folded under. 


IMAGE.JPG

Lath ties to the rebar

“score” #17 un doing

1/14/2018 


The rebar bar I attached to provide stability to the piece (so it will not fall on me) is visually distracting me. I anticipate the sound will engulf him from head to toe but it needs to start from the instrument and hands and then expand out. I just st can’t start from the outsideand work back to the instrument.  I am going to cut off the pieces I attached for stability and re attach them more discretely. 


IMAGE.JPG

before Cutting off the distracting pieces. 


IMAGE.JPG

The reattached pieces are flat on the ground and only in the direction I think it might fall. 


“Score” #16 making it safe


January 11, 2018

This winter has had many events. All good events that have distracted me from working on this piece.

Today, I get back to work. 

Step 1- Right now, I am welding on it in my garage home studio. However, I will need to be able to get it into the doors at my Glassell studio when it is completed. The widest door opening is 34” maximum. I can go wider, but the depth will have to be within 34”.

My second concern is stability. Right now, it is stable and balances on its own, even with the wooden violin in the proper position. The energy of the music will project primarily forward. Since it is steel and concrete, it will be very heavy and has to balanced, even if accidentally pushed from any side. So, before I can do anything else, I have to widen the base in order to make it safe.

It is raining today, so I will cut a bunch of random lengths, grind the ends to a point inside. When it stops raining, I will take them outside where I bend them.

IMAGE.JPG

Rebar cut a variety of lengths.  


FullSizeRender.jpg

On a grinding wheel I grind both ends of each piece into a point.


IMAGE.JPG

I use this brace that is attached to the utility pole behind my garage to bend my rebar.  Sometimes I have the put all my weight on it to bend the  bar.  

I stick the rebar through the hole and bend it a little and keep sliding the bar and bending until I get a curve I like.  

IMAGE.JPG
IMAGE.JPG

And some times I take it out and stick the other end through and then bend it again.  


FullSizeRender.jpg
FullSizeRender.jpg

These are ar ready thank go.  


trying different ways to create a strong base  

trying different ways to create a strong base  

I use magnets to hold the rebar so I can stand back and look. These pieces are for stability but they can’t look like they ar for stability. If the position of the rebar works then I weld a tac to hold it so that I can then look at it without the red magnets. If I still like it I finish welding the two pieces securely.   

IMAGE.JPG

The red magnet holds the rebar so I can step back.  

FullSizeRender.jpg

These pieces are within the 34” and will keep the sculpture from falling forward if it is pushed from the back or from the weight I will be adding to the front. 


FullSizeRender.jpg

I am feeling uncertain about what I am doing so I am going to stop for now so that I can look at it tomorrow with a fresh eye.


“ Score” #12 armature/fingers to hold the violin.

IMG_6562.JPG

Here is a pattern I made to Help me gauge how big each finger section should be. 


IMG_6564.JPG

Here I have tacked the first and second joints.  

Once I decide if I like the placement of each joint then I will strengthen the welds.   

FullSizeRender.jpg

The fingers on both hands seem to be ok. Hopefully when the lath and concrete are added I will still be happy. 

“ Score” #11 armature/fingers to hold the bow.


This piece is abstract but, in order to capture the gesture I really have to understand where the musician is exerting his energy in regards to how he holds the instrument. I found the below link online that talks about the proper way to hold the bow. I also researched how to hold the violin. It is held with the chin and chest leaving the fingers the ability to move up and down freely.  

 http://www.singingwood.com/violin-bow-hold/HowToHoldTheViolinBow.html

IMG_6551.JPG

The fingers that hold the bow.  

The left hand is missing all the fingers. That is the palm and back of the left hand. I will work on the fingers tomorrow.  

The left hand is missing all the fingers. That is the palm and back of the left hand. I will work on the fingers tomorrow.  

“Score” post #10 right arm

I have attached the right upper and forearm, hopefully in the right place. I am welding the armature for the concrete part of the sculpture. Attached to this armature will be the metal lath that the concrete rest on and the additional wire that will extend outside of the Concrete showing the energy of the music created by the violinist. I see the violinist as a pedestal for the sculpture. A very specific pedestal. 

FullSizeRender.jpg

Right arm and torso

FullSizeRender.jpg

front view 

FullSizeRender.jpg

View or right side

FullSizeRender.jpg

View from back  

FullSizeRender.jpg

Left side  


the bayling wire head head is a stand in. It was laying in my studio. 

“Score” post #9 repositioning the left forearm....

....to hold the muIcal instrument. 

I need to repositioning the left forearm to hold the violin. I have a bailing wire face attached to you he neck of the armature to help me visualize where the head would be. 

FullSizeRender.jpg

front view

FullSizeRender.jpg

left side of front

FullSizeRender.jpg

left side 

FullSizeRender.jpg

backside

FullSizeRender.jpg

figures backright side 

Front right side of figure

Front right side of figure

I am excited that the piece still balances on it’s own, however it is starting to want to lean forward. In order to keep it balanced I will add the right arm next. 

“score” post #8 winging it.

11/09/2017

I decided to weld the arm pieces onto the torso. I started with the left arm and the palm of the hand. I am totally winging this. Since the piece is in motion I want the arm position to reflect movement. The left shoulder dips and the elbow digs into his side. The left forearm has to be free so the fingers can to move up and down the violin. The violin will be held in place between his chin and his shoulder/chest. 


IMG_6391.JPG

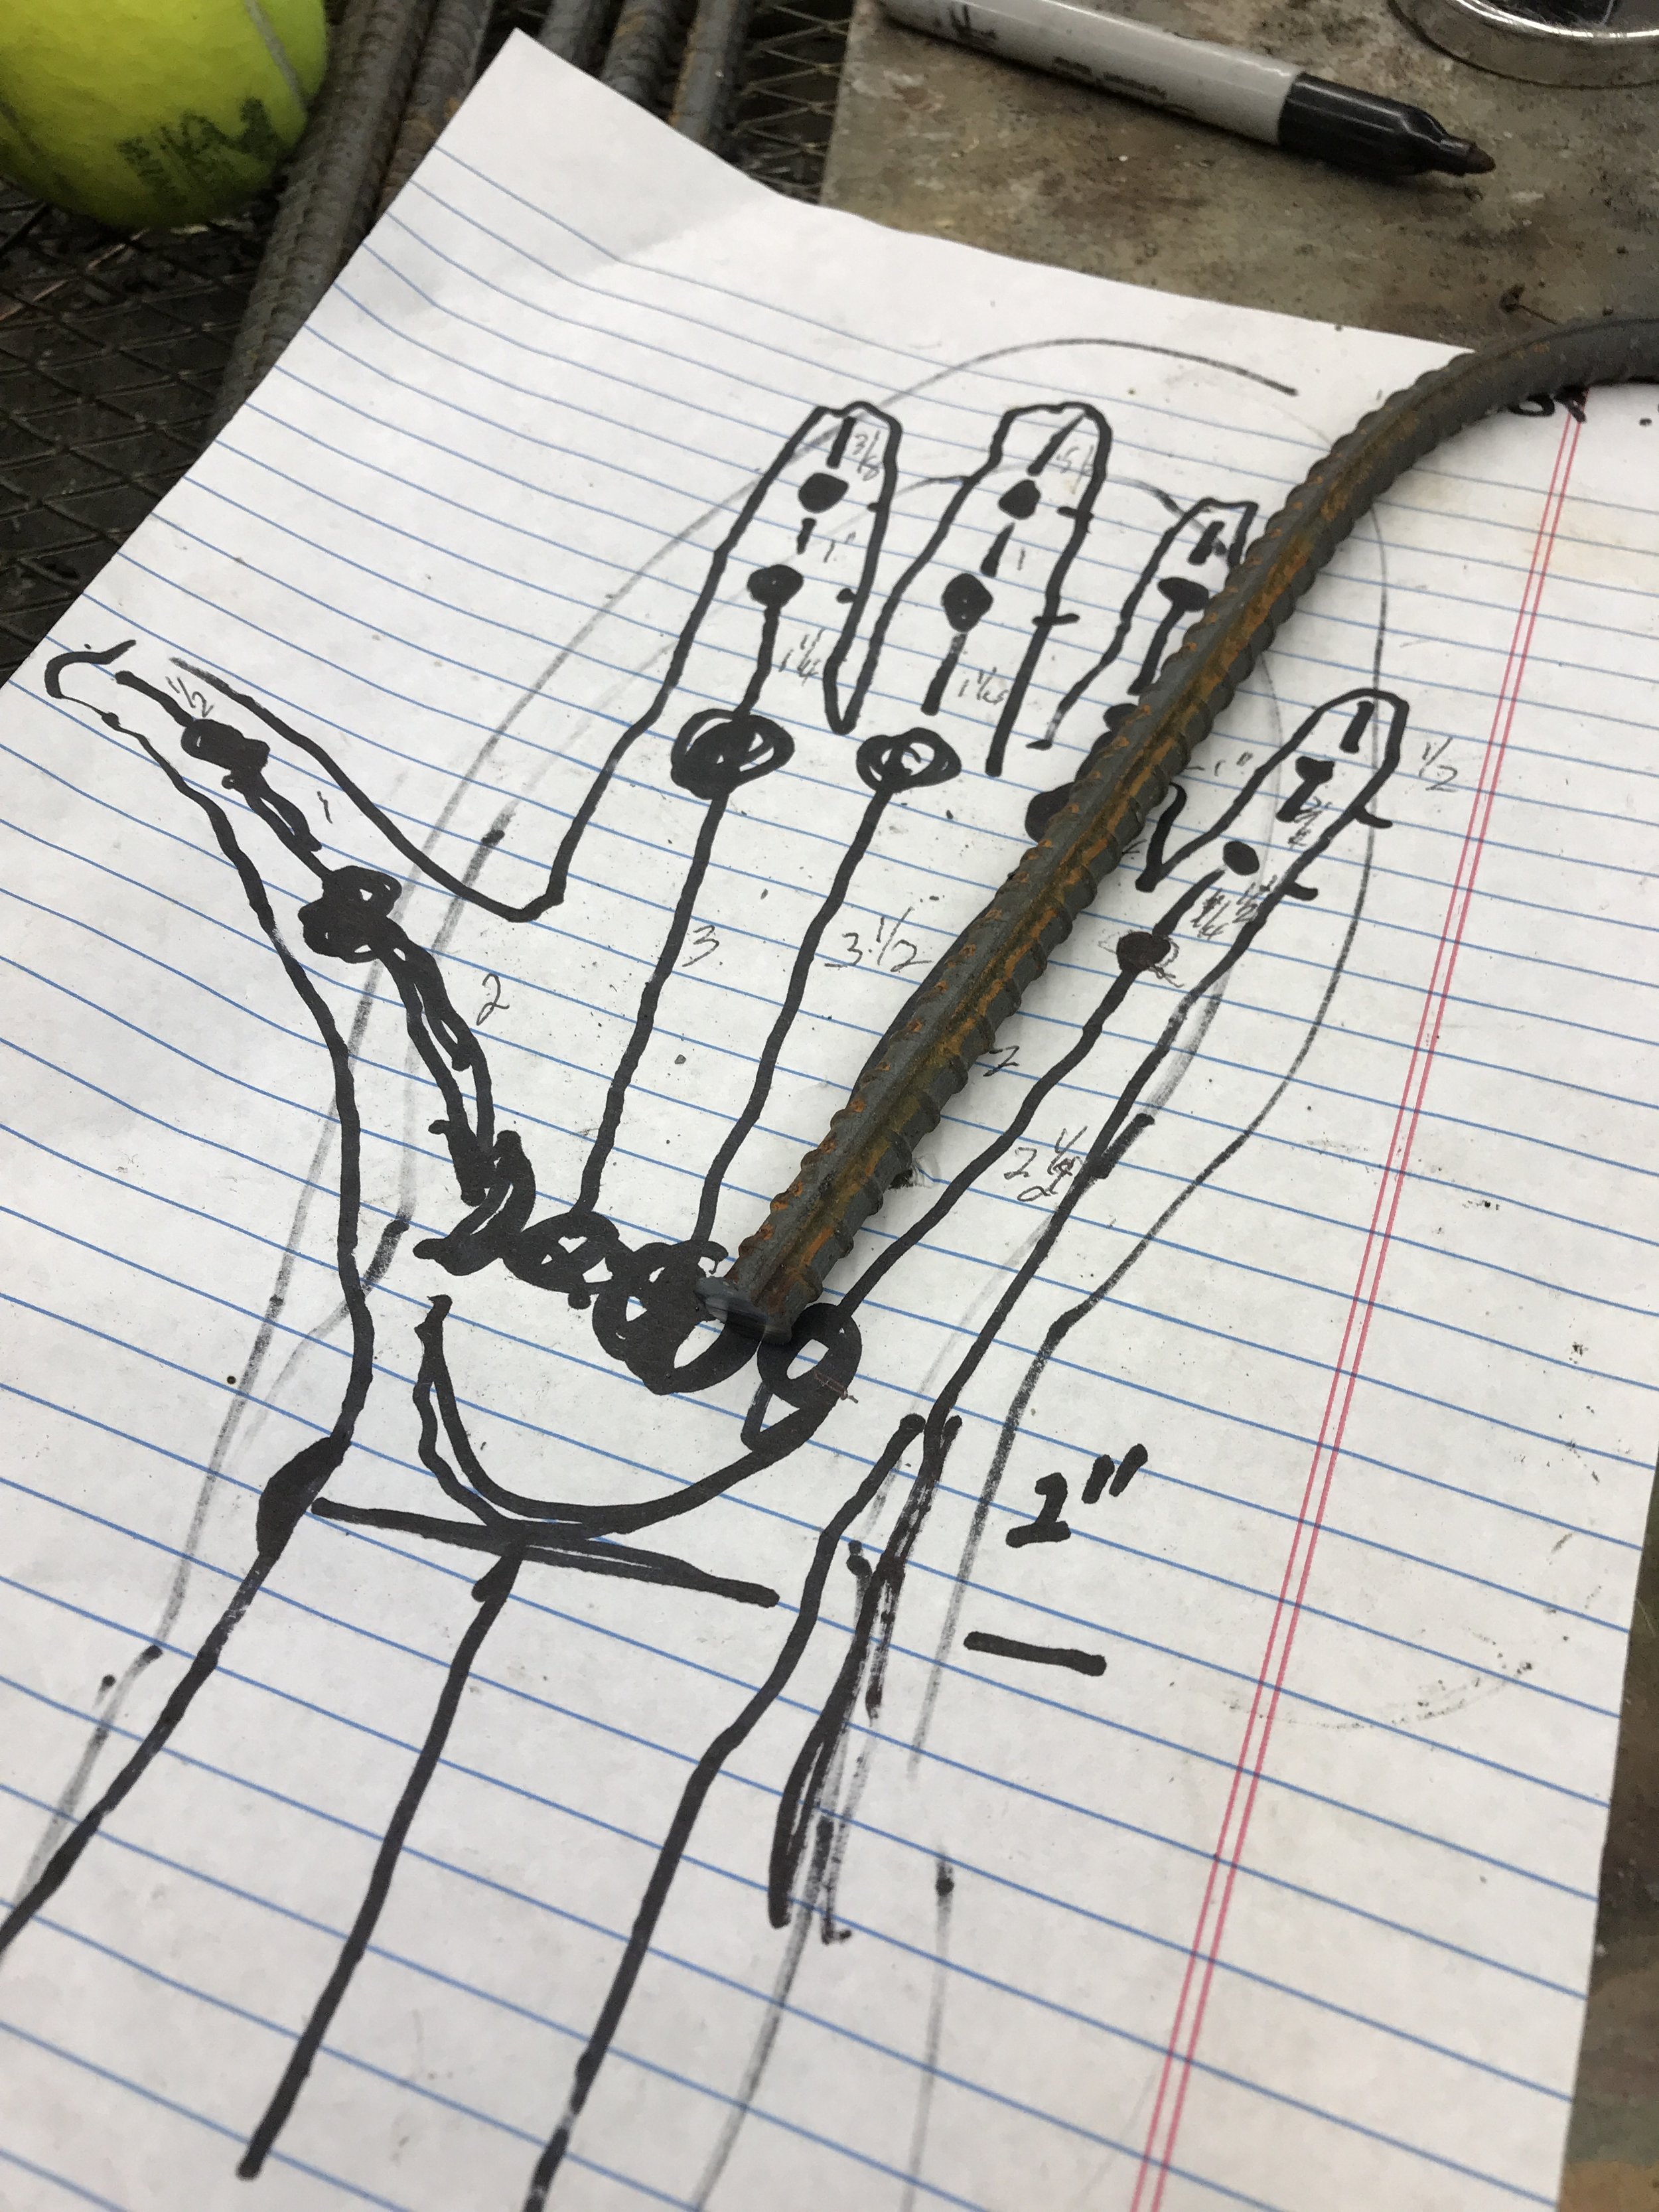
Next I decide to trace my hand to determine how long the finger pieces of steel should be. Then I draw in the bones and measure how long each finger bone is between the joints. My hand is smaller than the figures would be but by the time I add the lath and cement it should be the right size. 

IMG_6387.JPG

My hand pattern with bone measurements.  

IMG_6388.JPG

The hand pattern  with two pieces of the palm of the hand bones cut.  


IMG_6393.JPG

Detail of the left arm and the palm of his hand.  

IMG_6394.JPG

The bones in the palm of the hand.  

Now I need to see if I am anywhere close on the angle of the forearm and back of hand. I will do this by holding up a violin to the figure.  


IMAGE.JPG

No, I missed it. Tomorrow I will cut the forearm off and reattach it with the wrist right under the violin. Then I will look at the angle of the hand. That might also need to be altered. Totally winging it.   

Up-cycled

When shopping for my home, I love to go to flea markets and garage sales. I often buy broken things. A crack here there does not bother me. When I first started making #fauxbois furniture, I was always checking out concrete objects. I ended up with two concrete chickens; one was minus its head, and its tail feathers were damaged. Instead of throwing away the broken chick, I hung on to both - something about “like a chicken with its head cut off” was intriguing. That headless chicken hung around my garage for years, it made a good weight. When I started working in bronze, one of the first things I did was up-cycle the headless chicken with a new bronze head and tail. I sculpted the head and tail feathers in wax mixed with grits and grass. I made a mold of them, and then burned out the wax grass and grits and then cast them I bronze. I like the idea of giving new life to objects no one wants. I think these chicken could be seen as my first environmental pieces. They are not only upcycled chickens, but all birds also play a critical roll in nature. Fowl keep pests numbers in balance. All living organisms are connected.

Cindee Klement_171205_4995.jpeg
Cindee Klement_171205_5012.jpeg