The vines are sprouting and climbing.
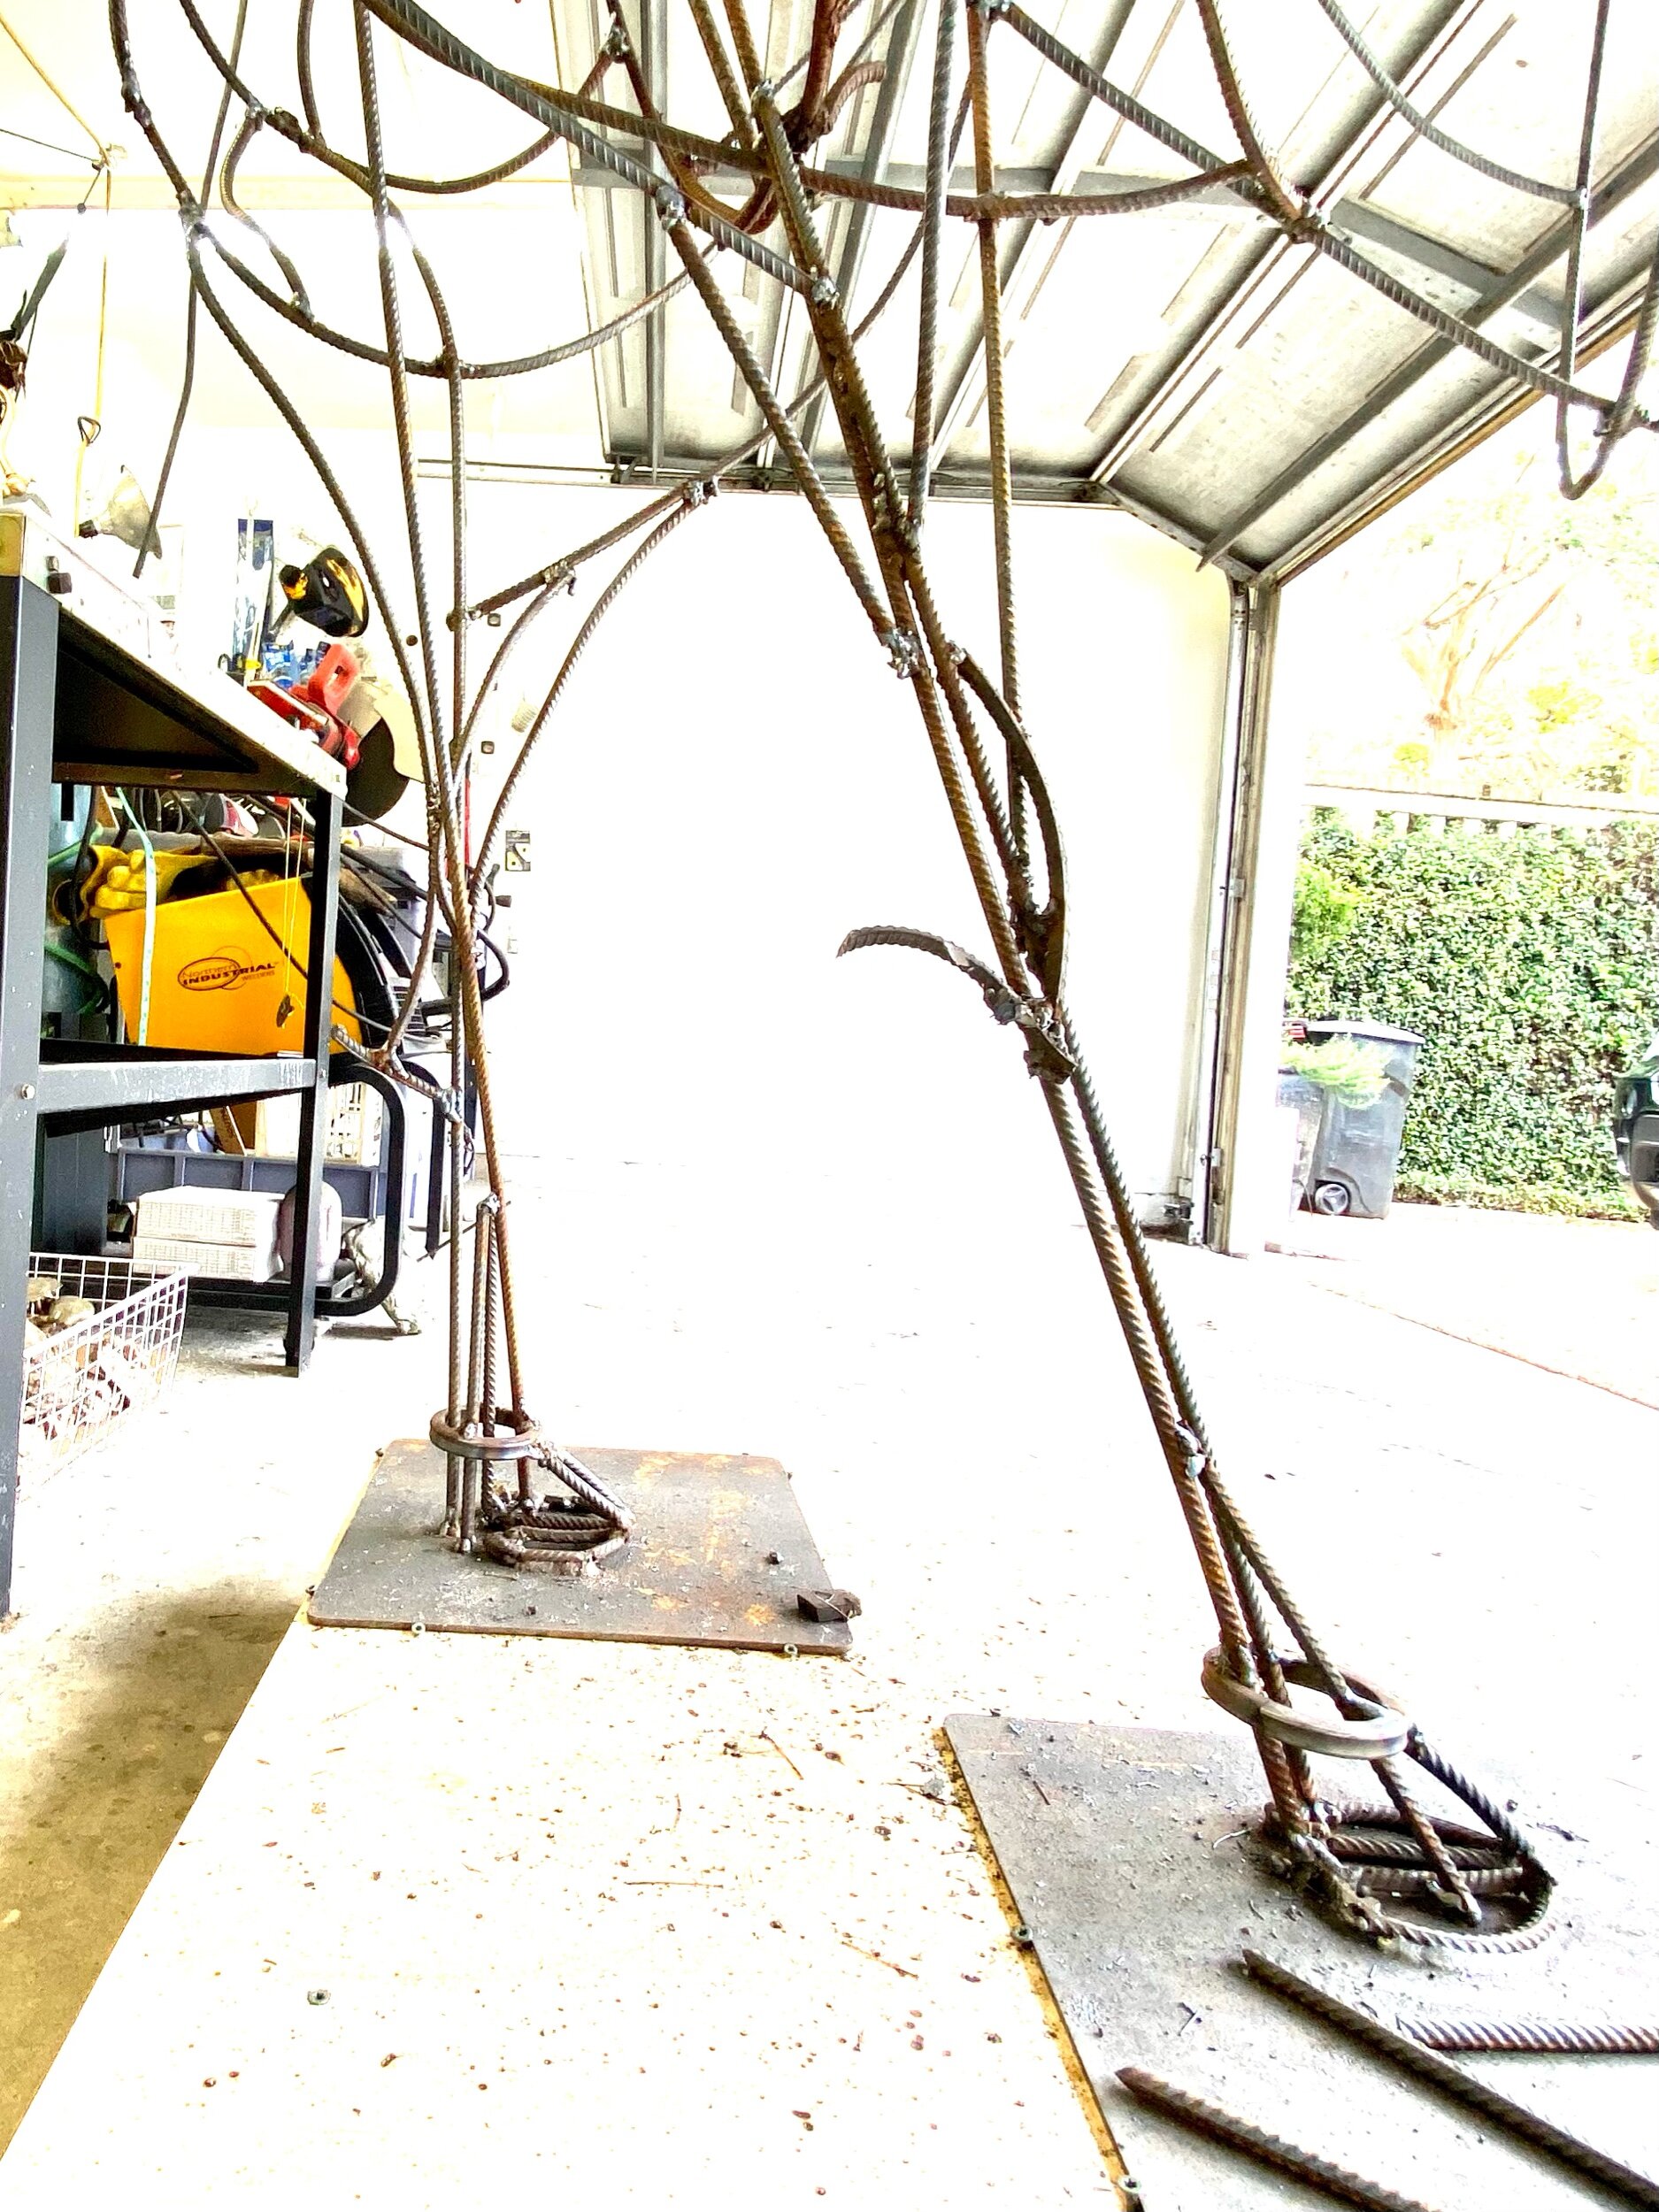
I have decided to make the feet in bronze, the wooden blocks are for them. I think one more day of welding.
Your Custom Text Here
The vines are sprouting and climbing.
I have decided to make the feet in bronze, the wooden blocks are for them. I think one more day of welding.

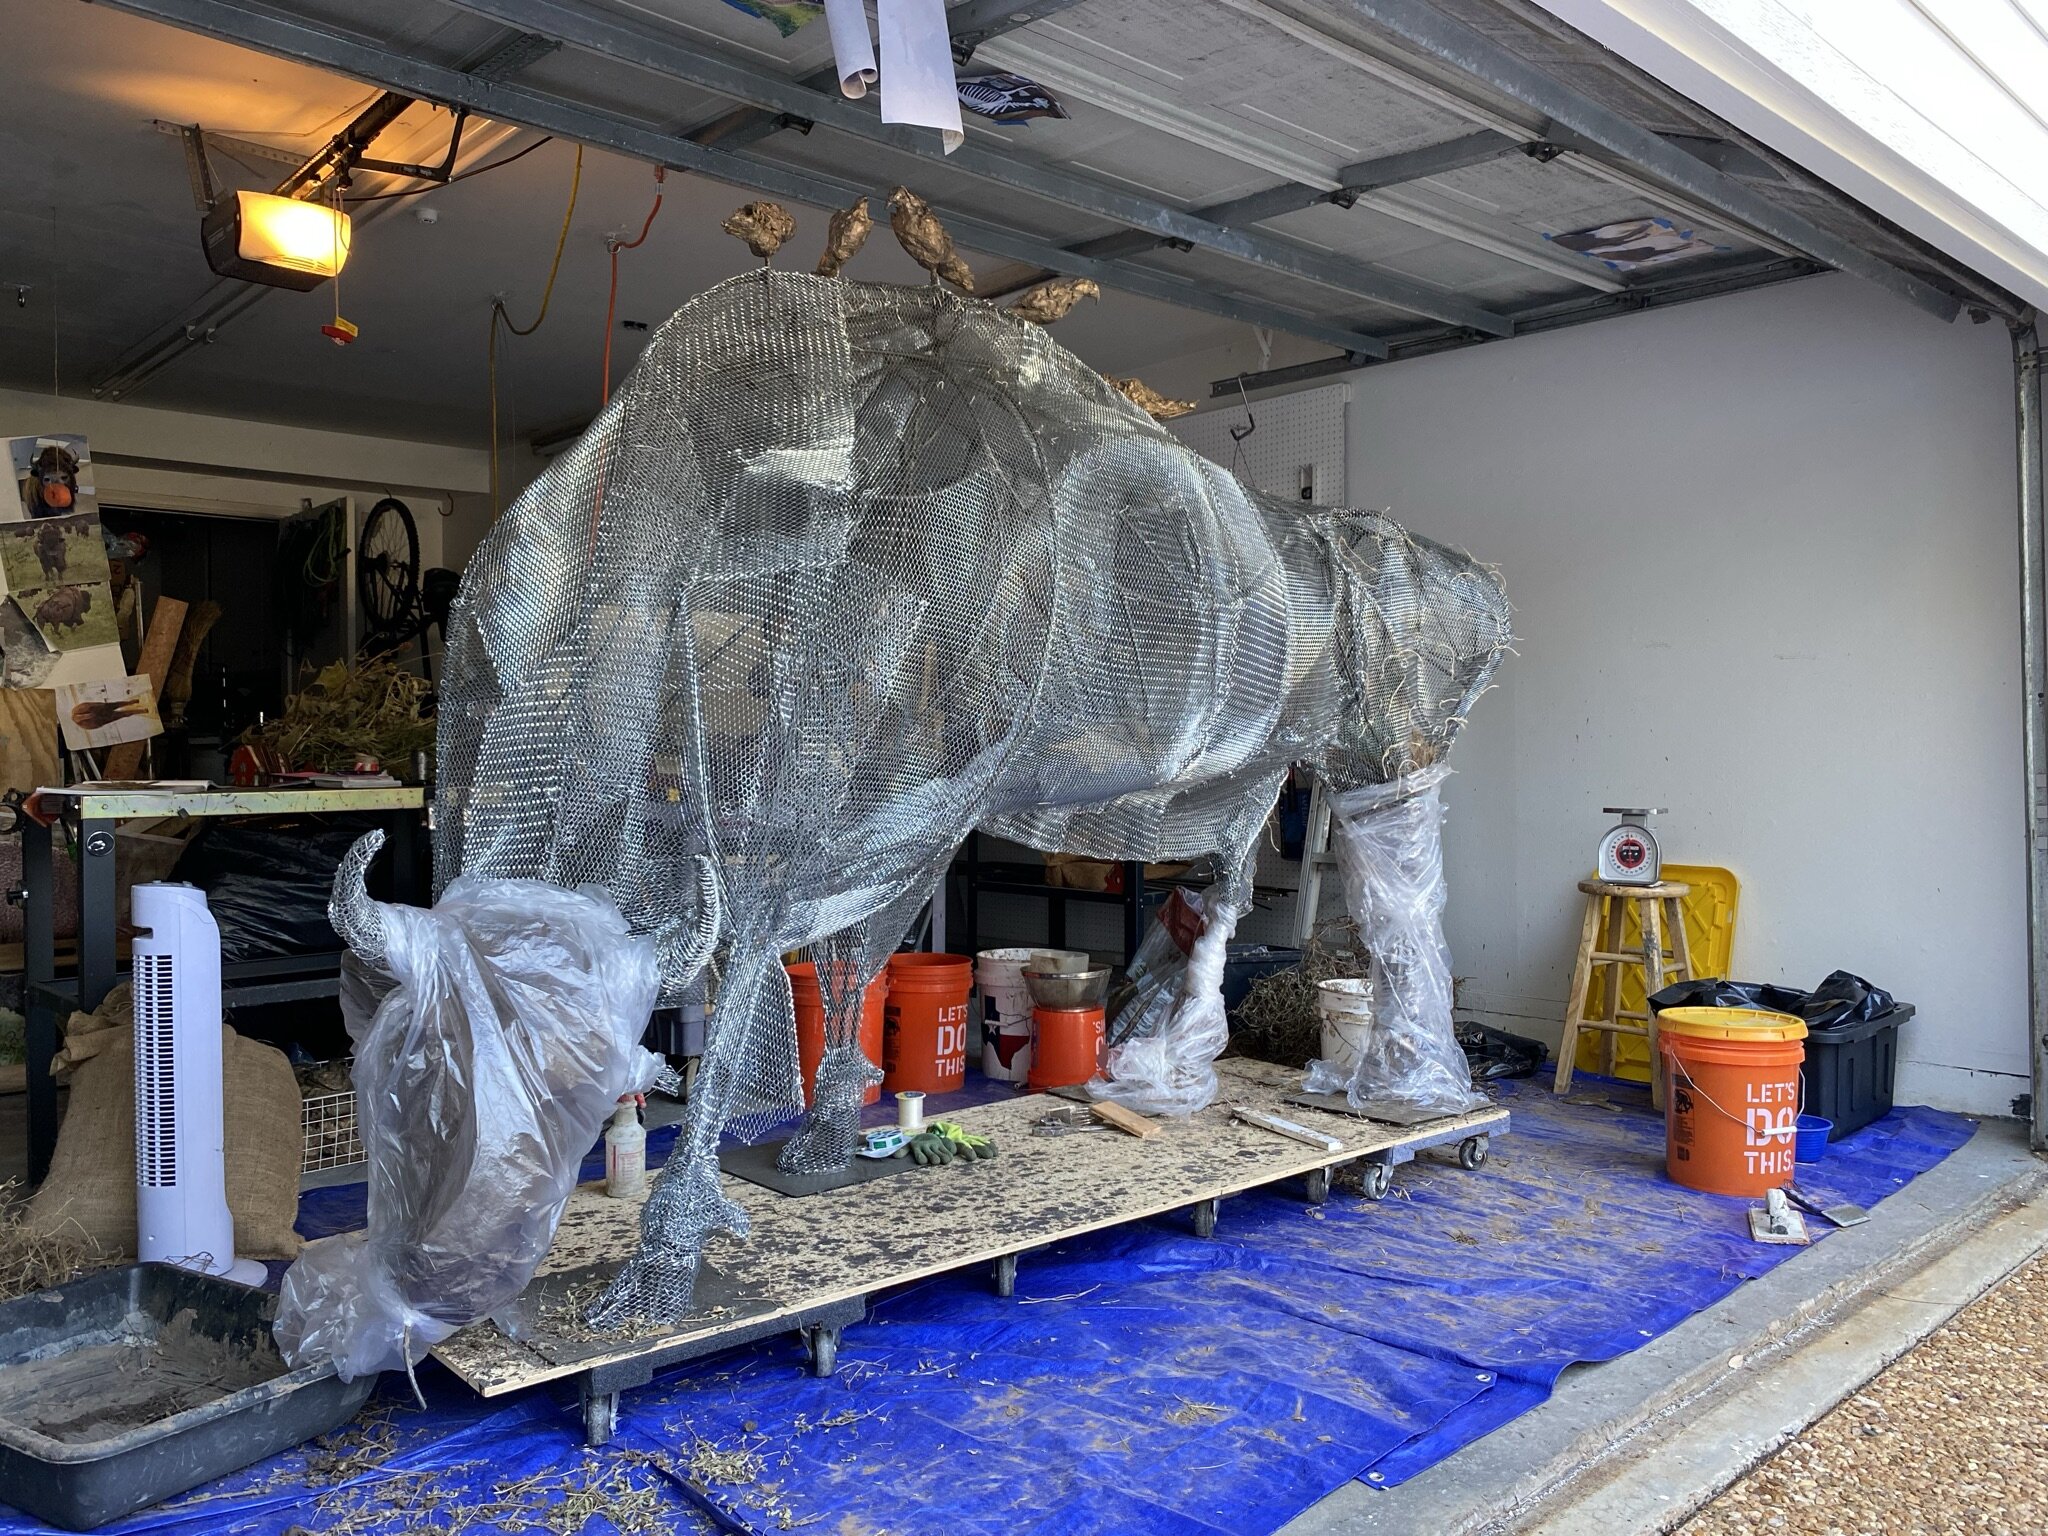
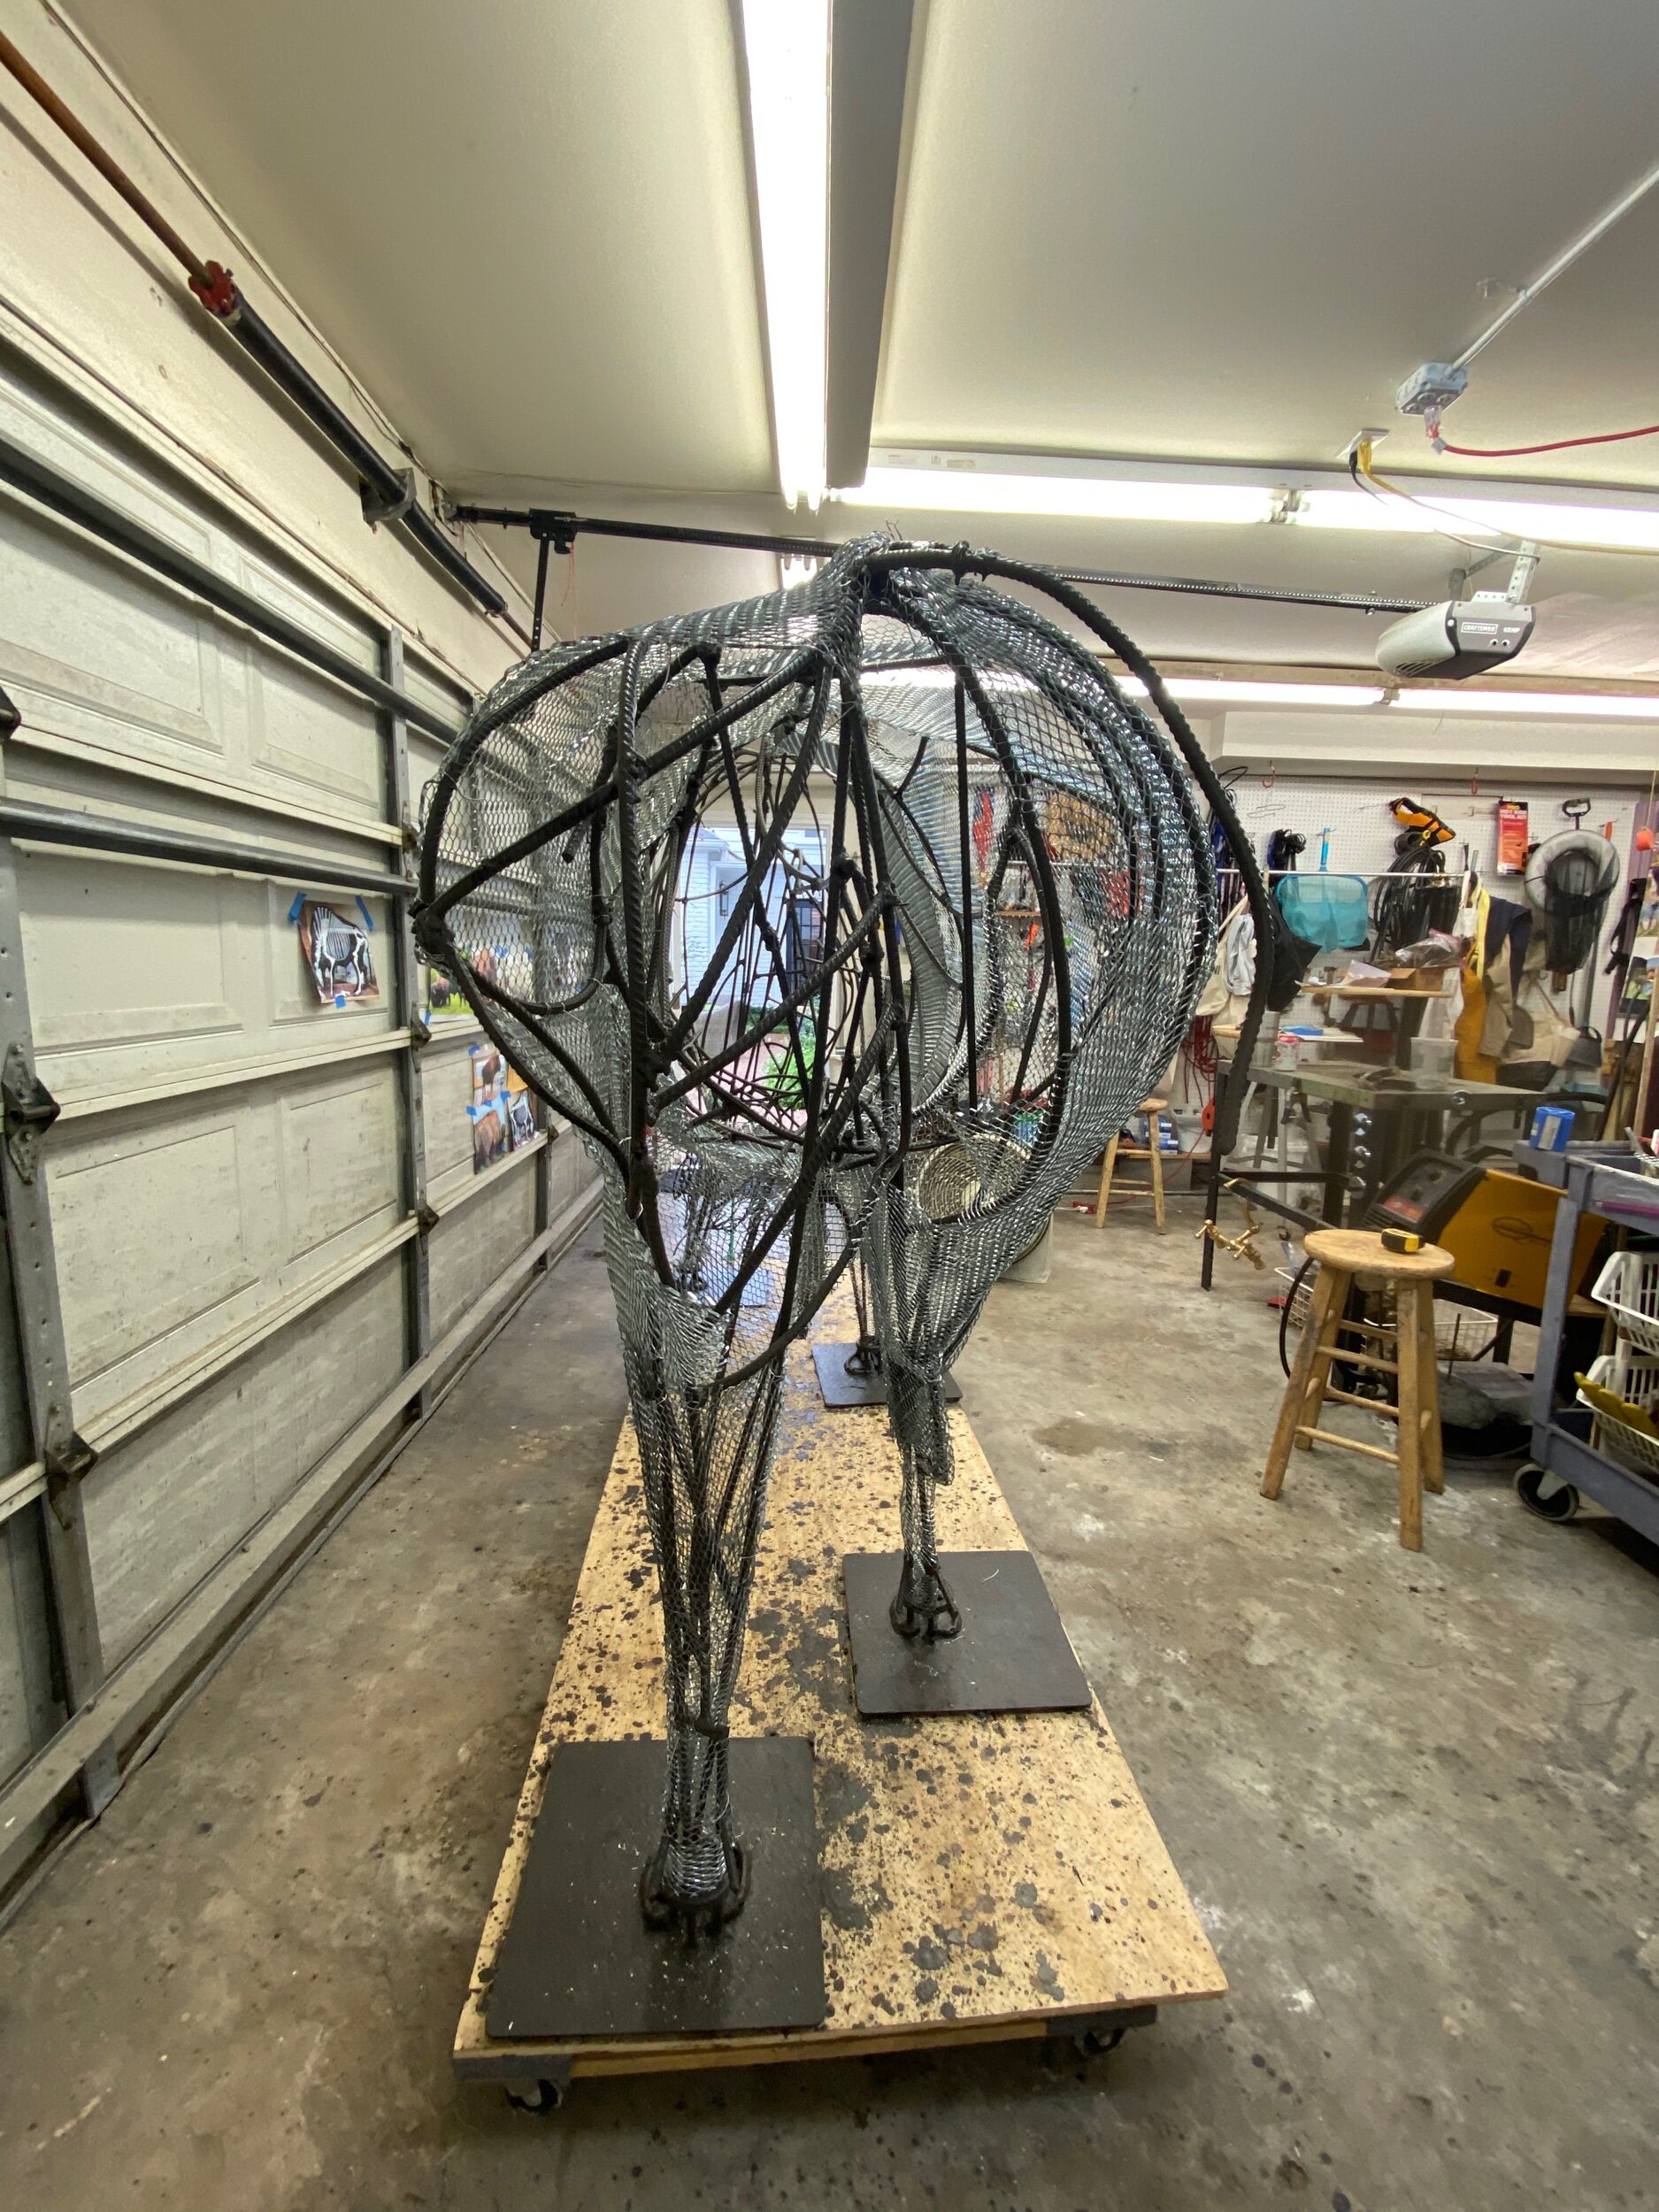
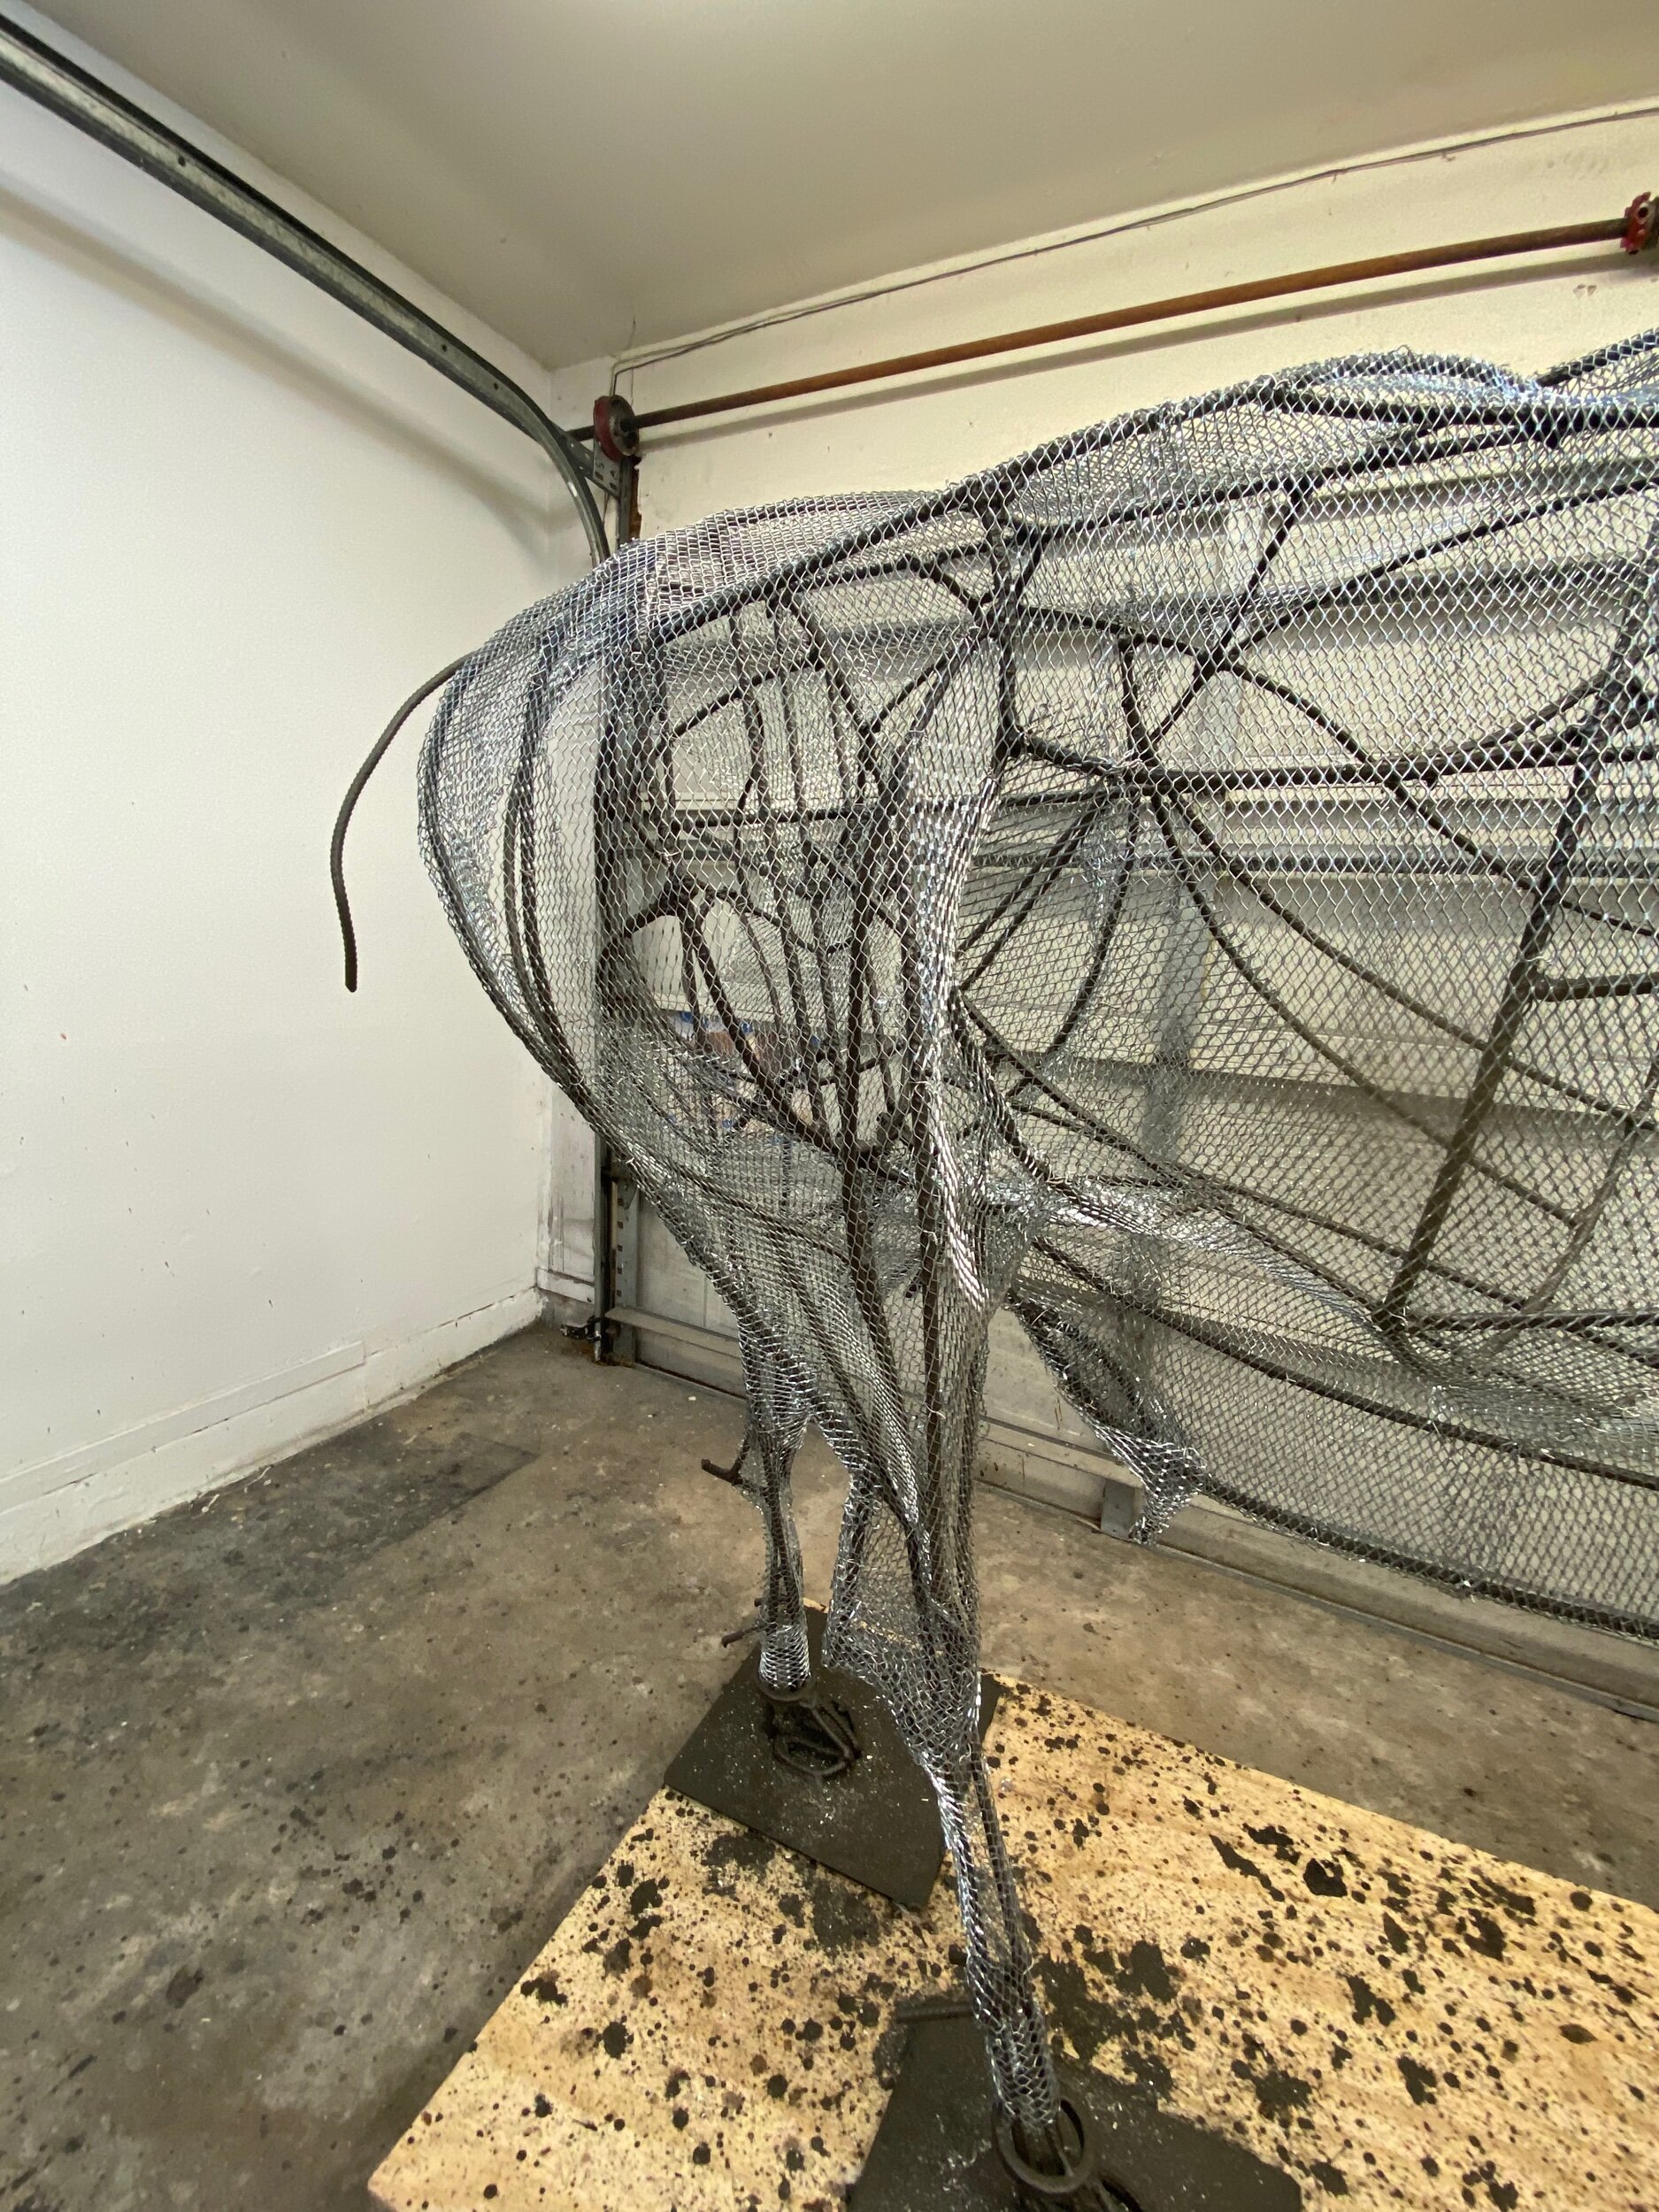
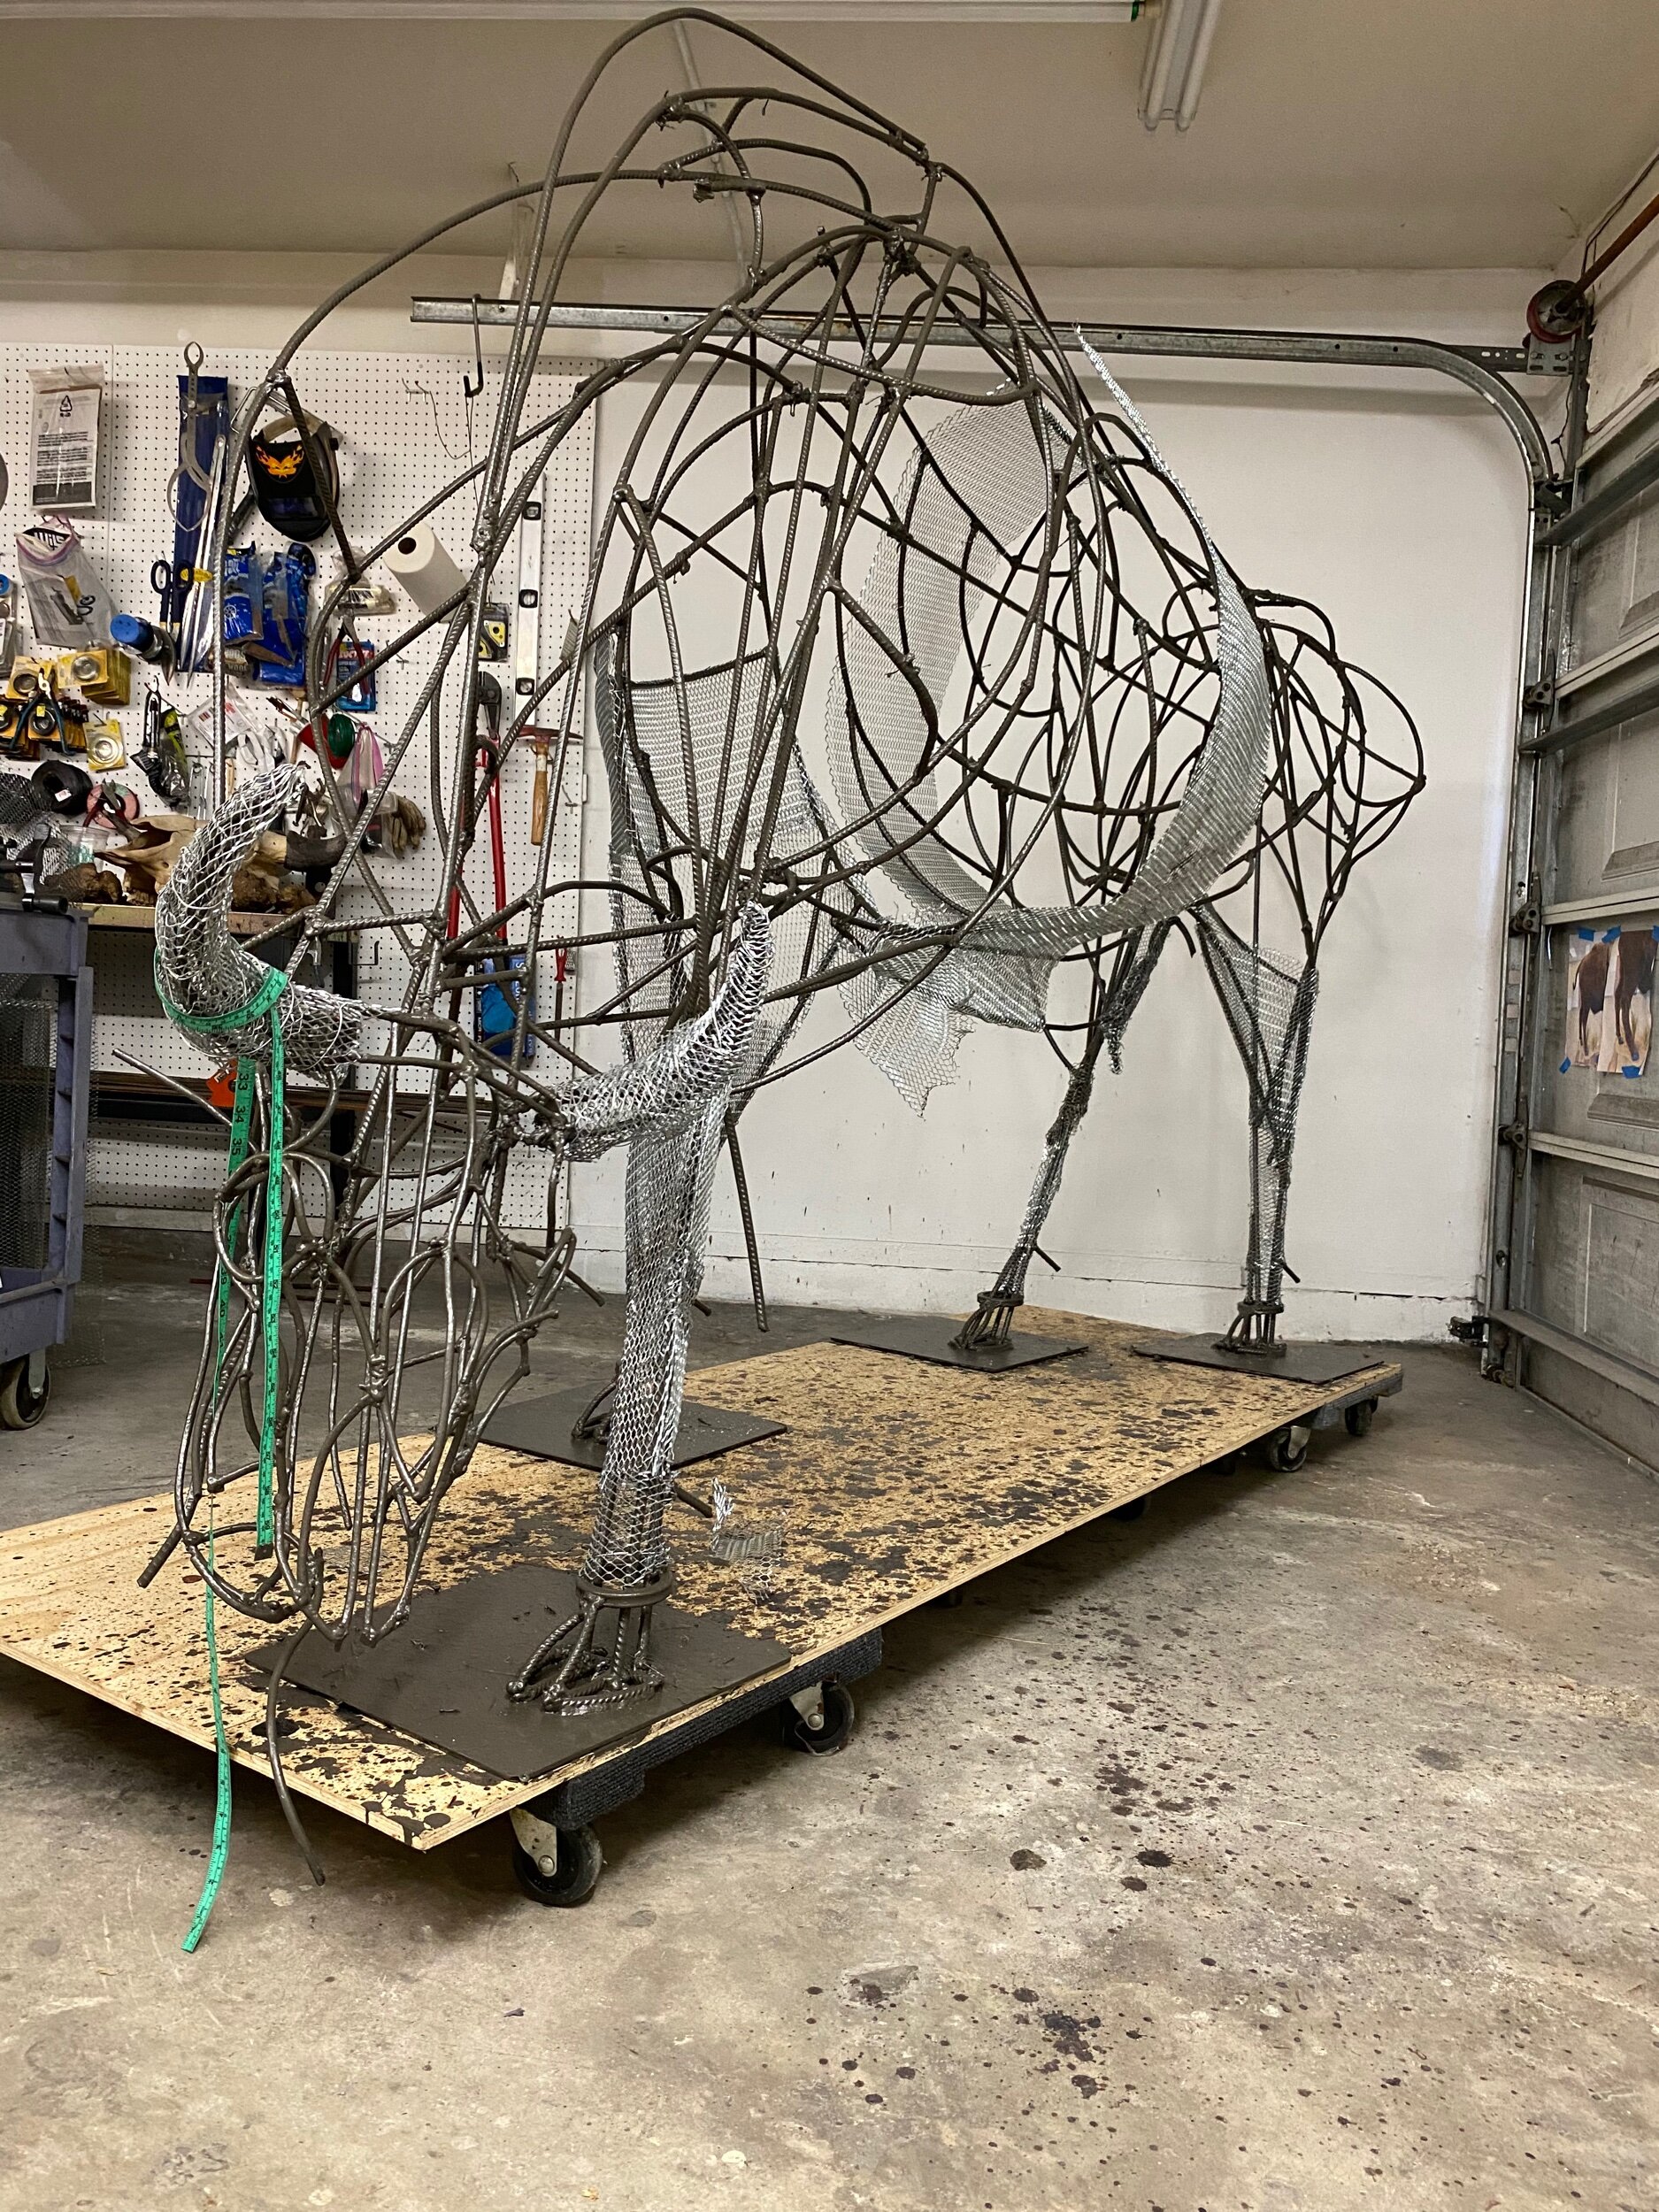
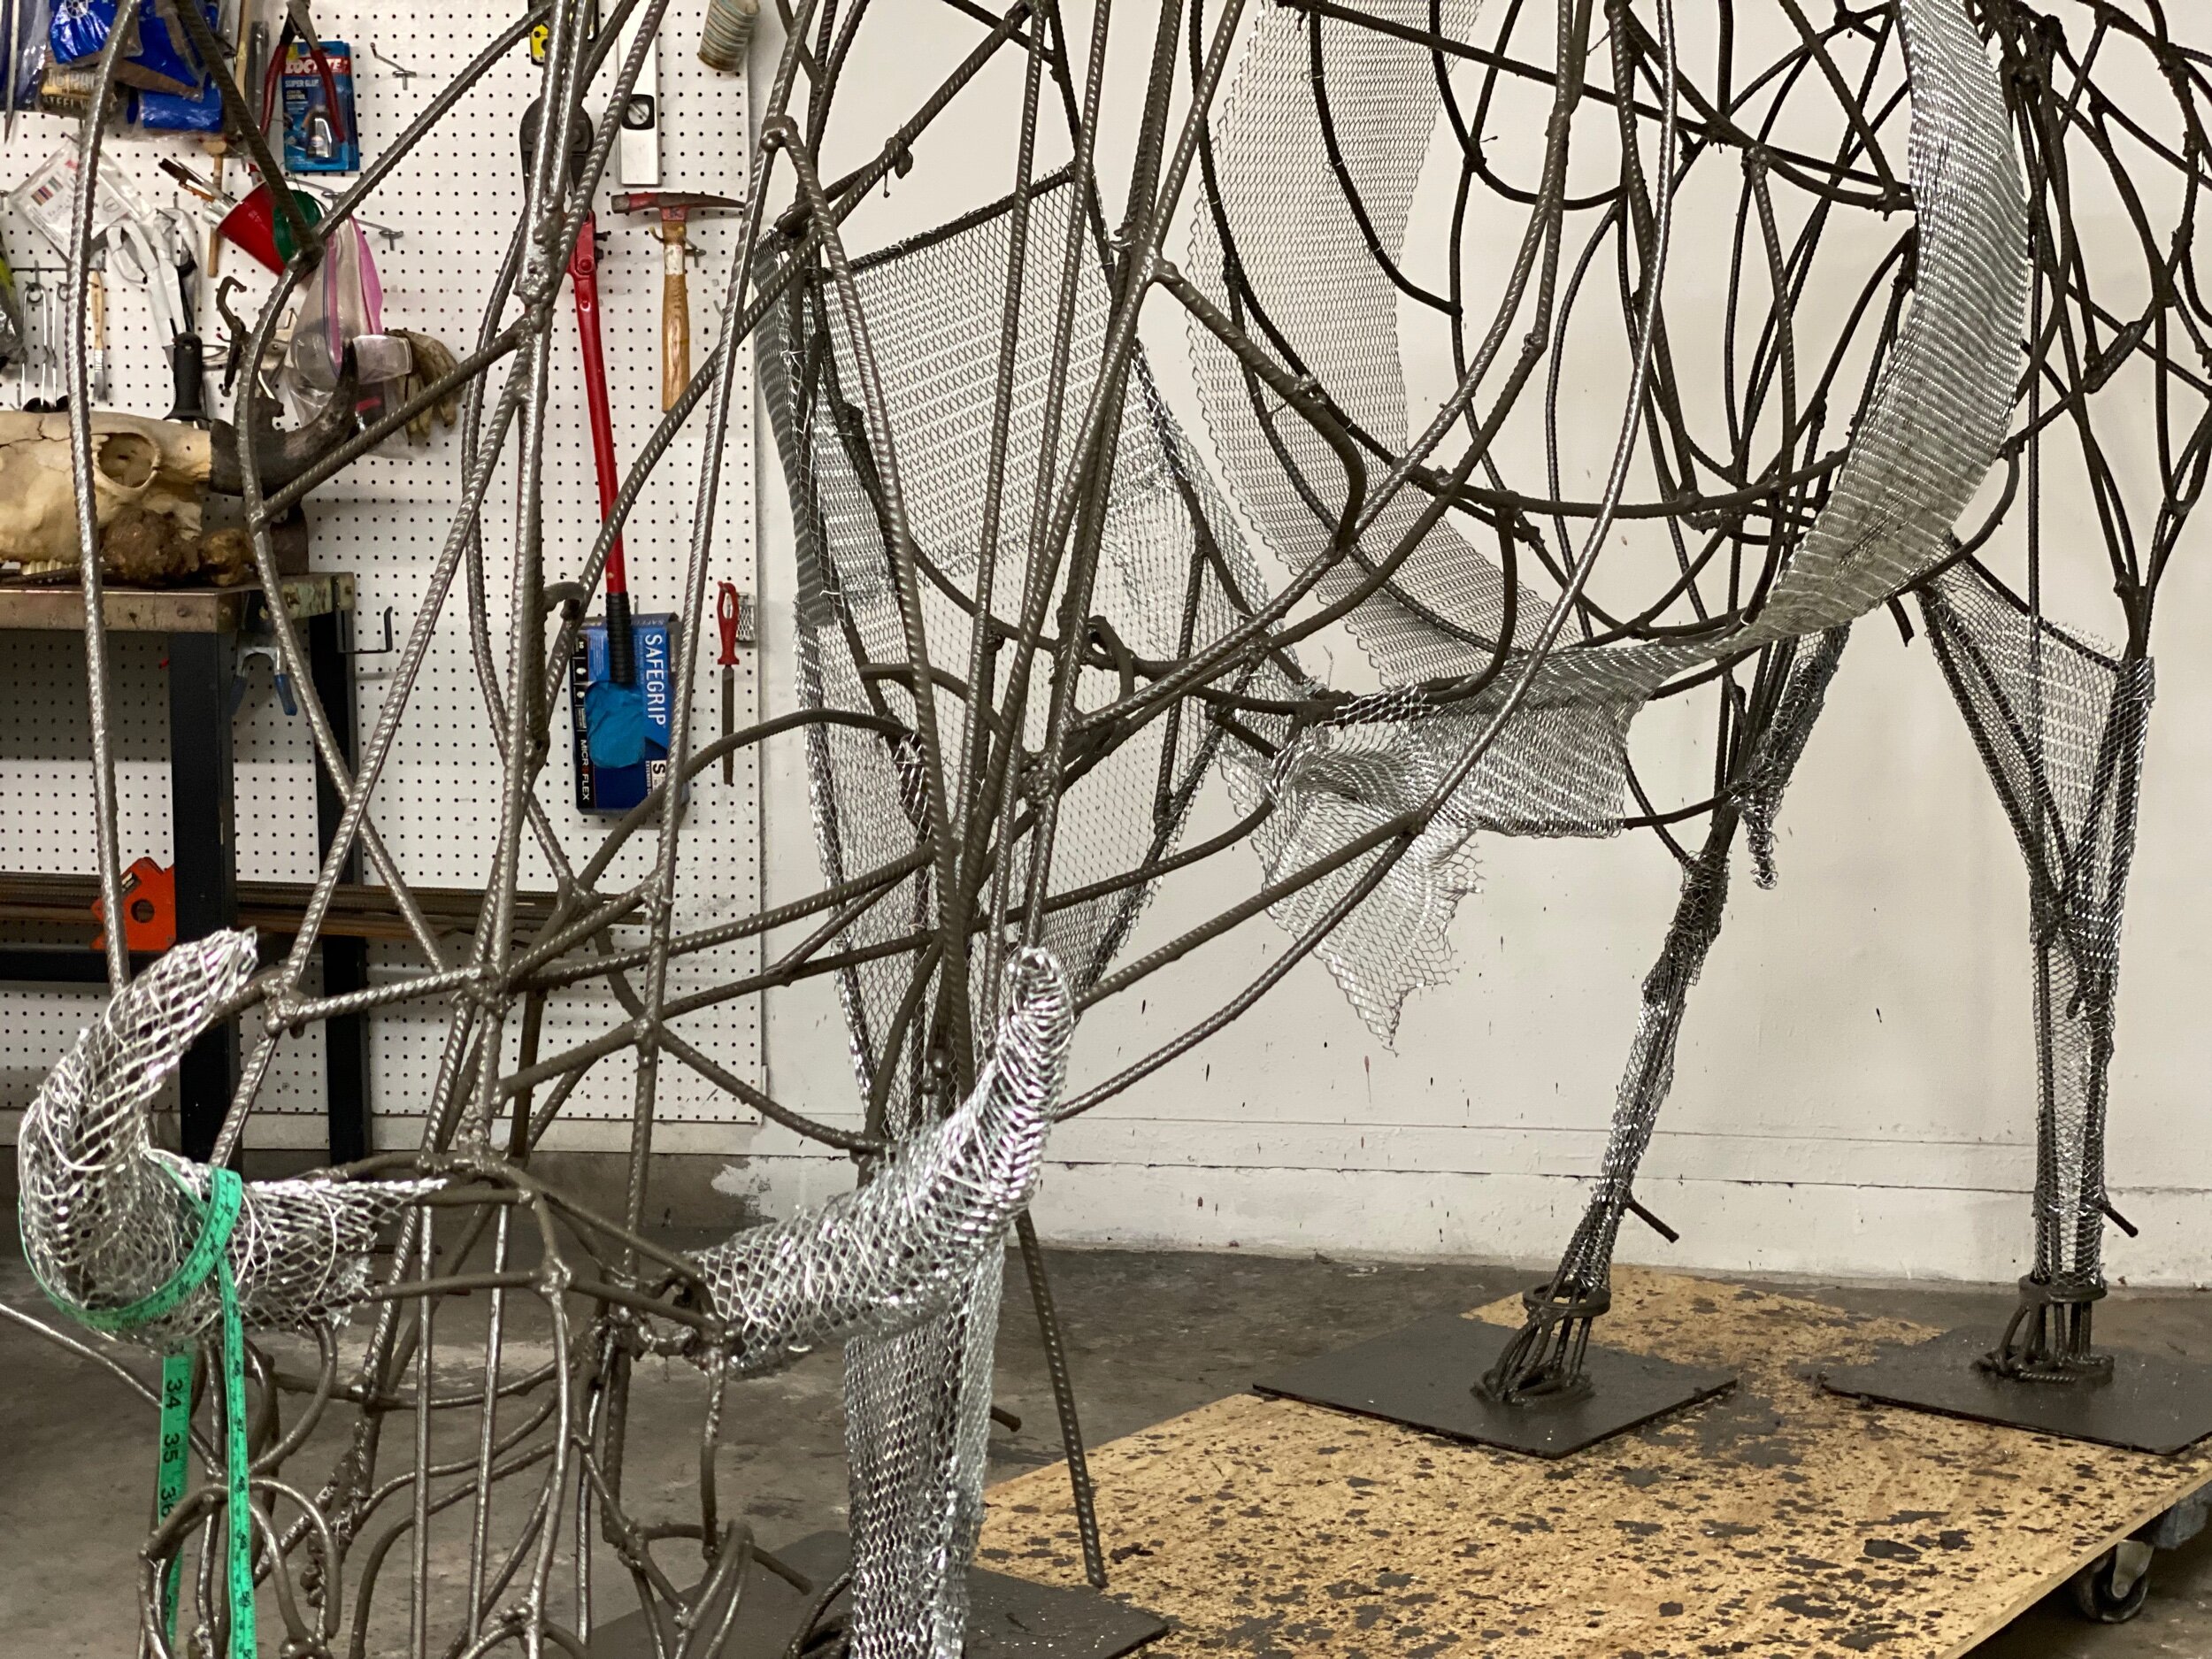
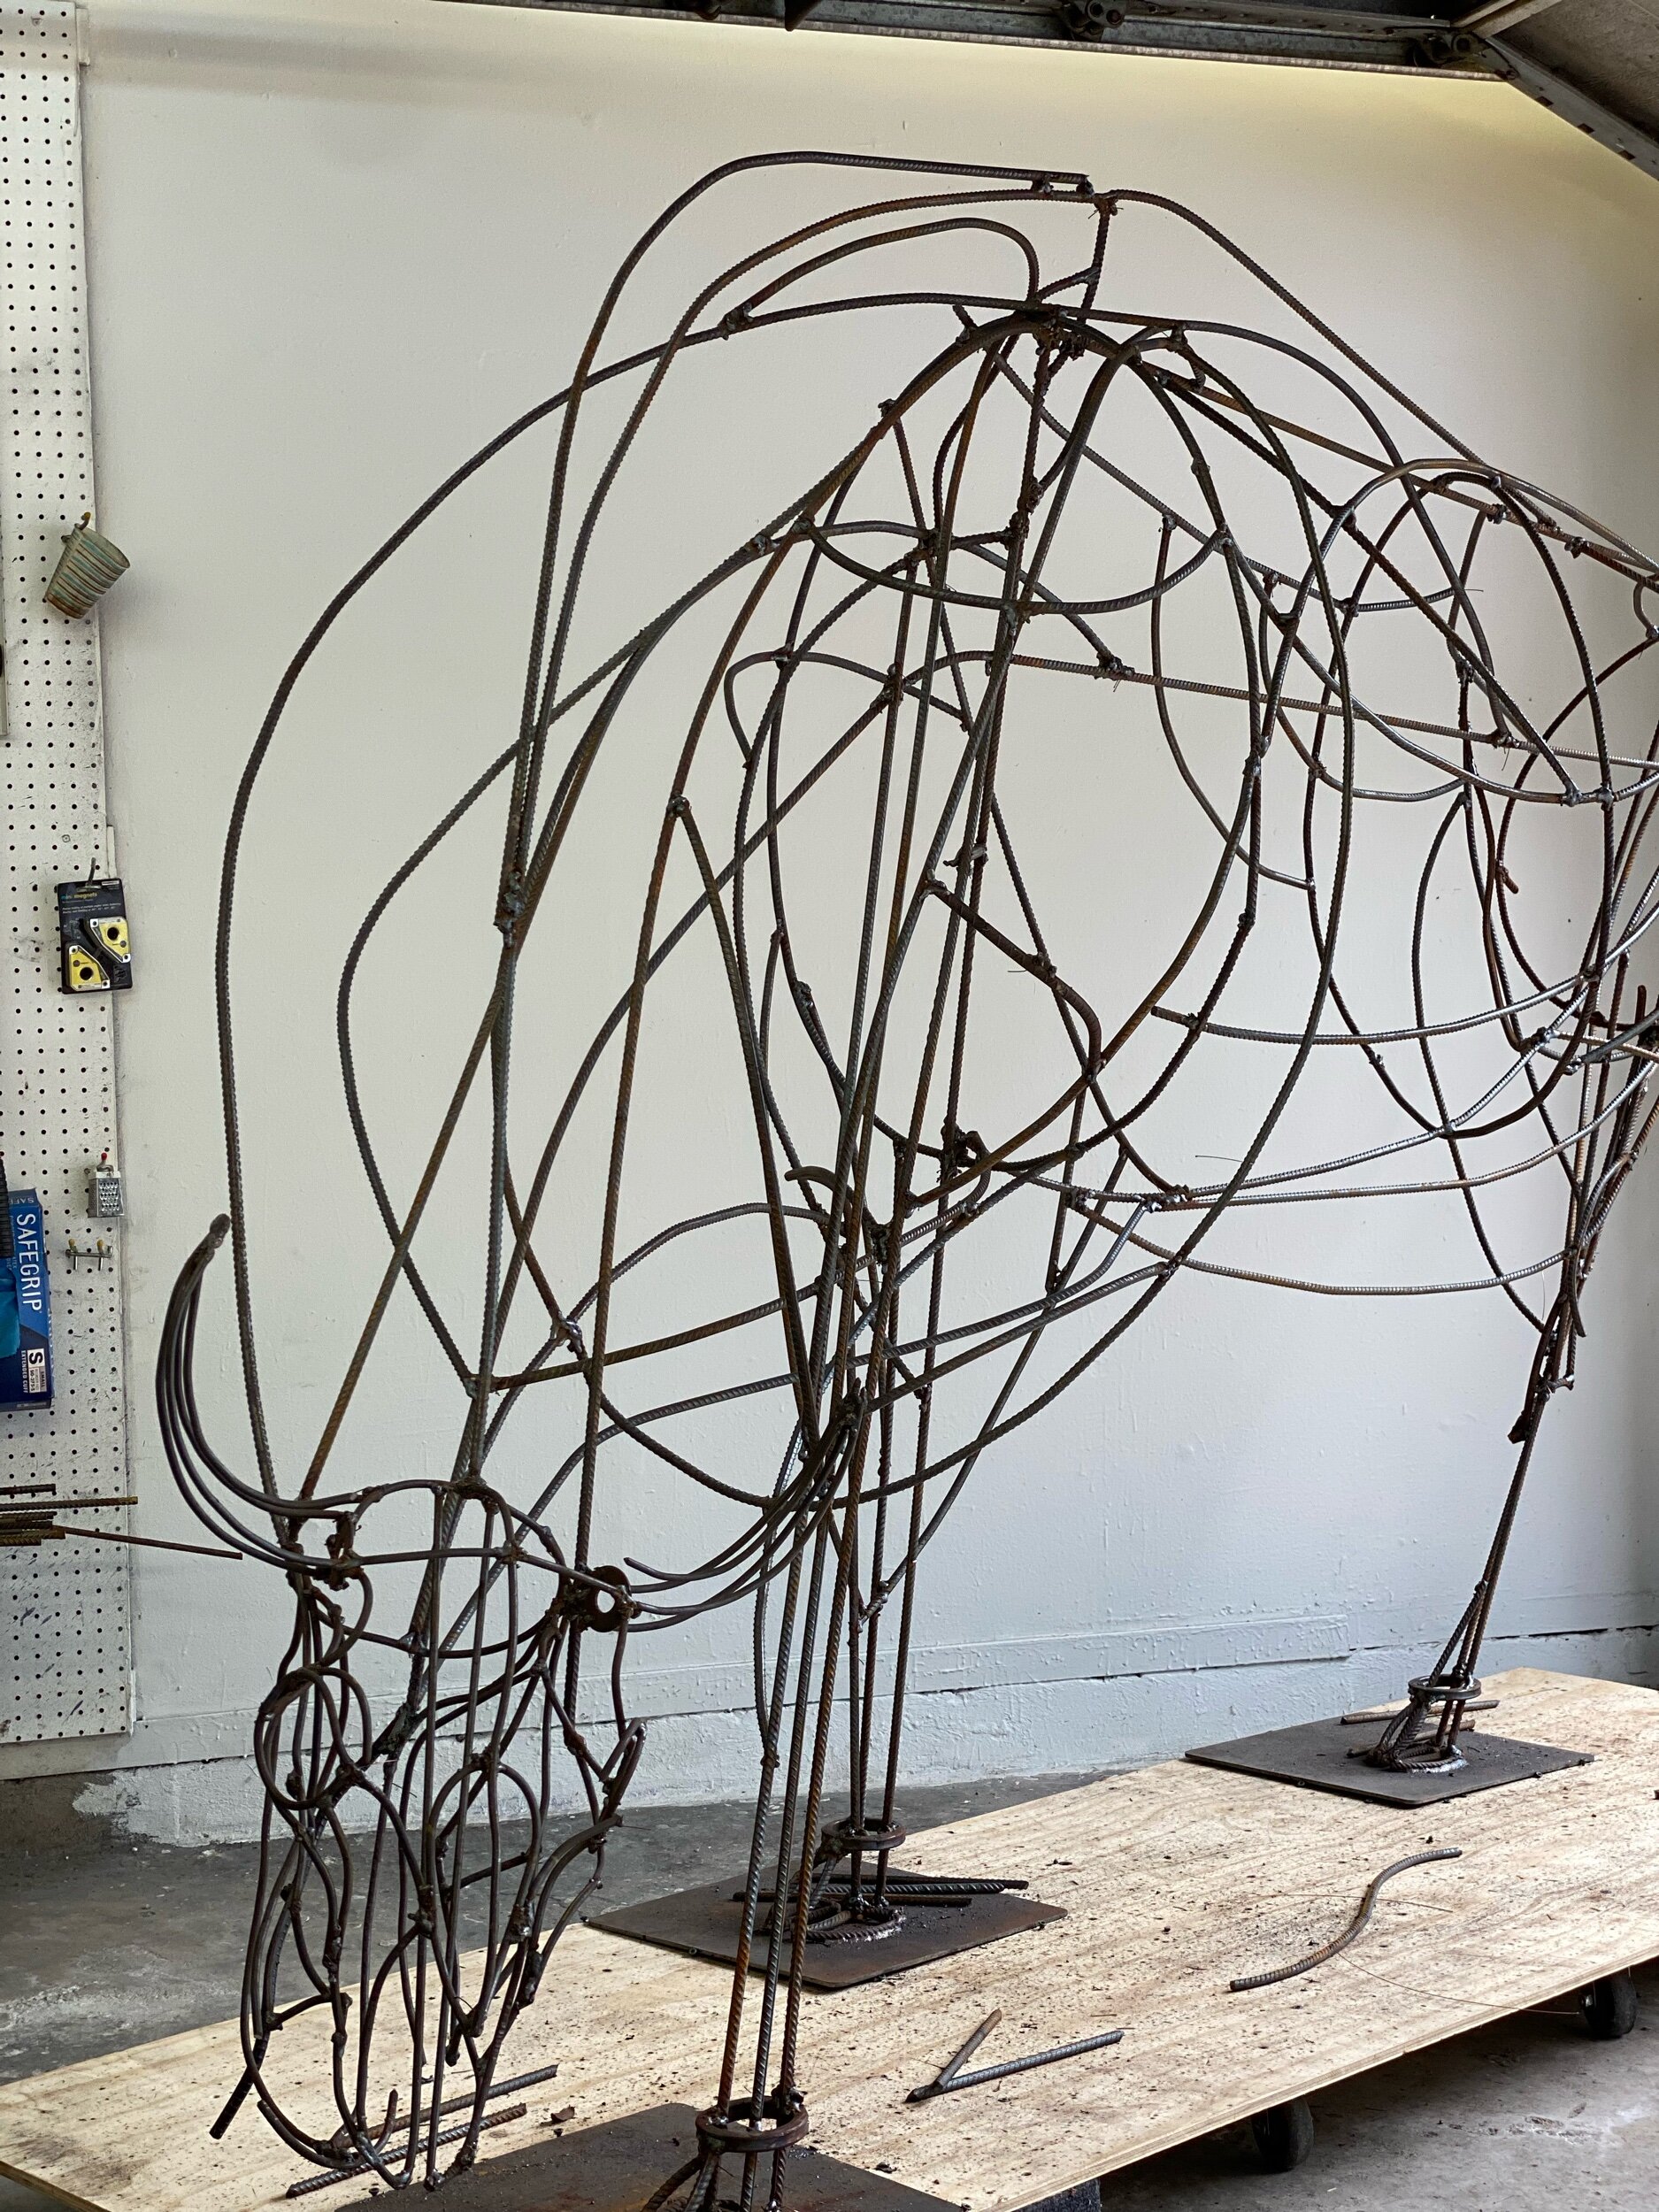
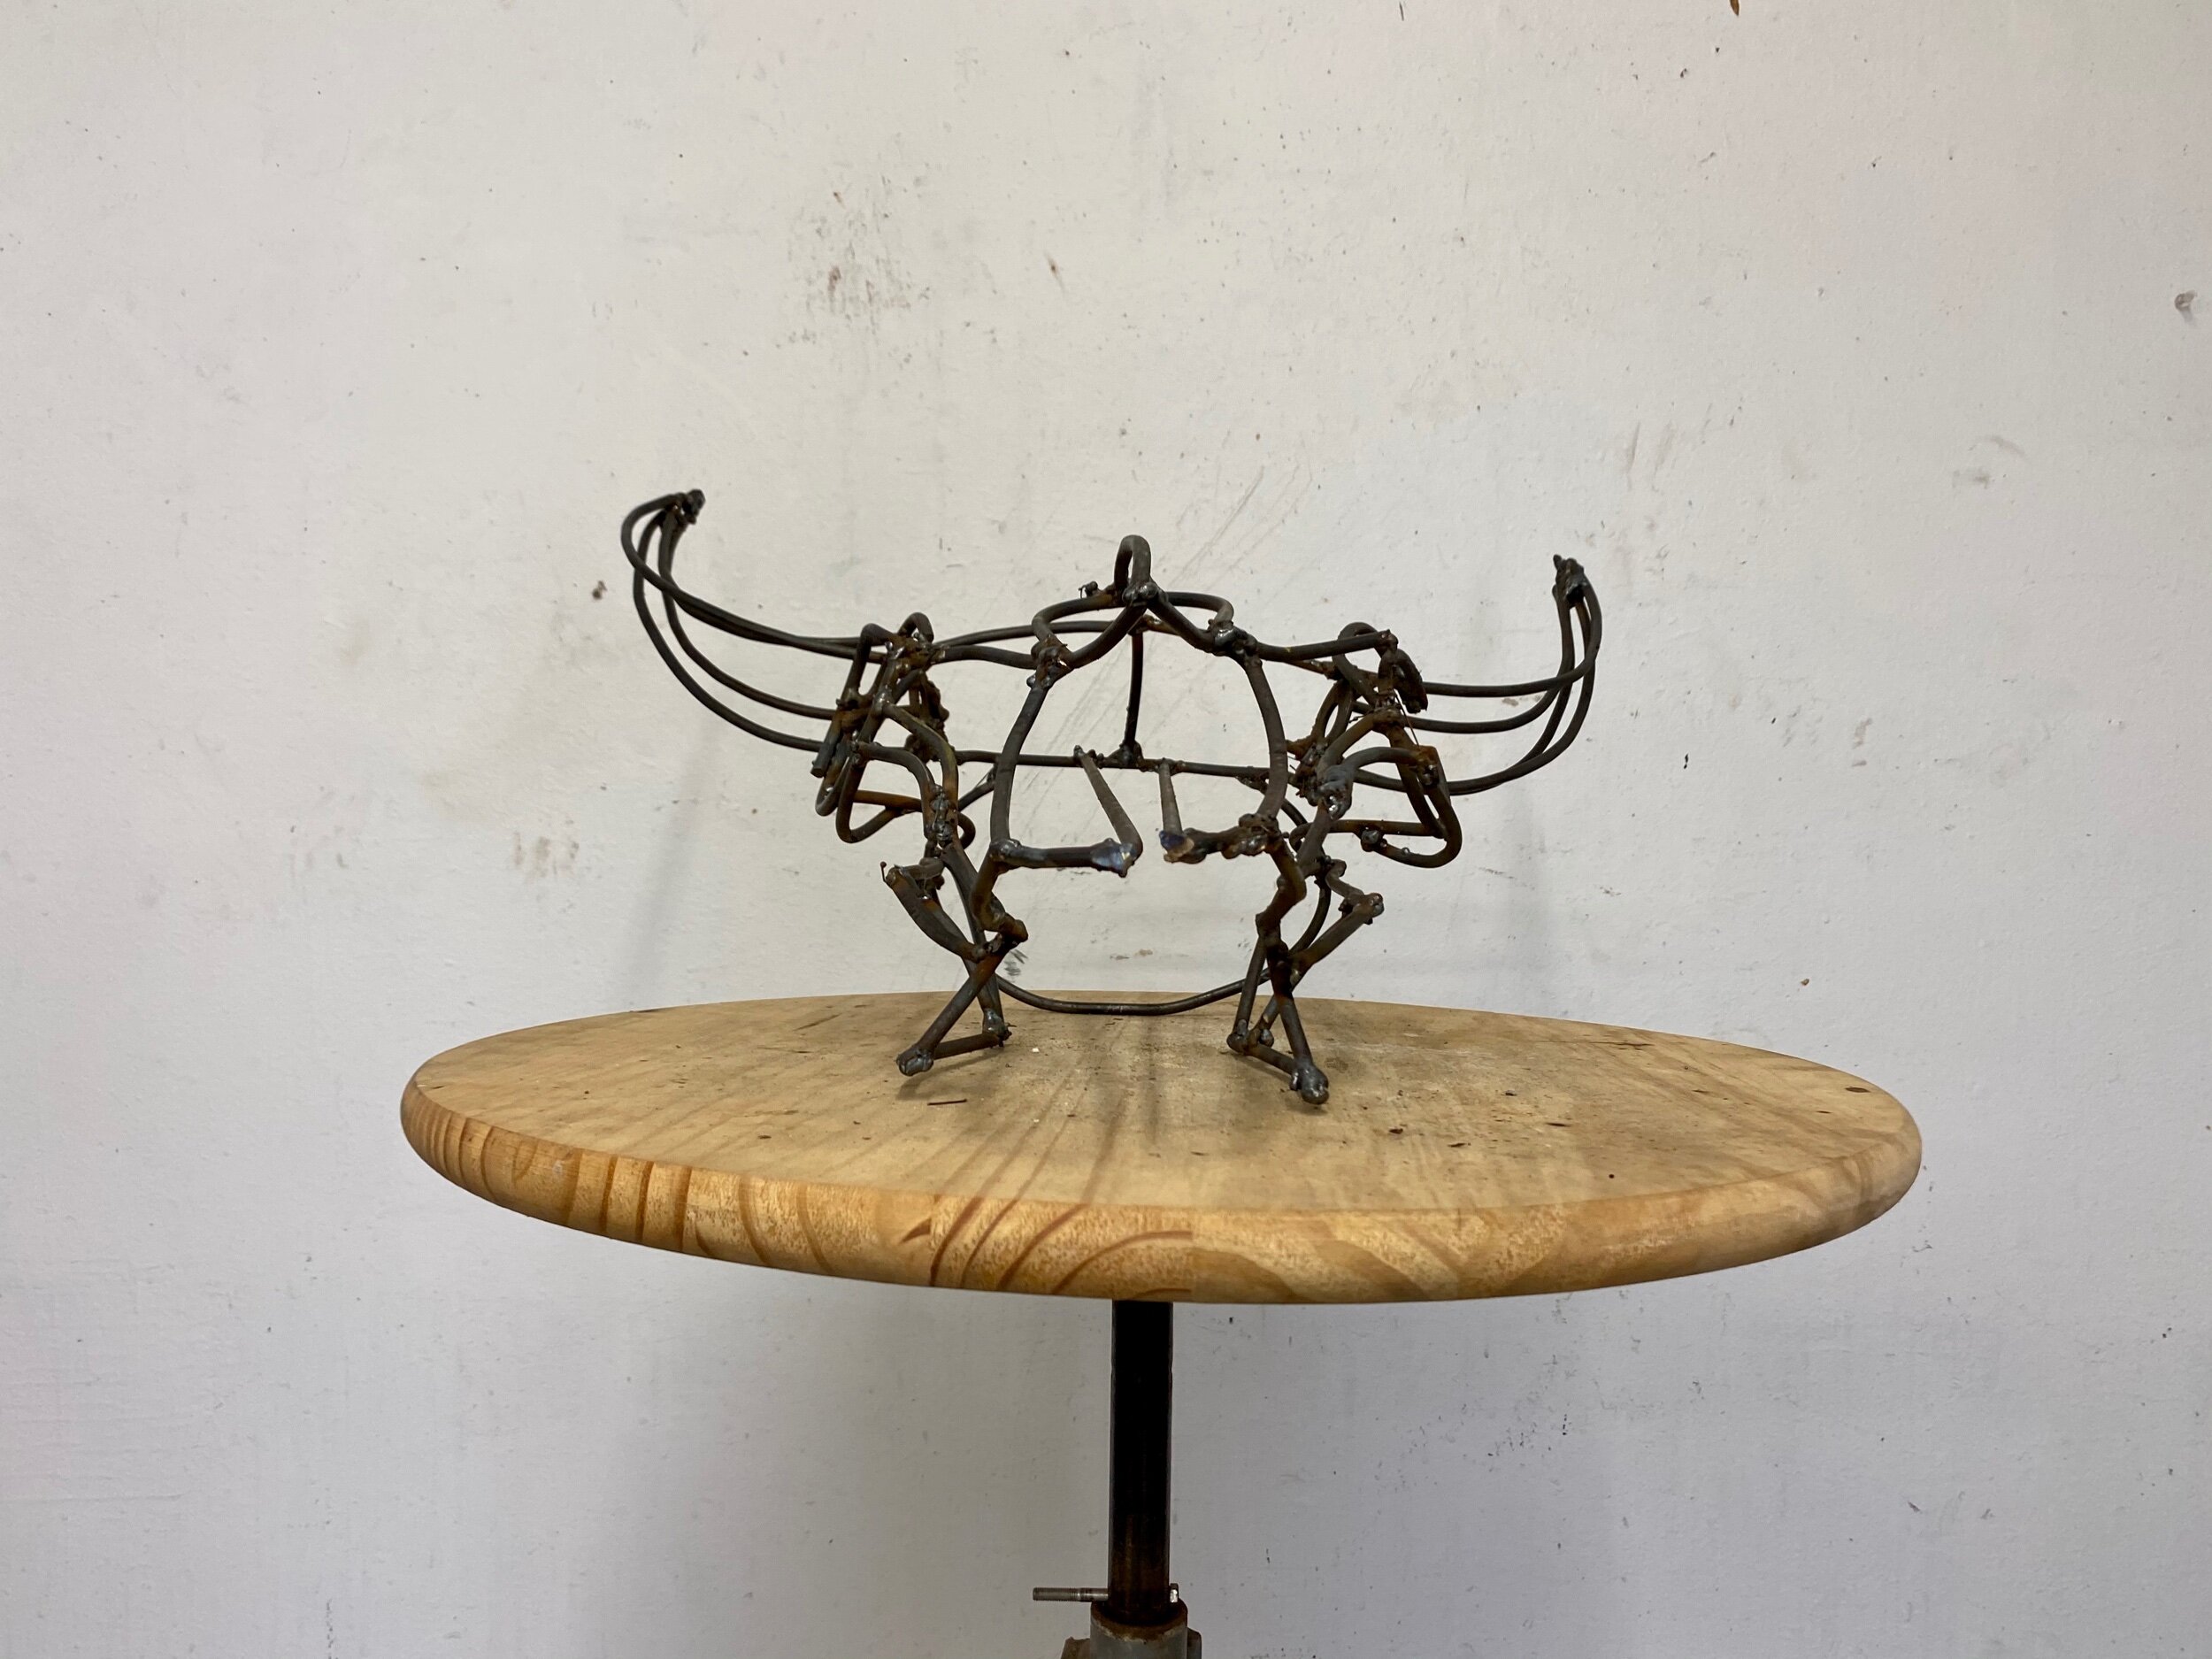
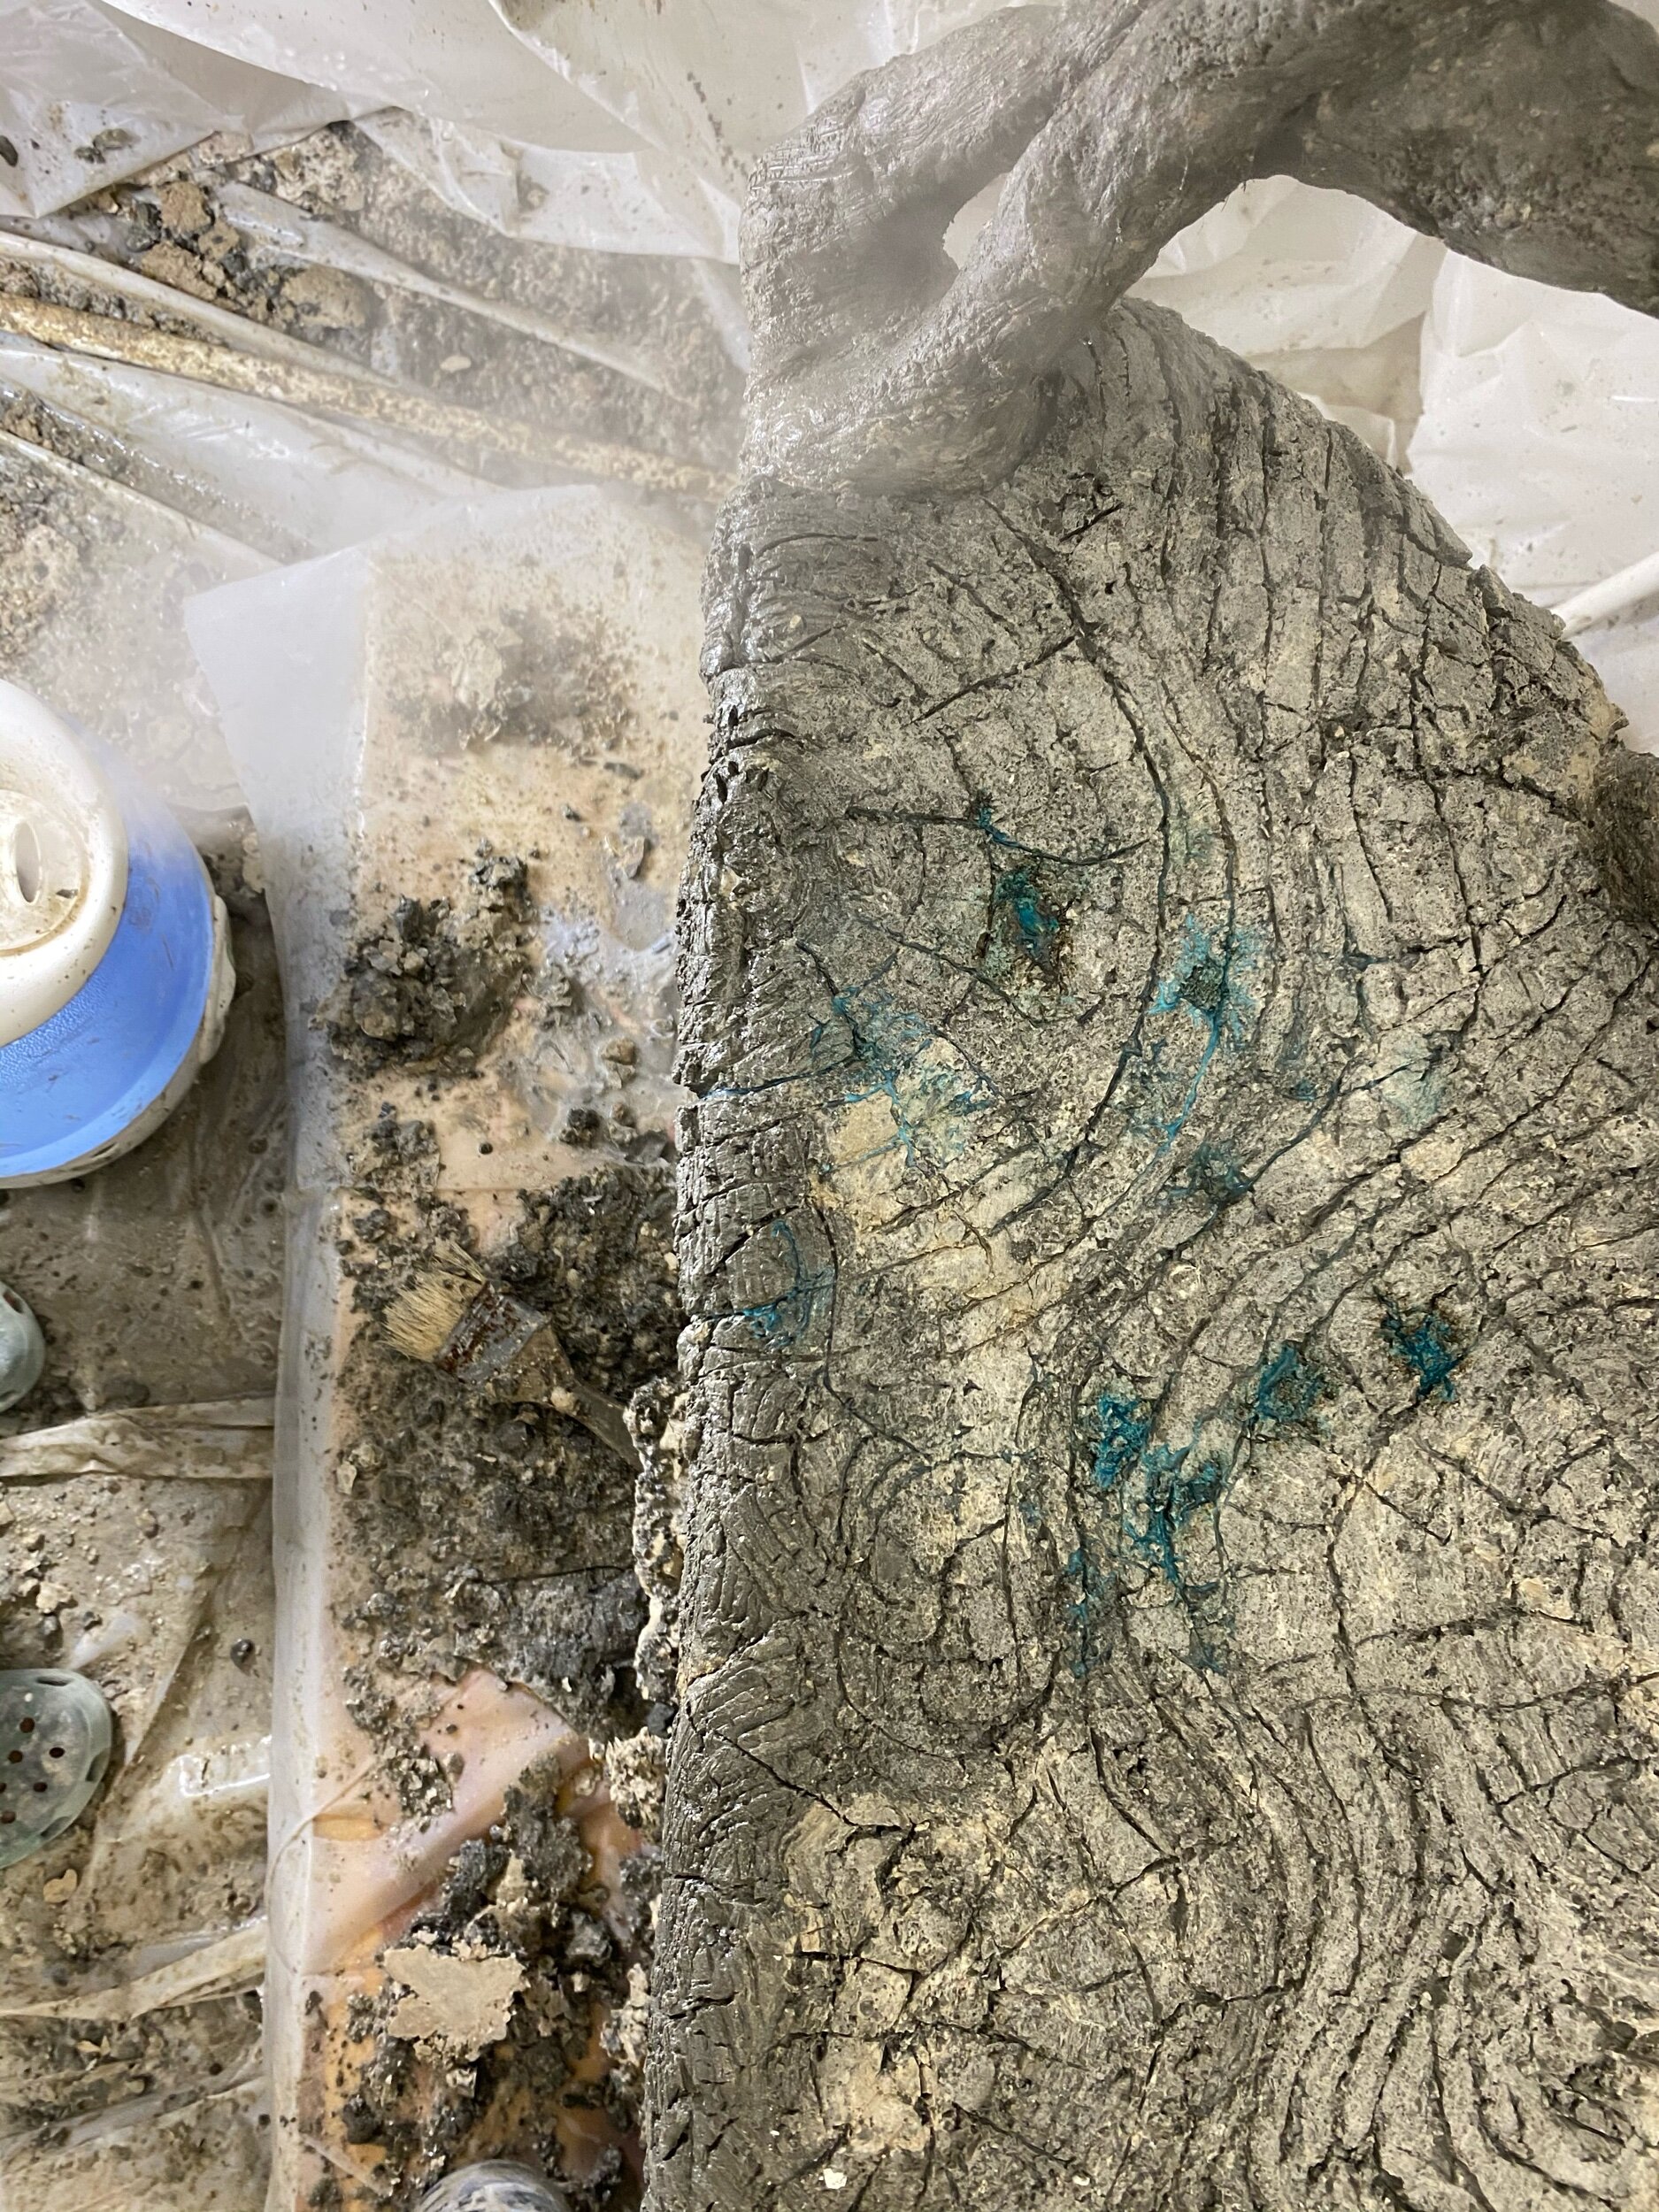
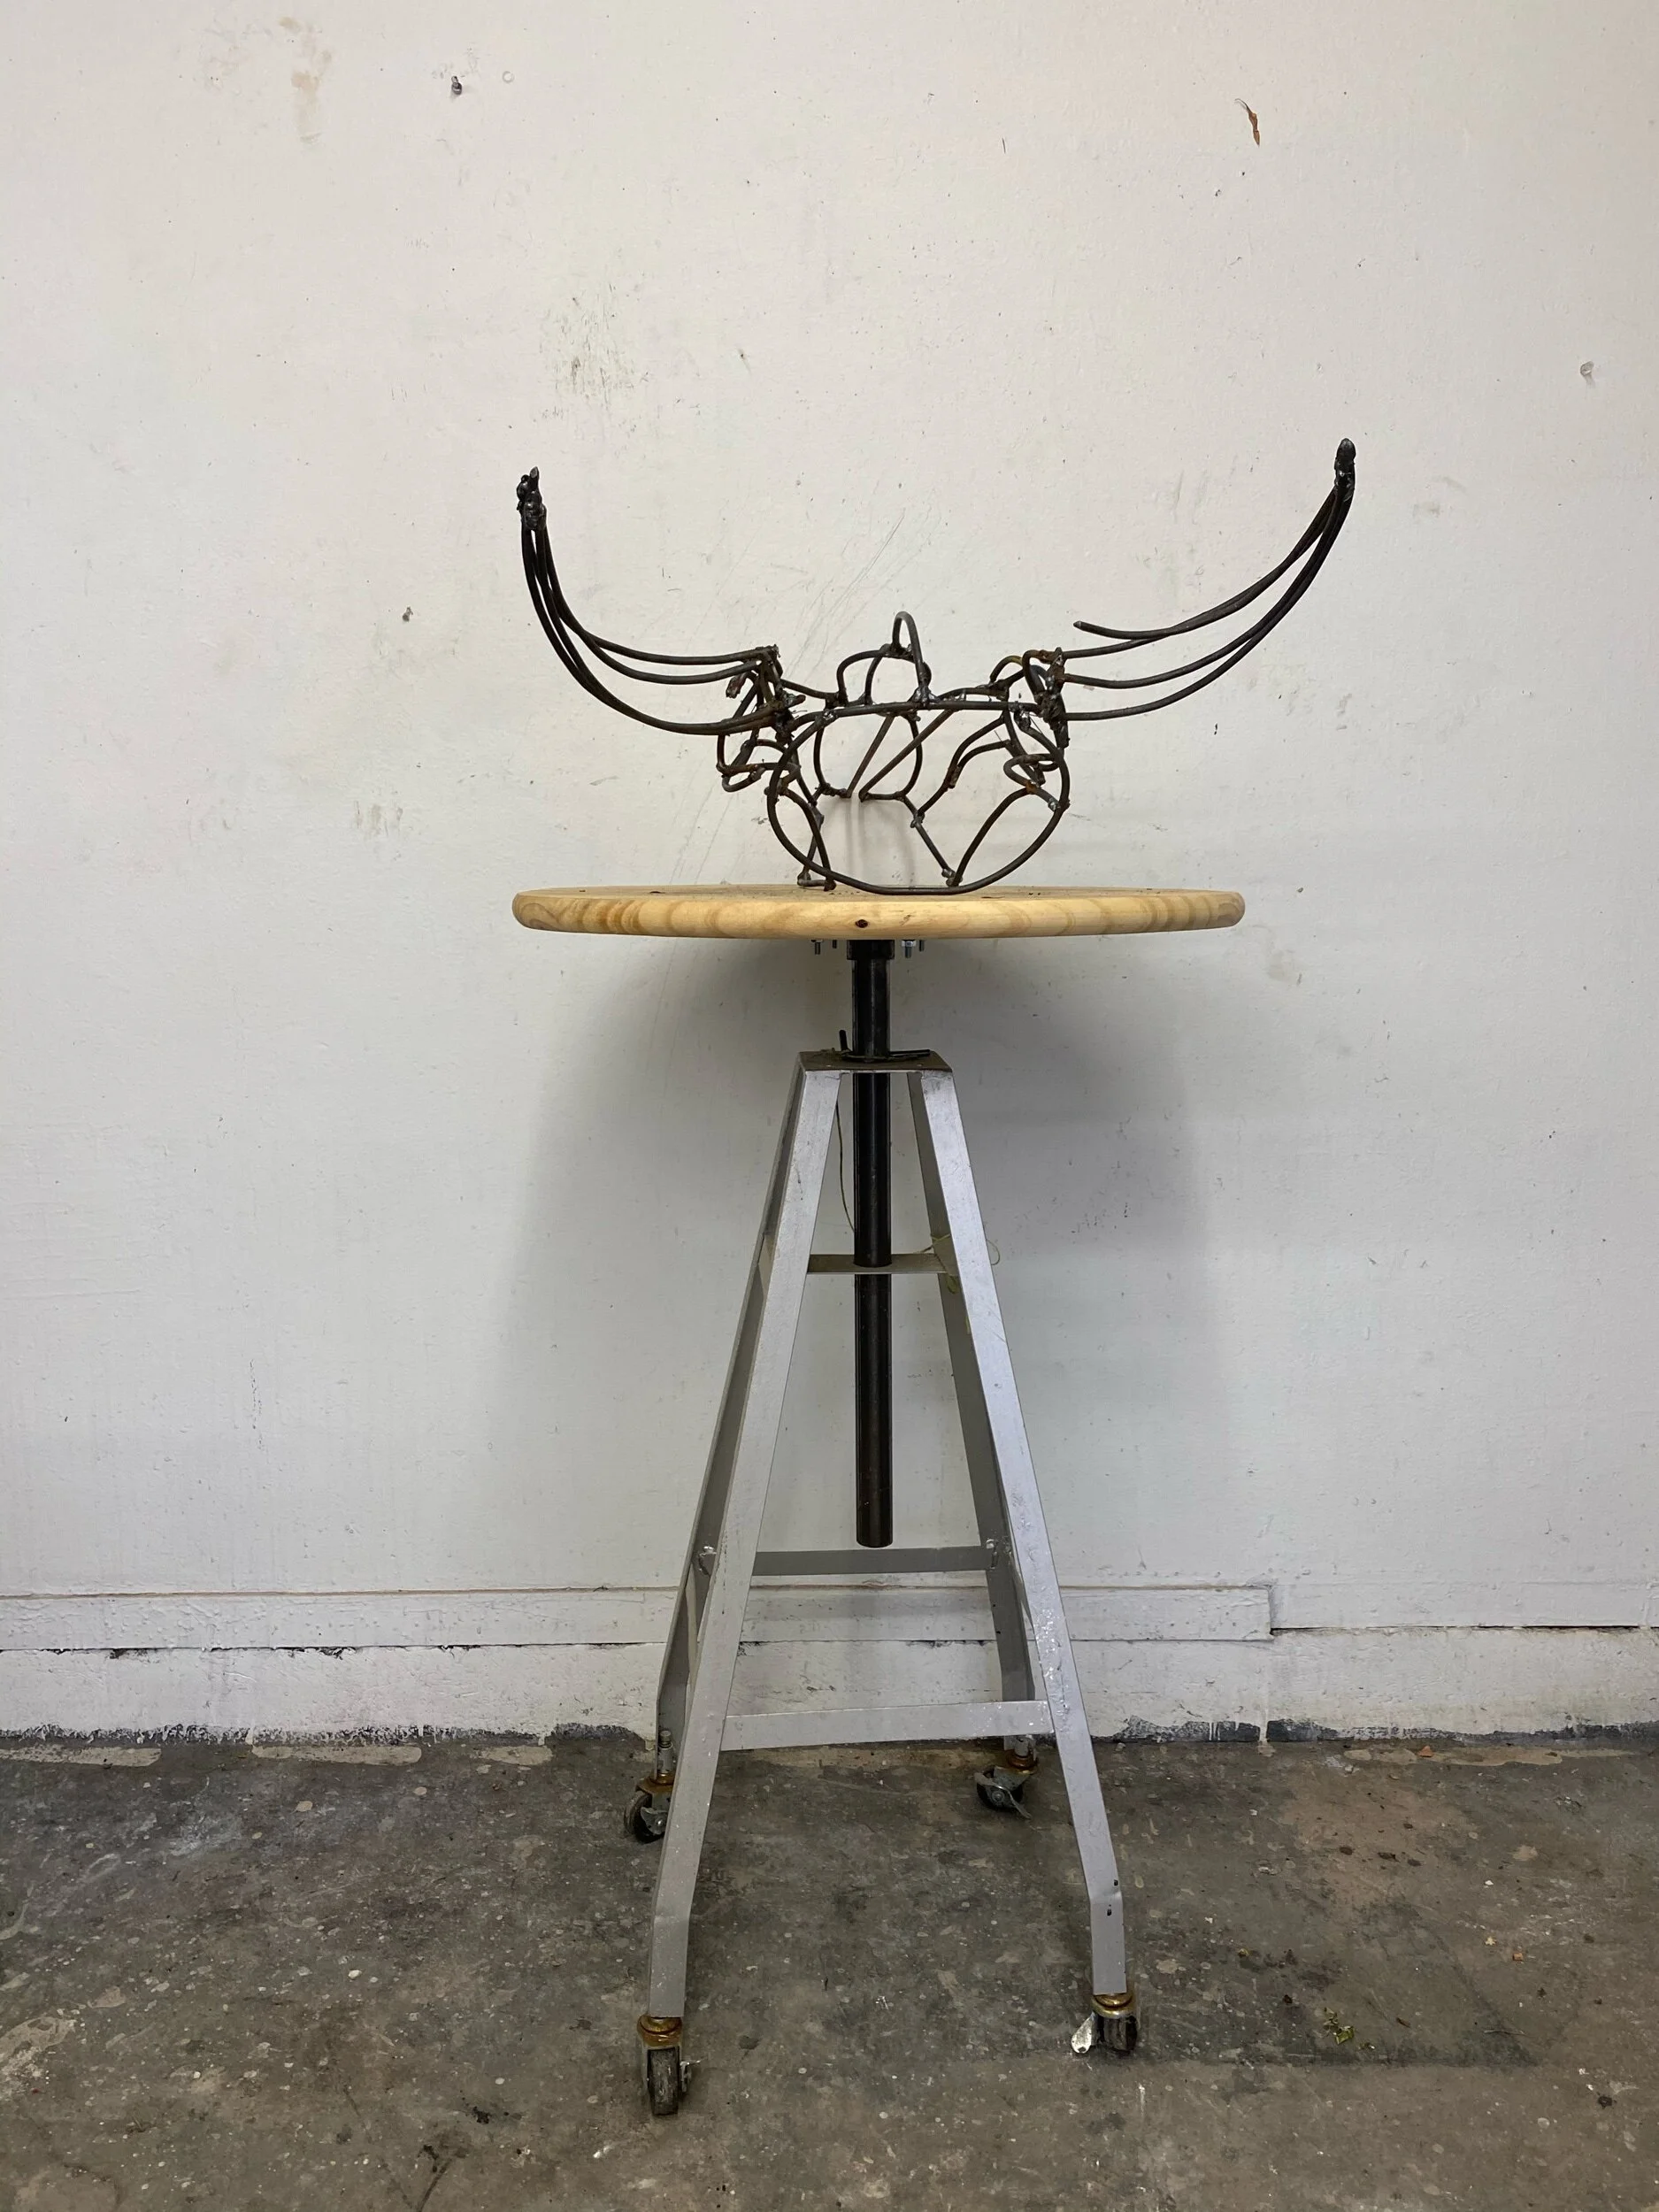
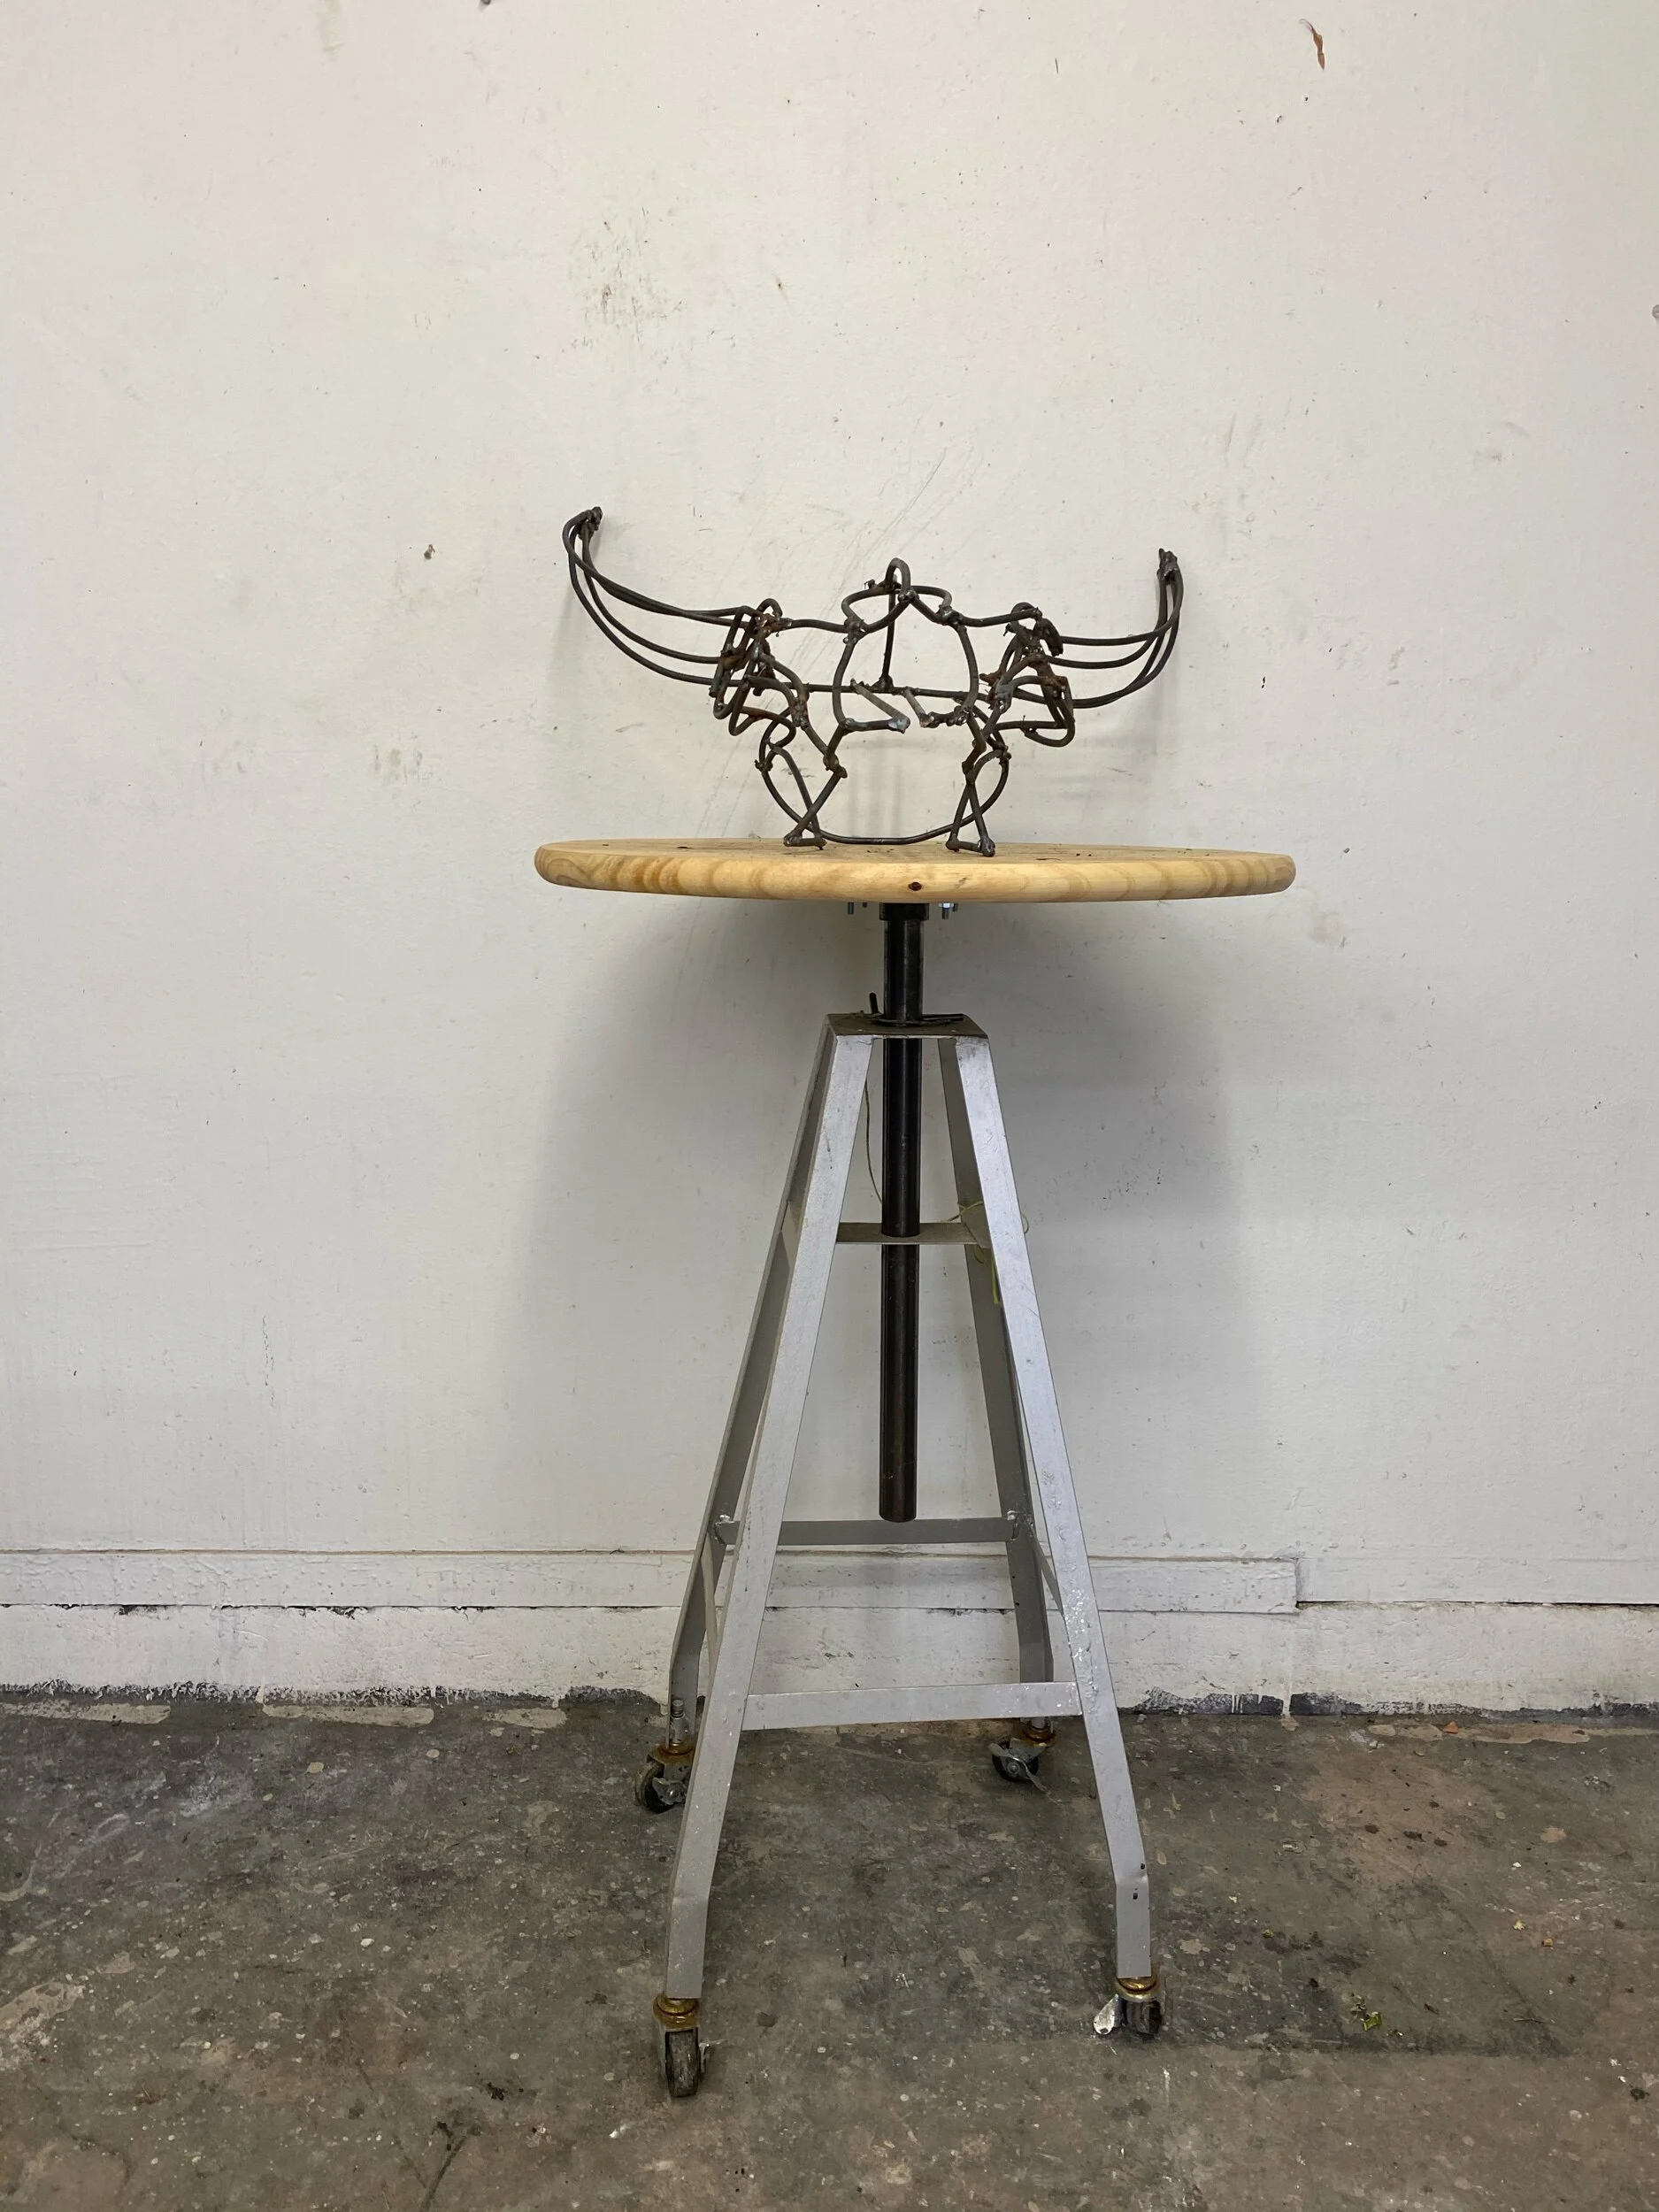
The armature with lath wired to it. Both back legs have material tests on them.
The surface material and how it will age/dry is a mystery. The arnature is the same atmature that I have used on all of my life size sculptures. The late Donald Tucker a local faux bois artist taught me this method. On the faux bous furniture, the finish is a concrete composite. On the other life size sculptures I have used concrete and hydro stone.

BROKEN
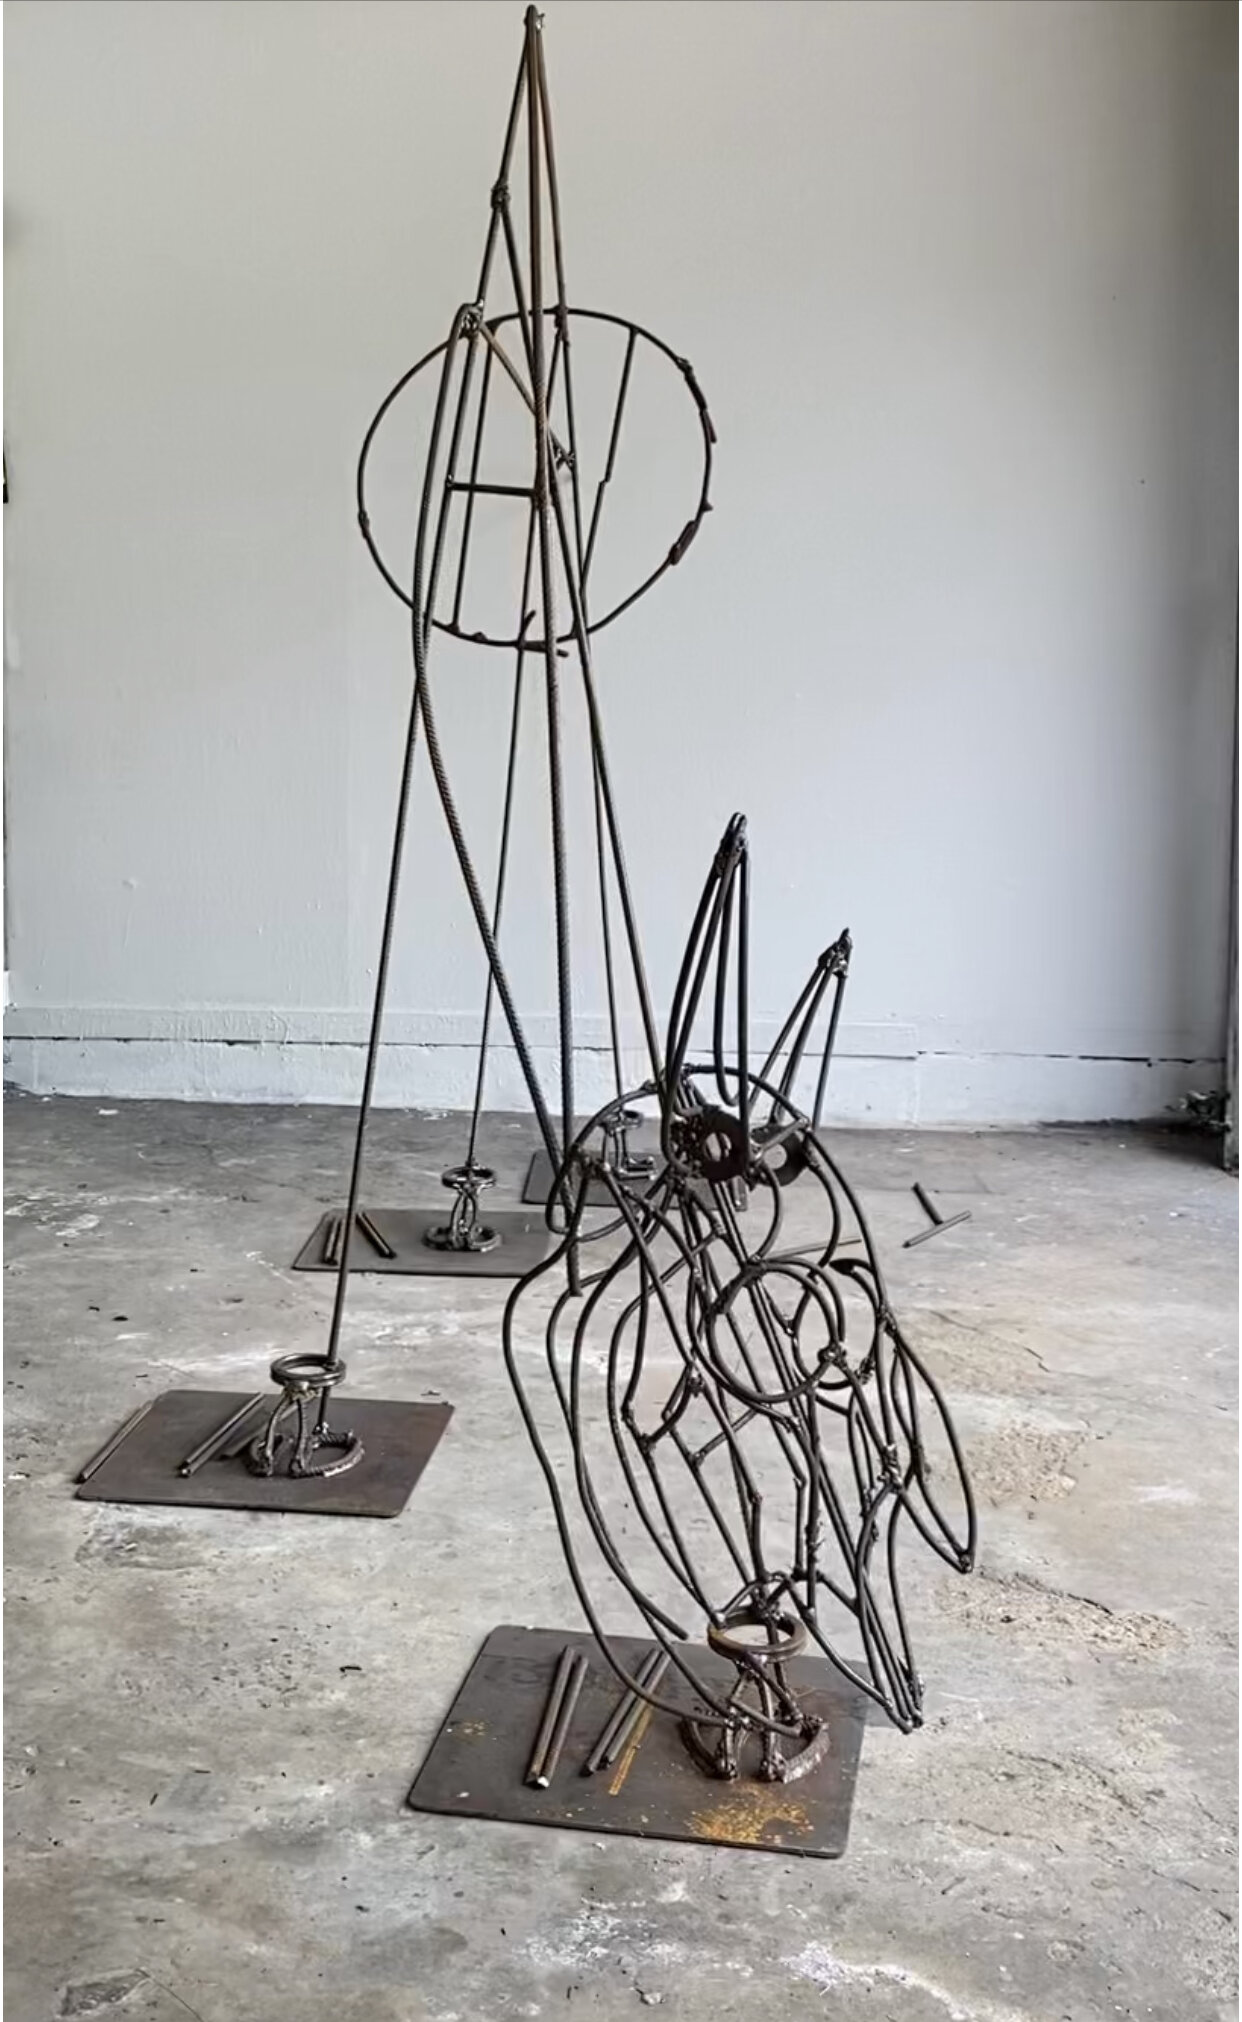
steel, reinforced concrete, and wire
40" X 29" X 55"
2018
photo by Nash Baker
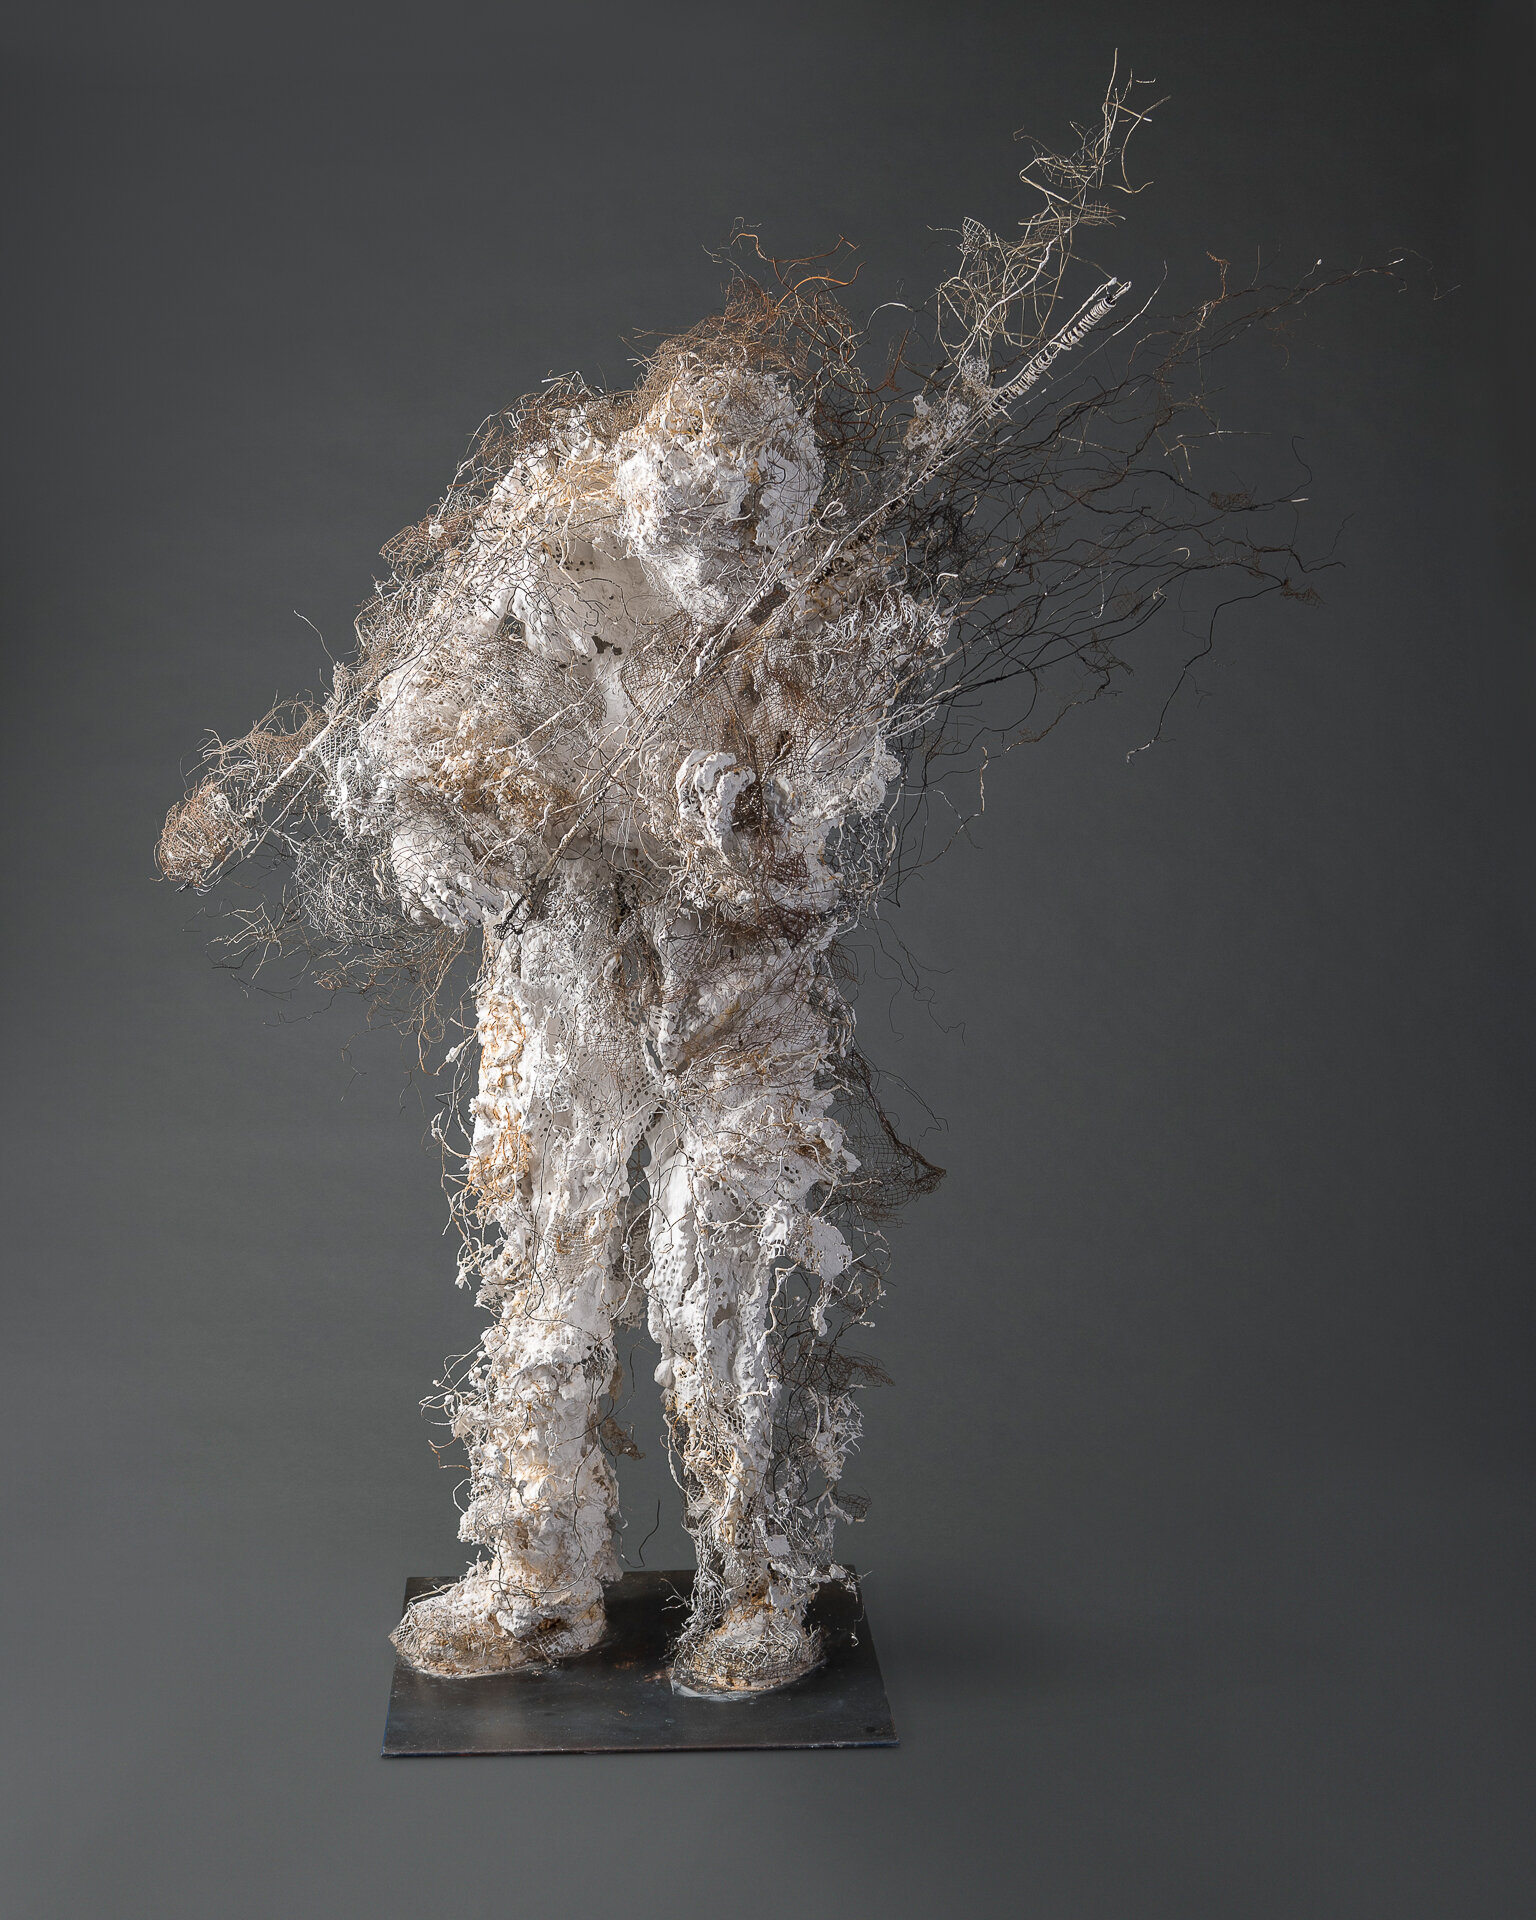
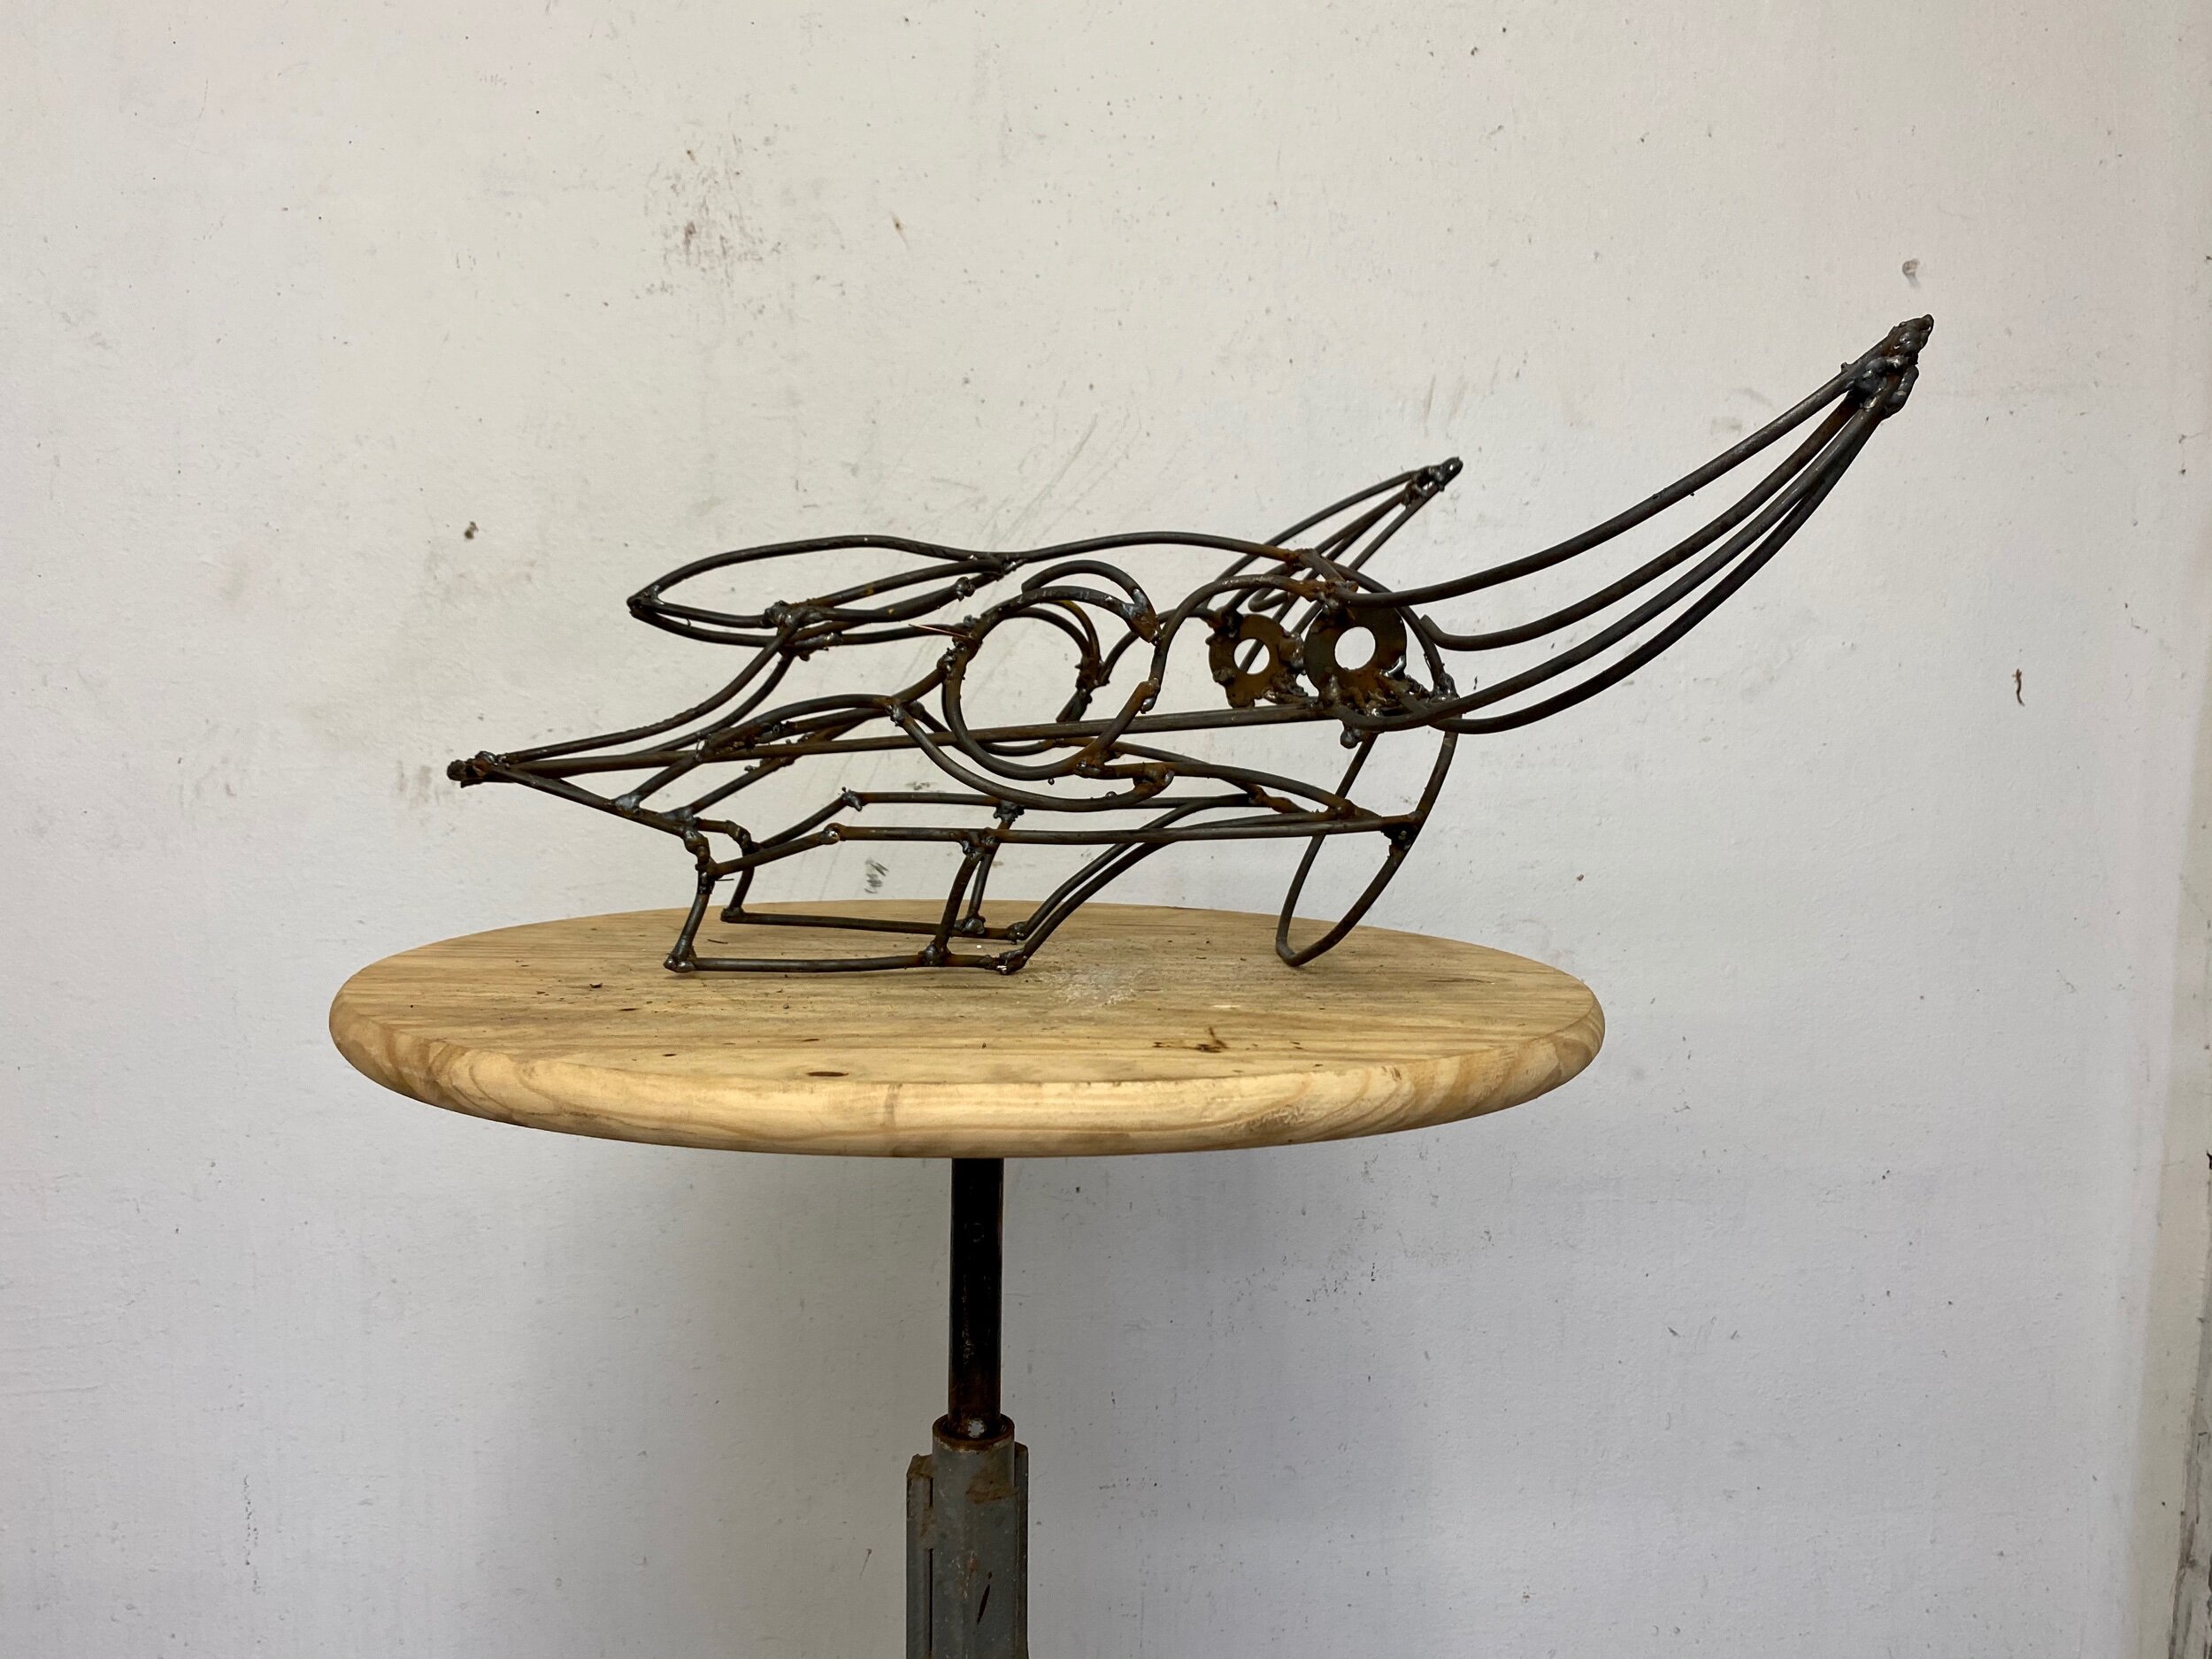
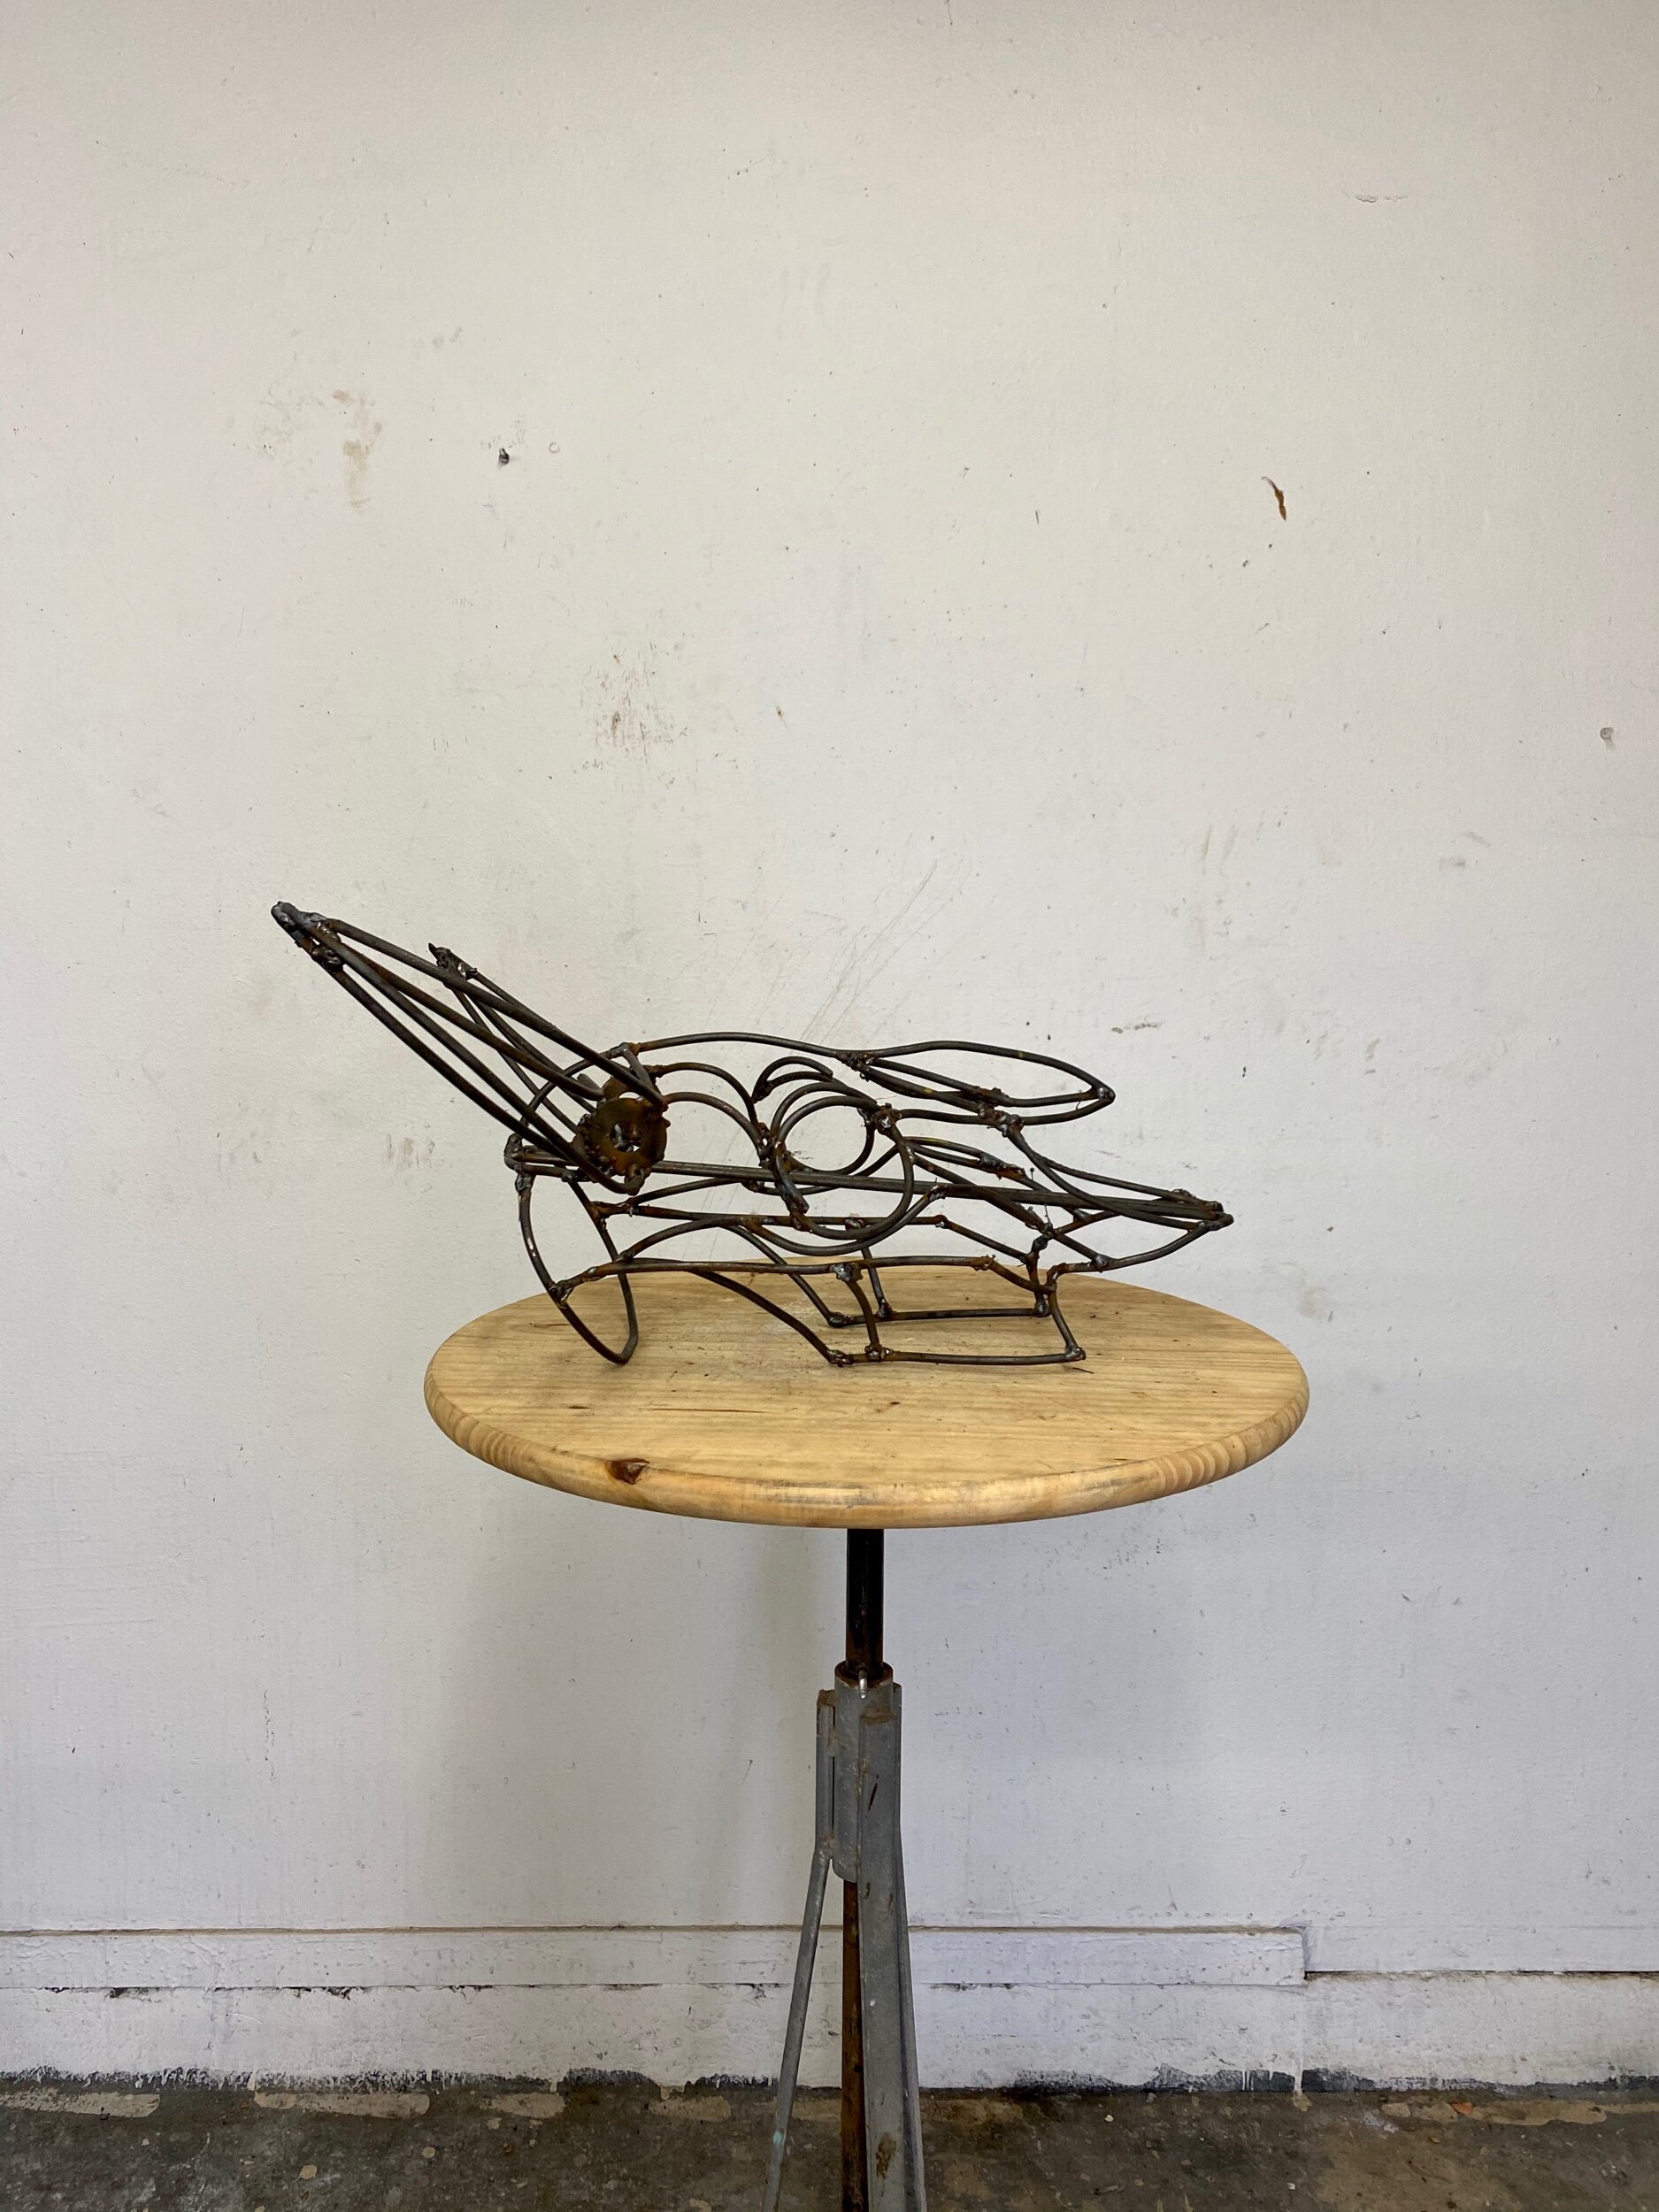
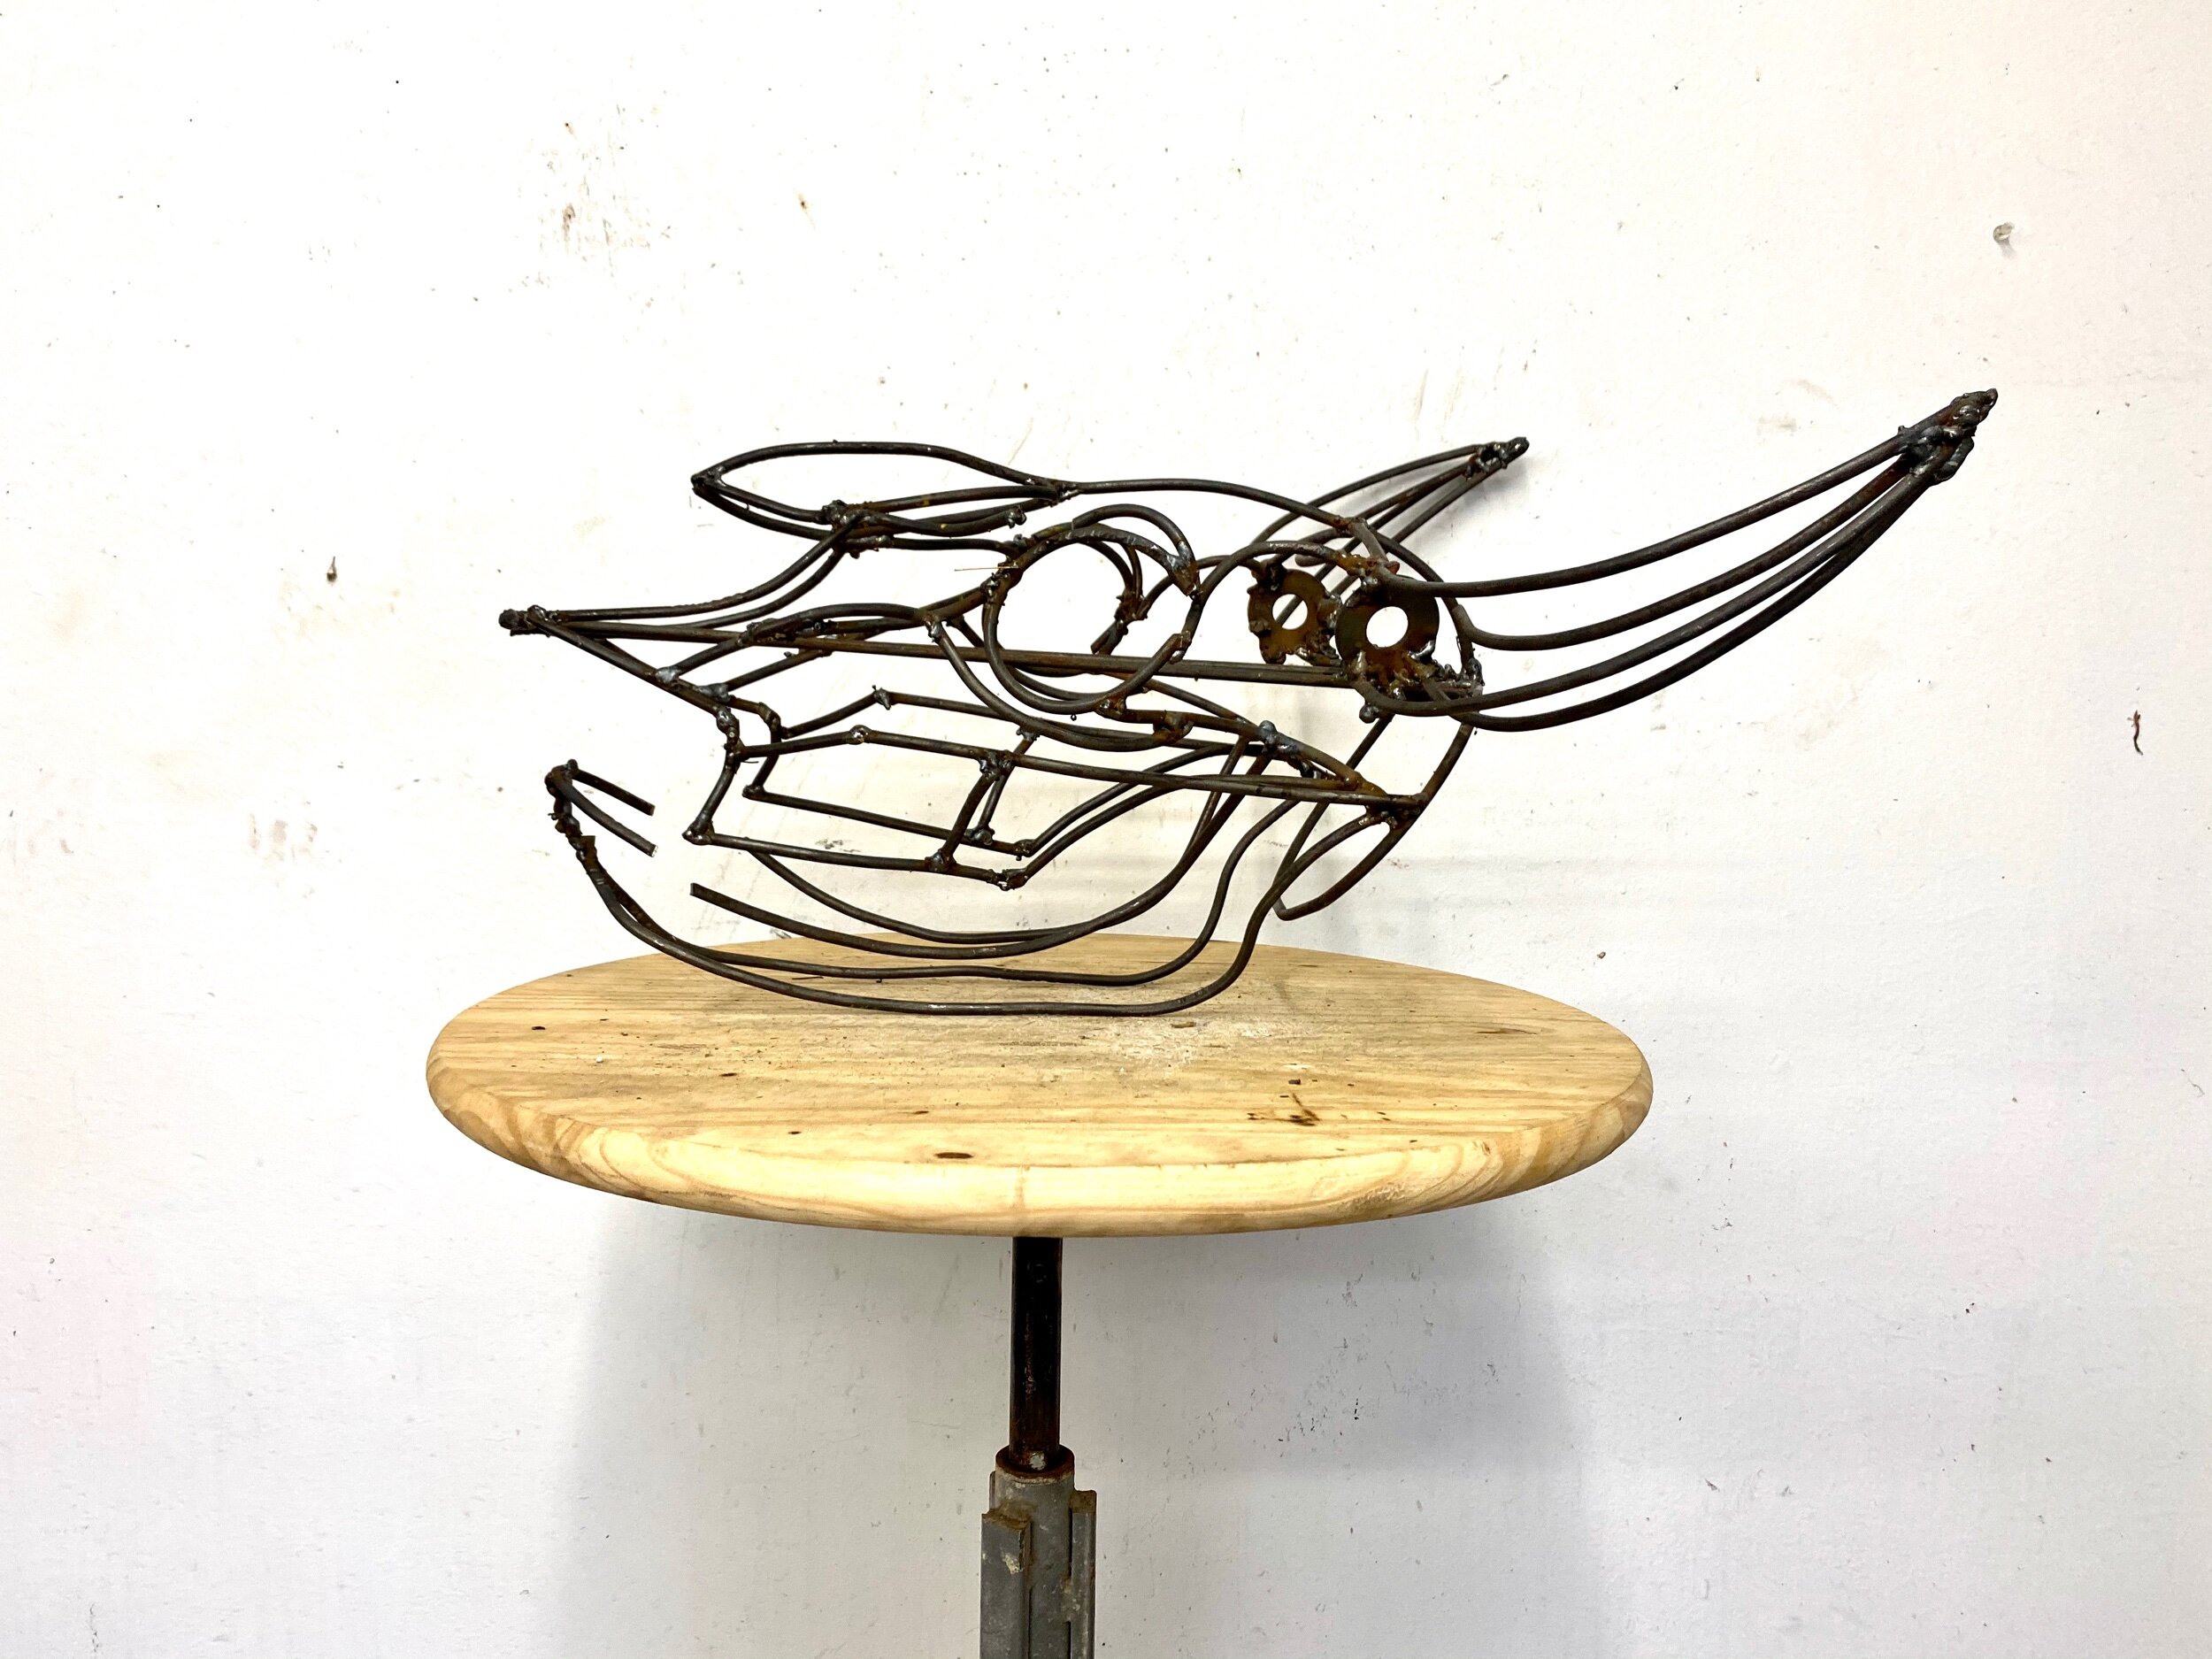
Sonata in 4D - welded steel, lath, wire and plaster
2018
Photo by Nash Baker
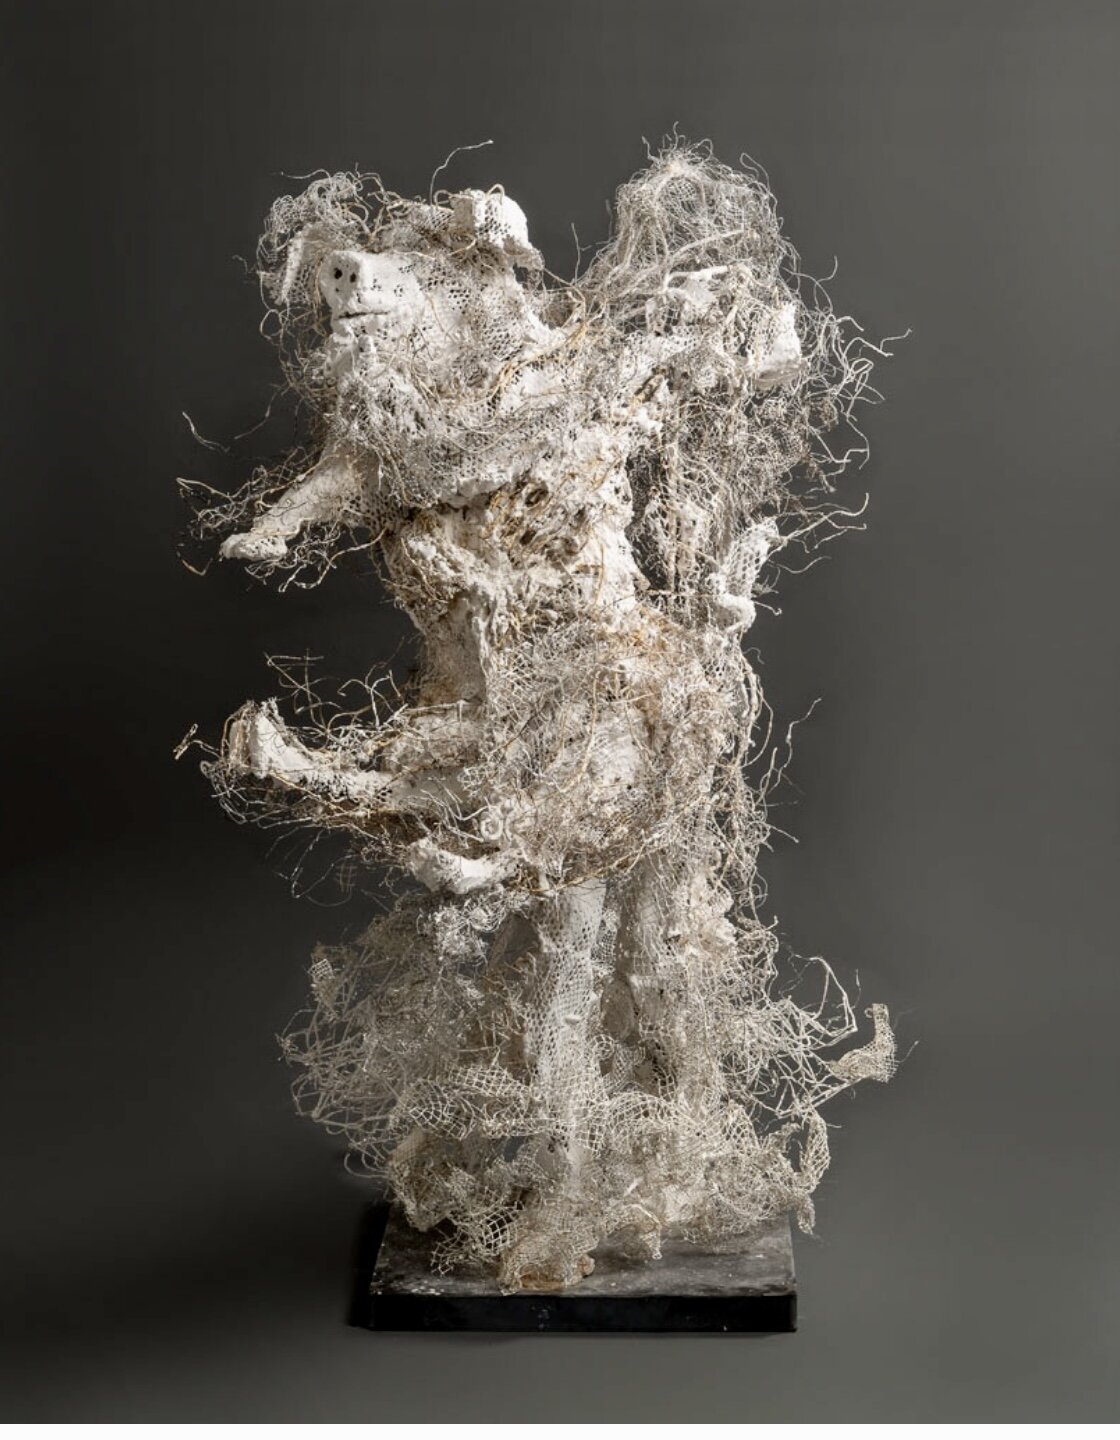
HARVEY HEROES - LIVEstock BRINGING HOME THE BACON
66” X 42” X 60” - welded steel, lath, wire, wire cloth and hydro stone.
2019

Anniversary bench- Welded steel, concrete
2011
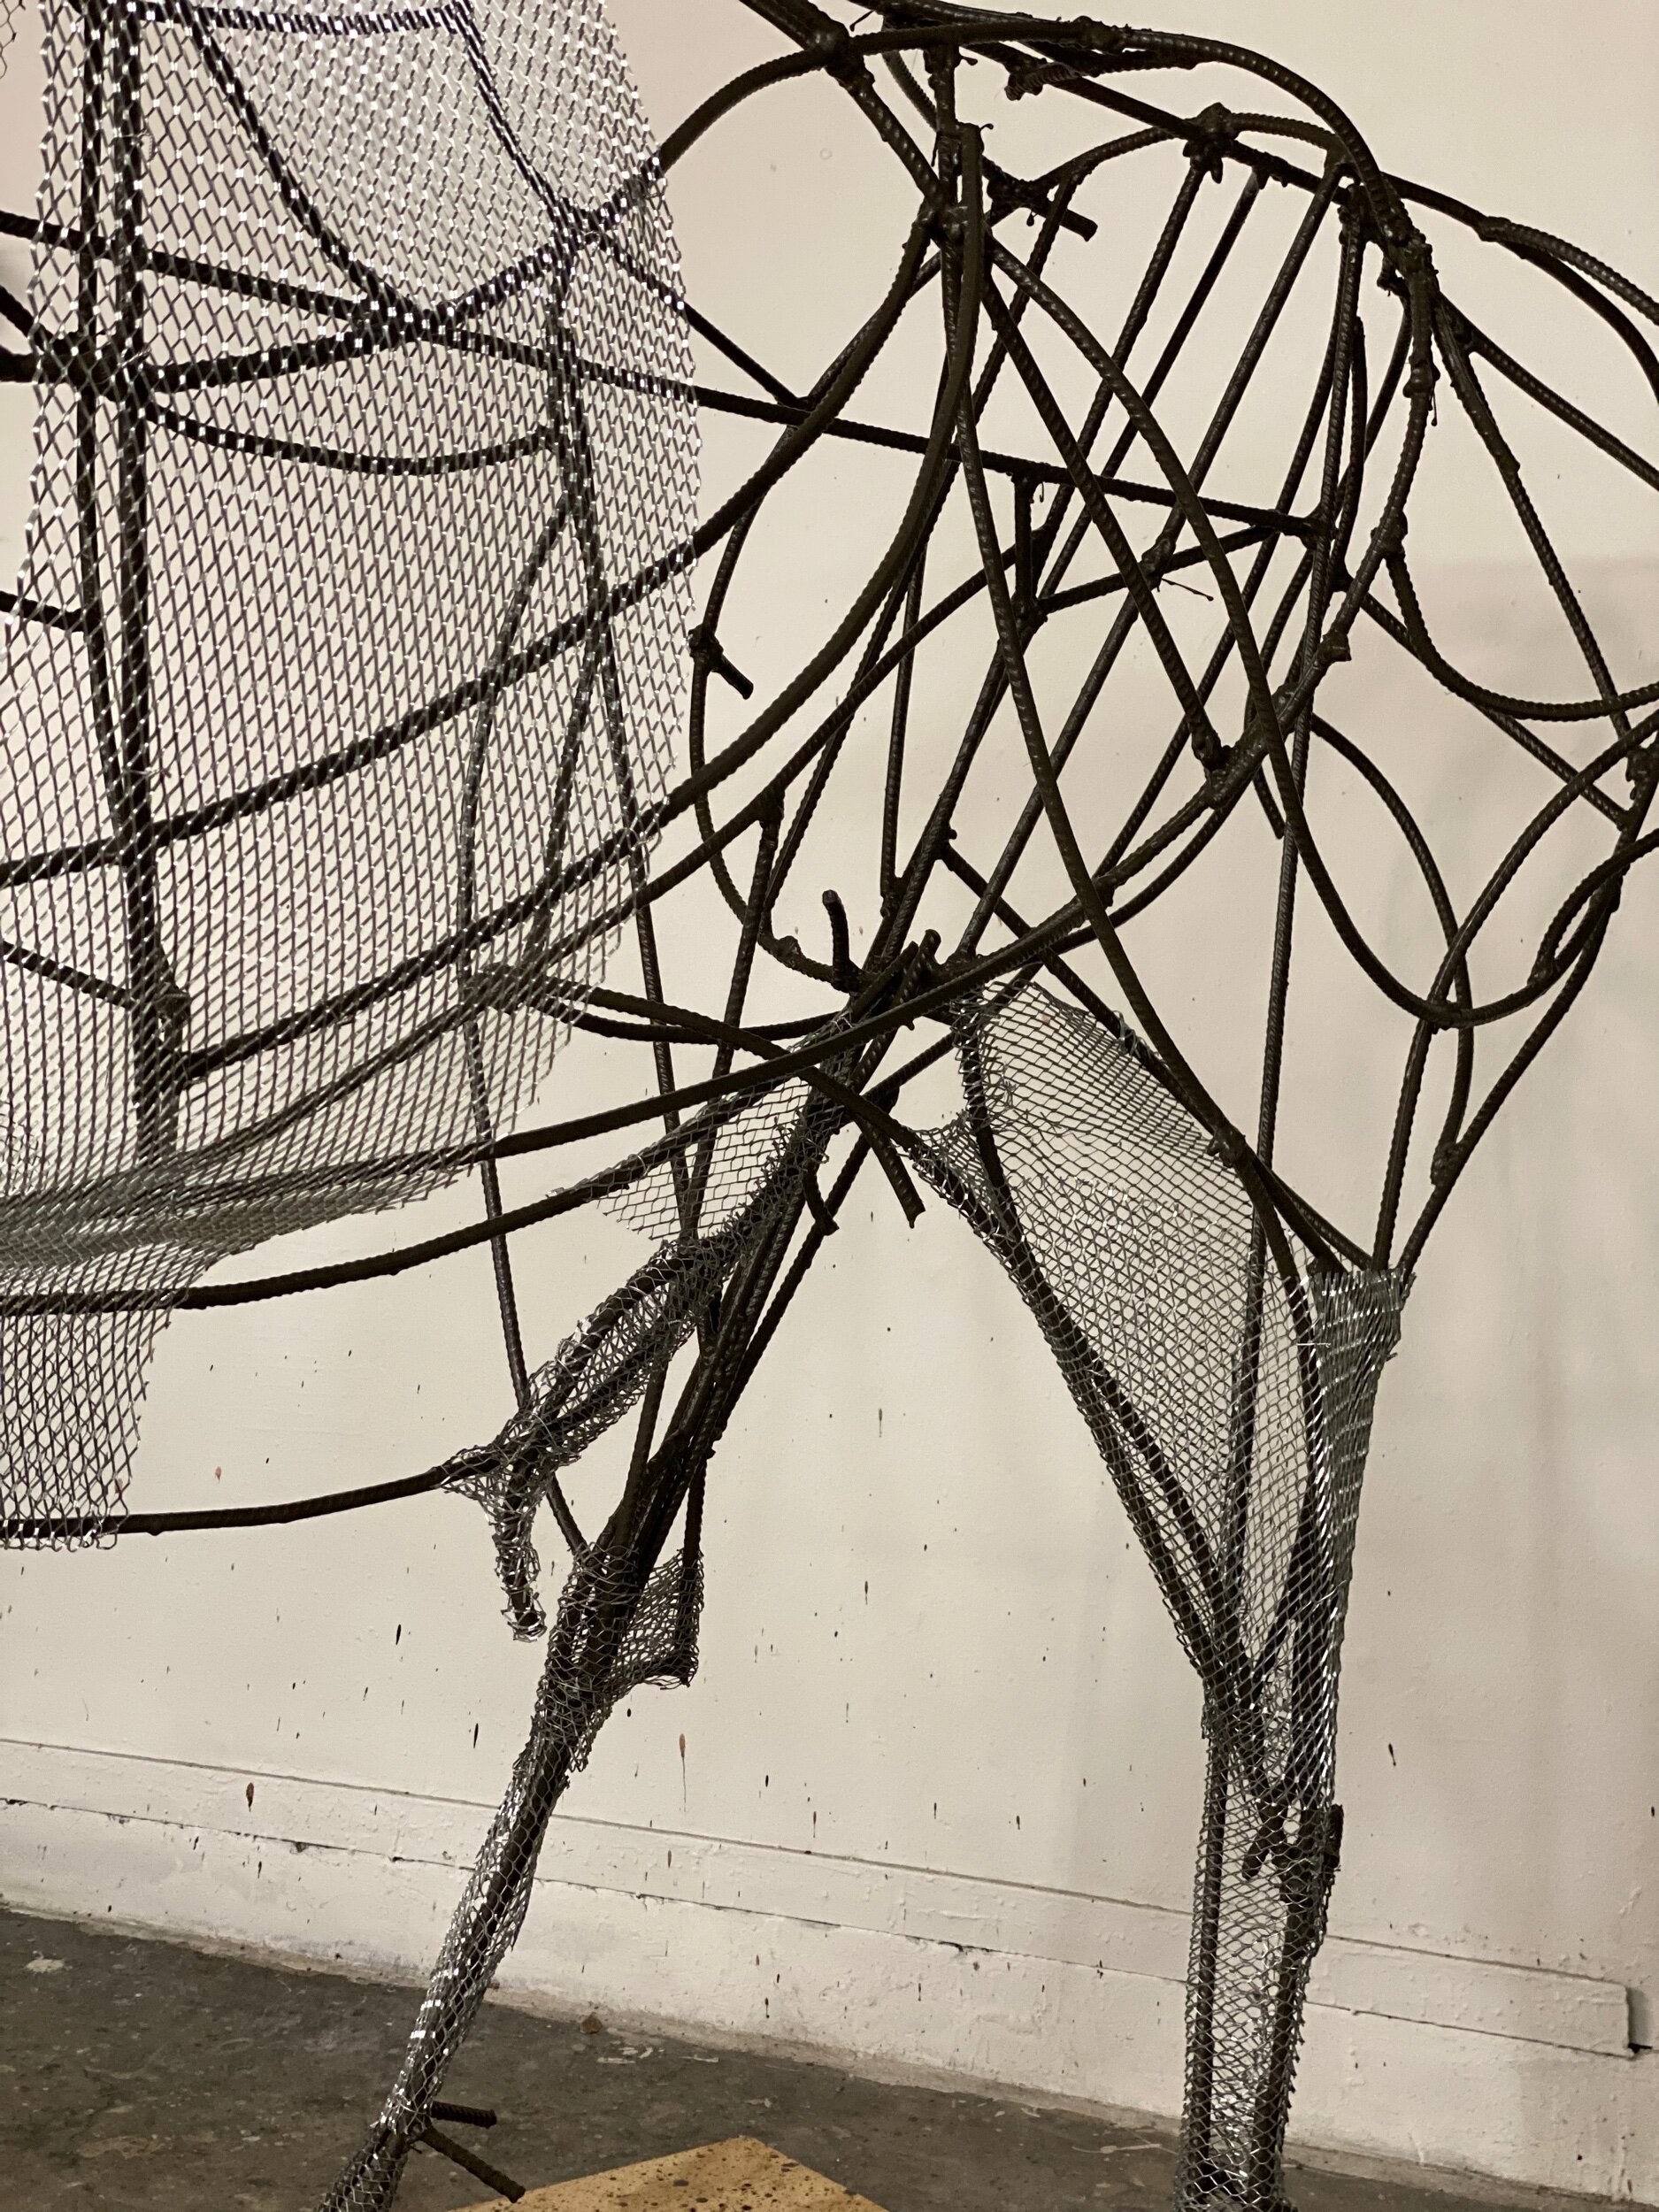
Today‘s progress may not look like much, however I worked 7 hours. I was focused on filling the tiny spaces in the groin, inside its flanks and rear end. And I was careful not to catch my skin on the sharp edges of the late. It is razor-sharp and requires careful deliberate moves.
Today's work
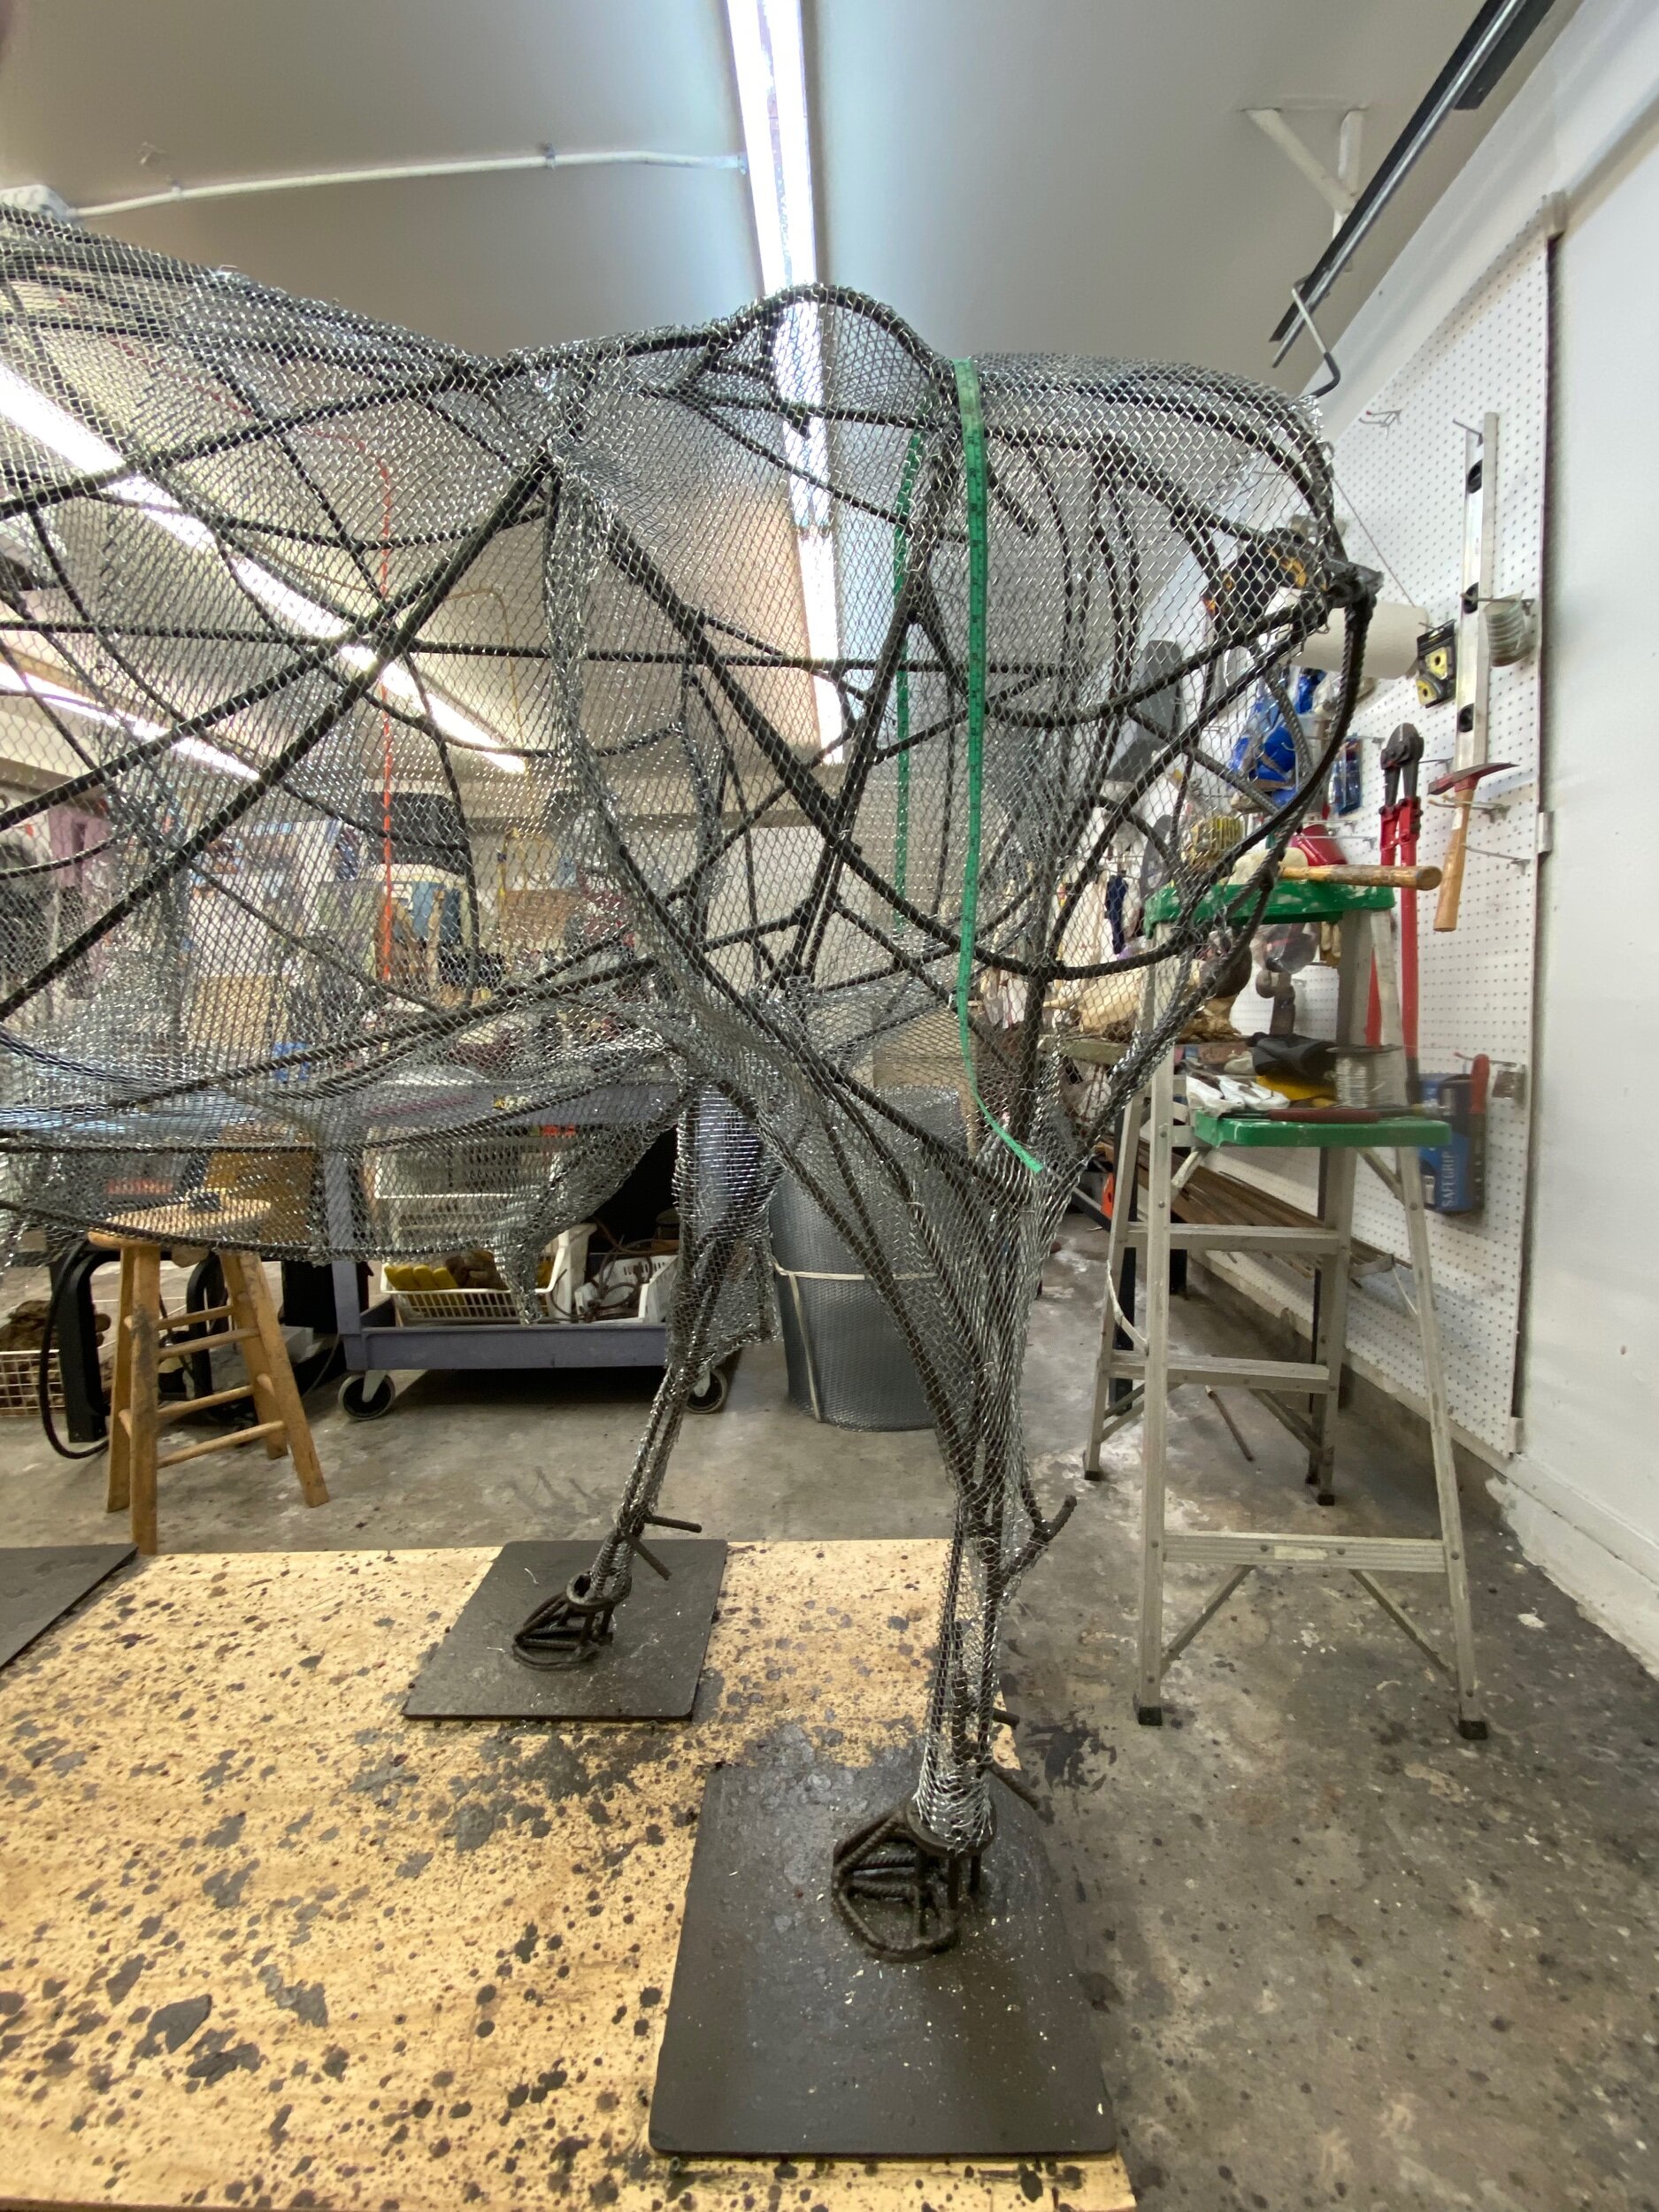
Yes, I use a sewing tape measure
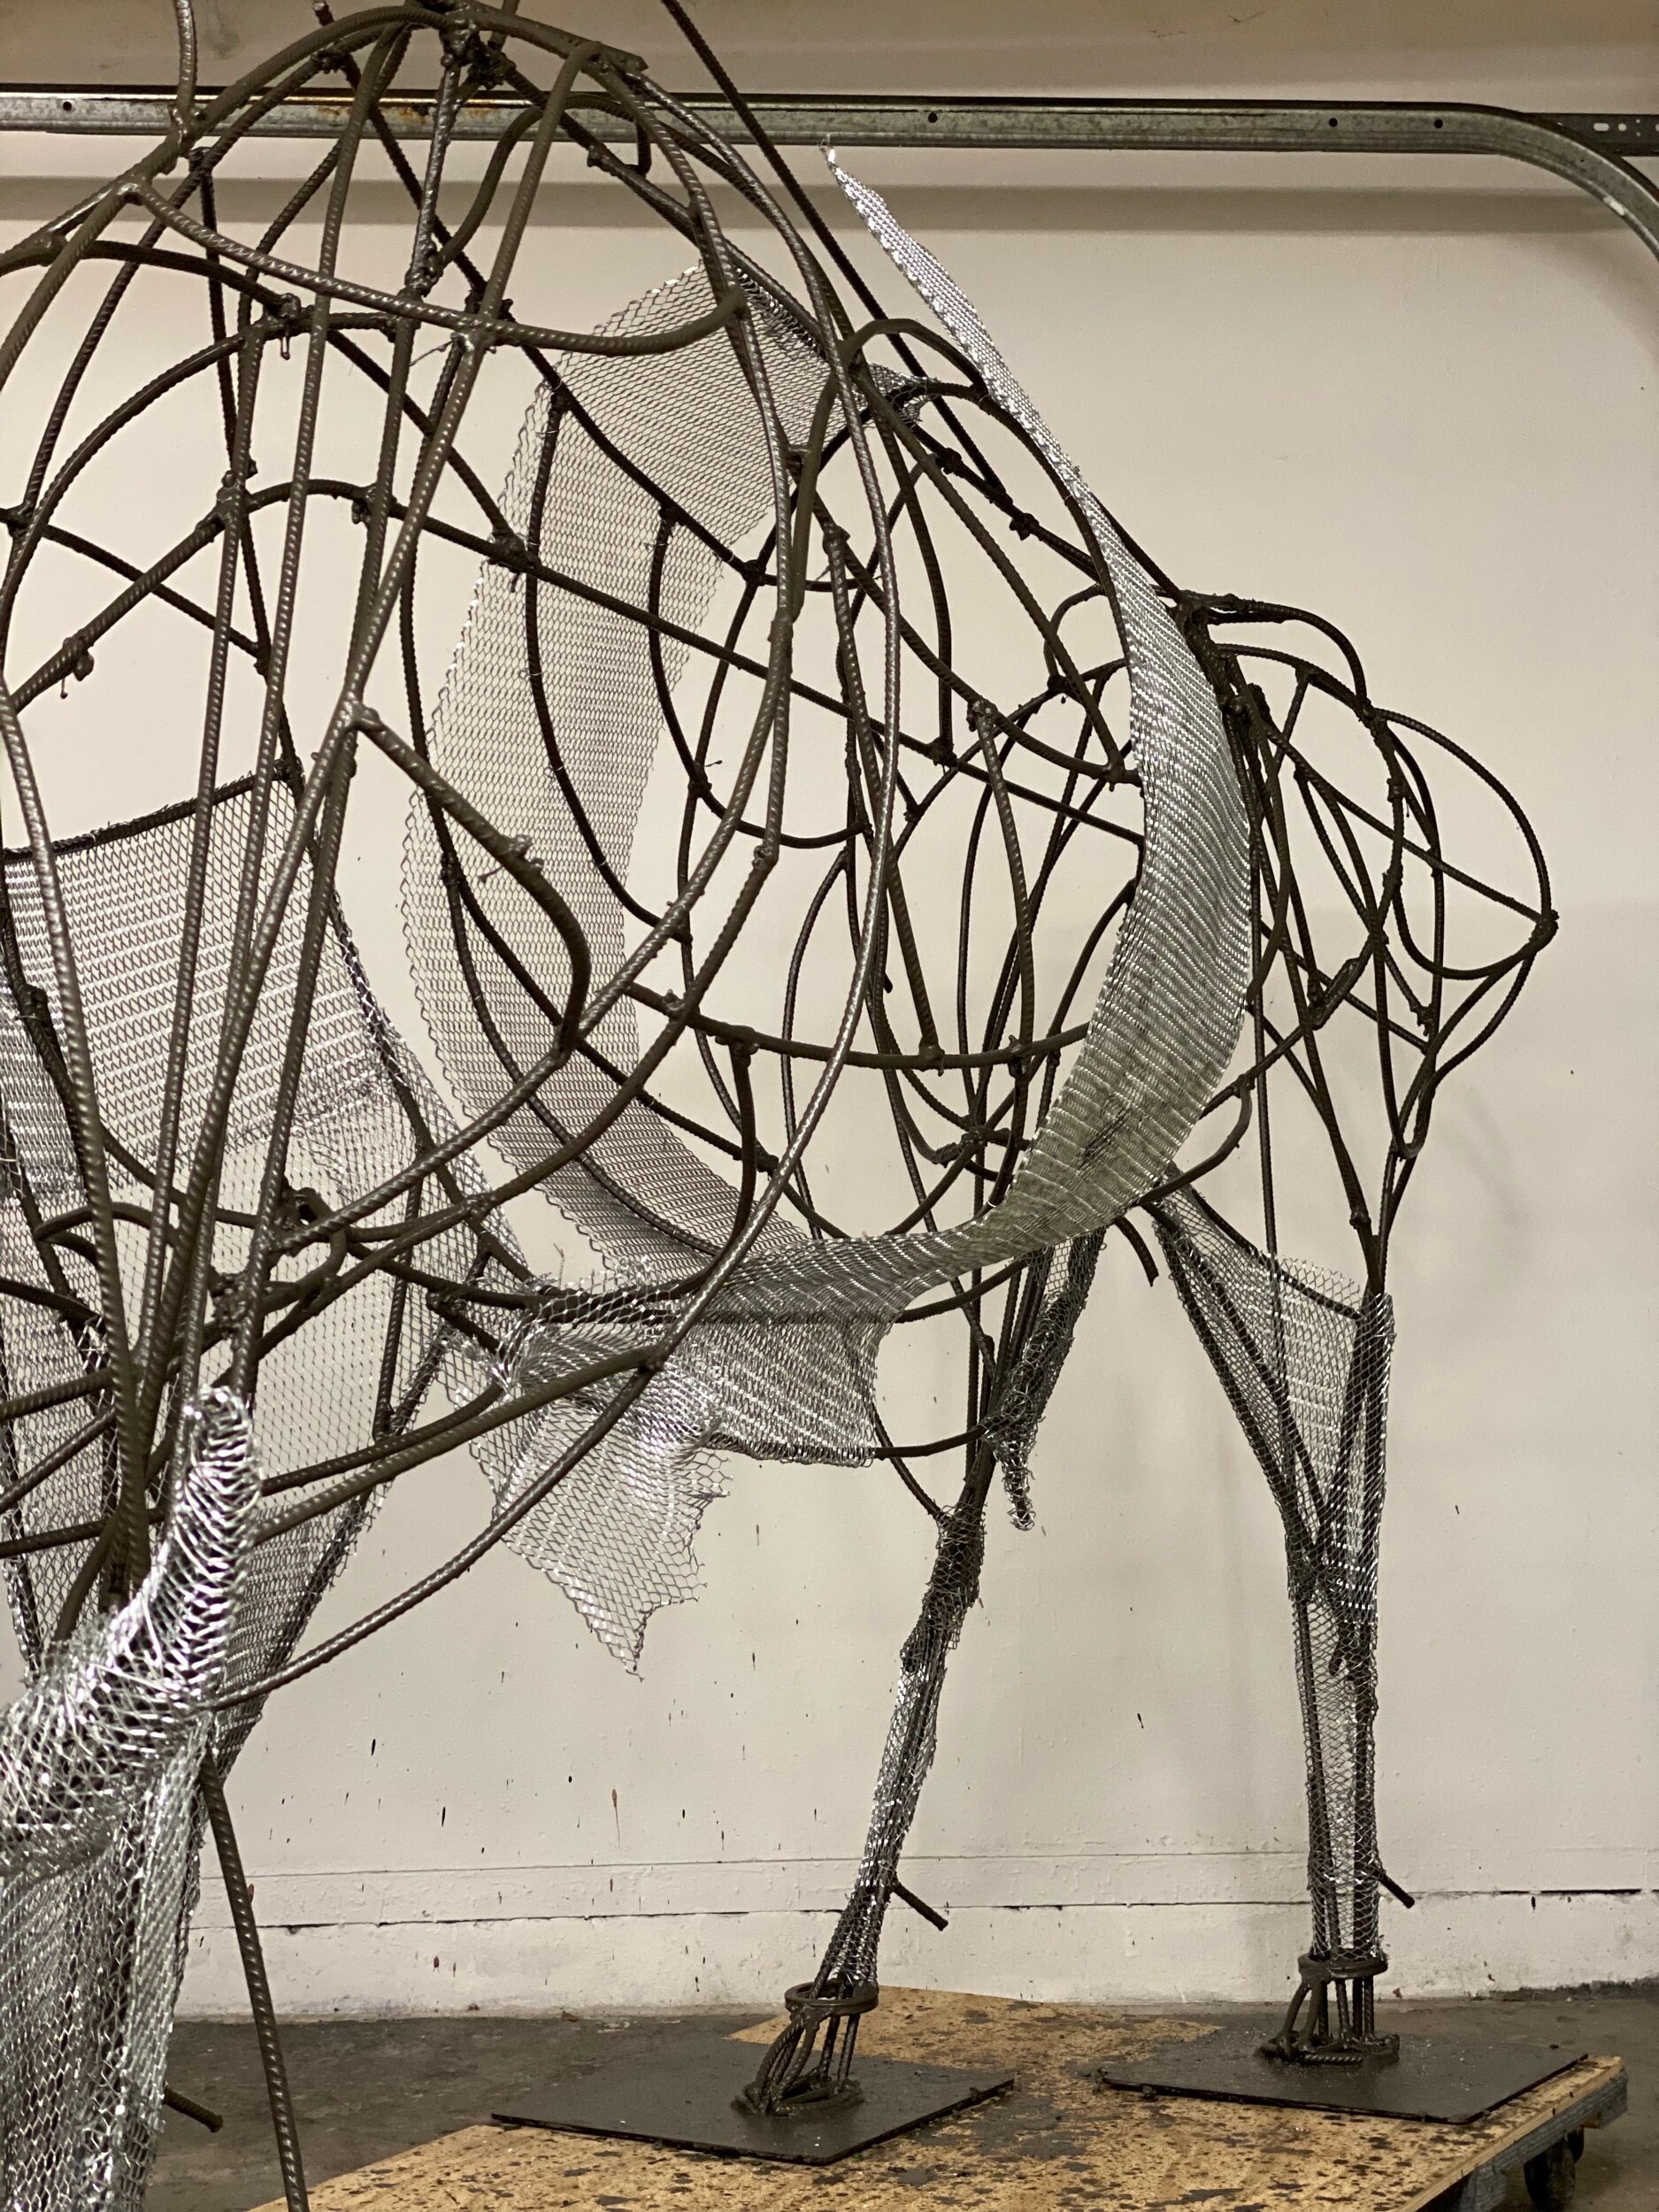
I worked on his middle
Progress from the last two days of work.

Sagged bellie and manhood
Todays work- His right back haunch and leg.
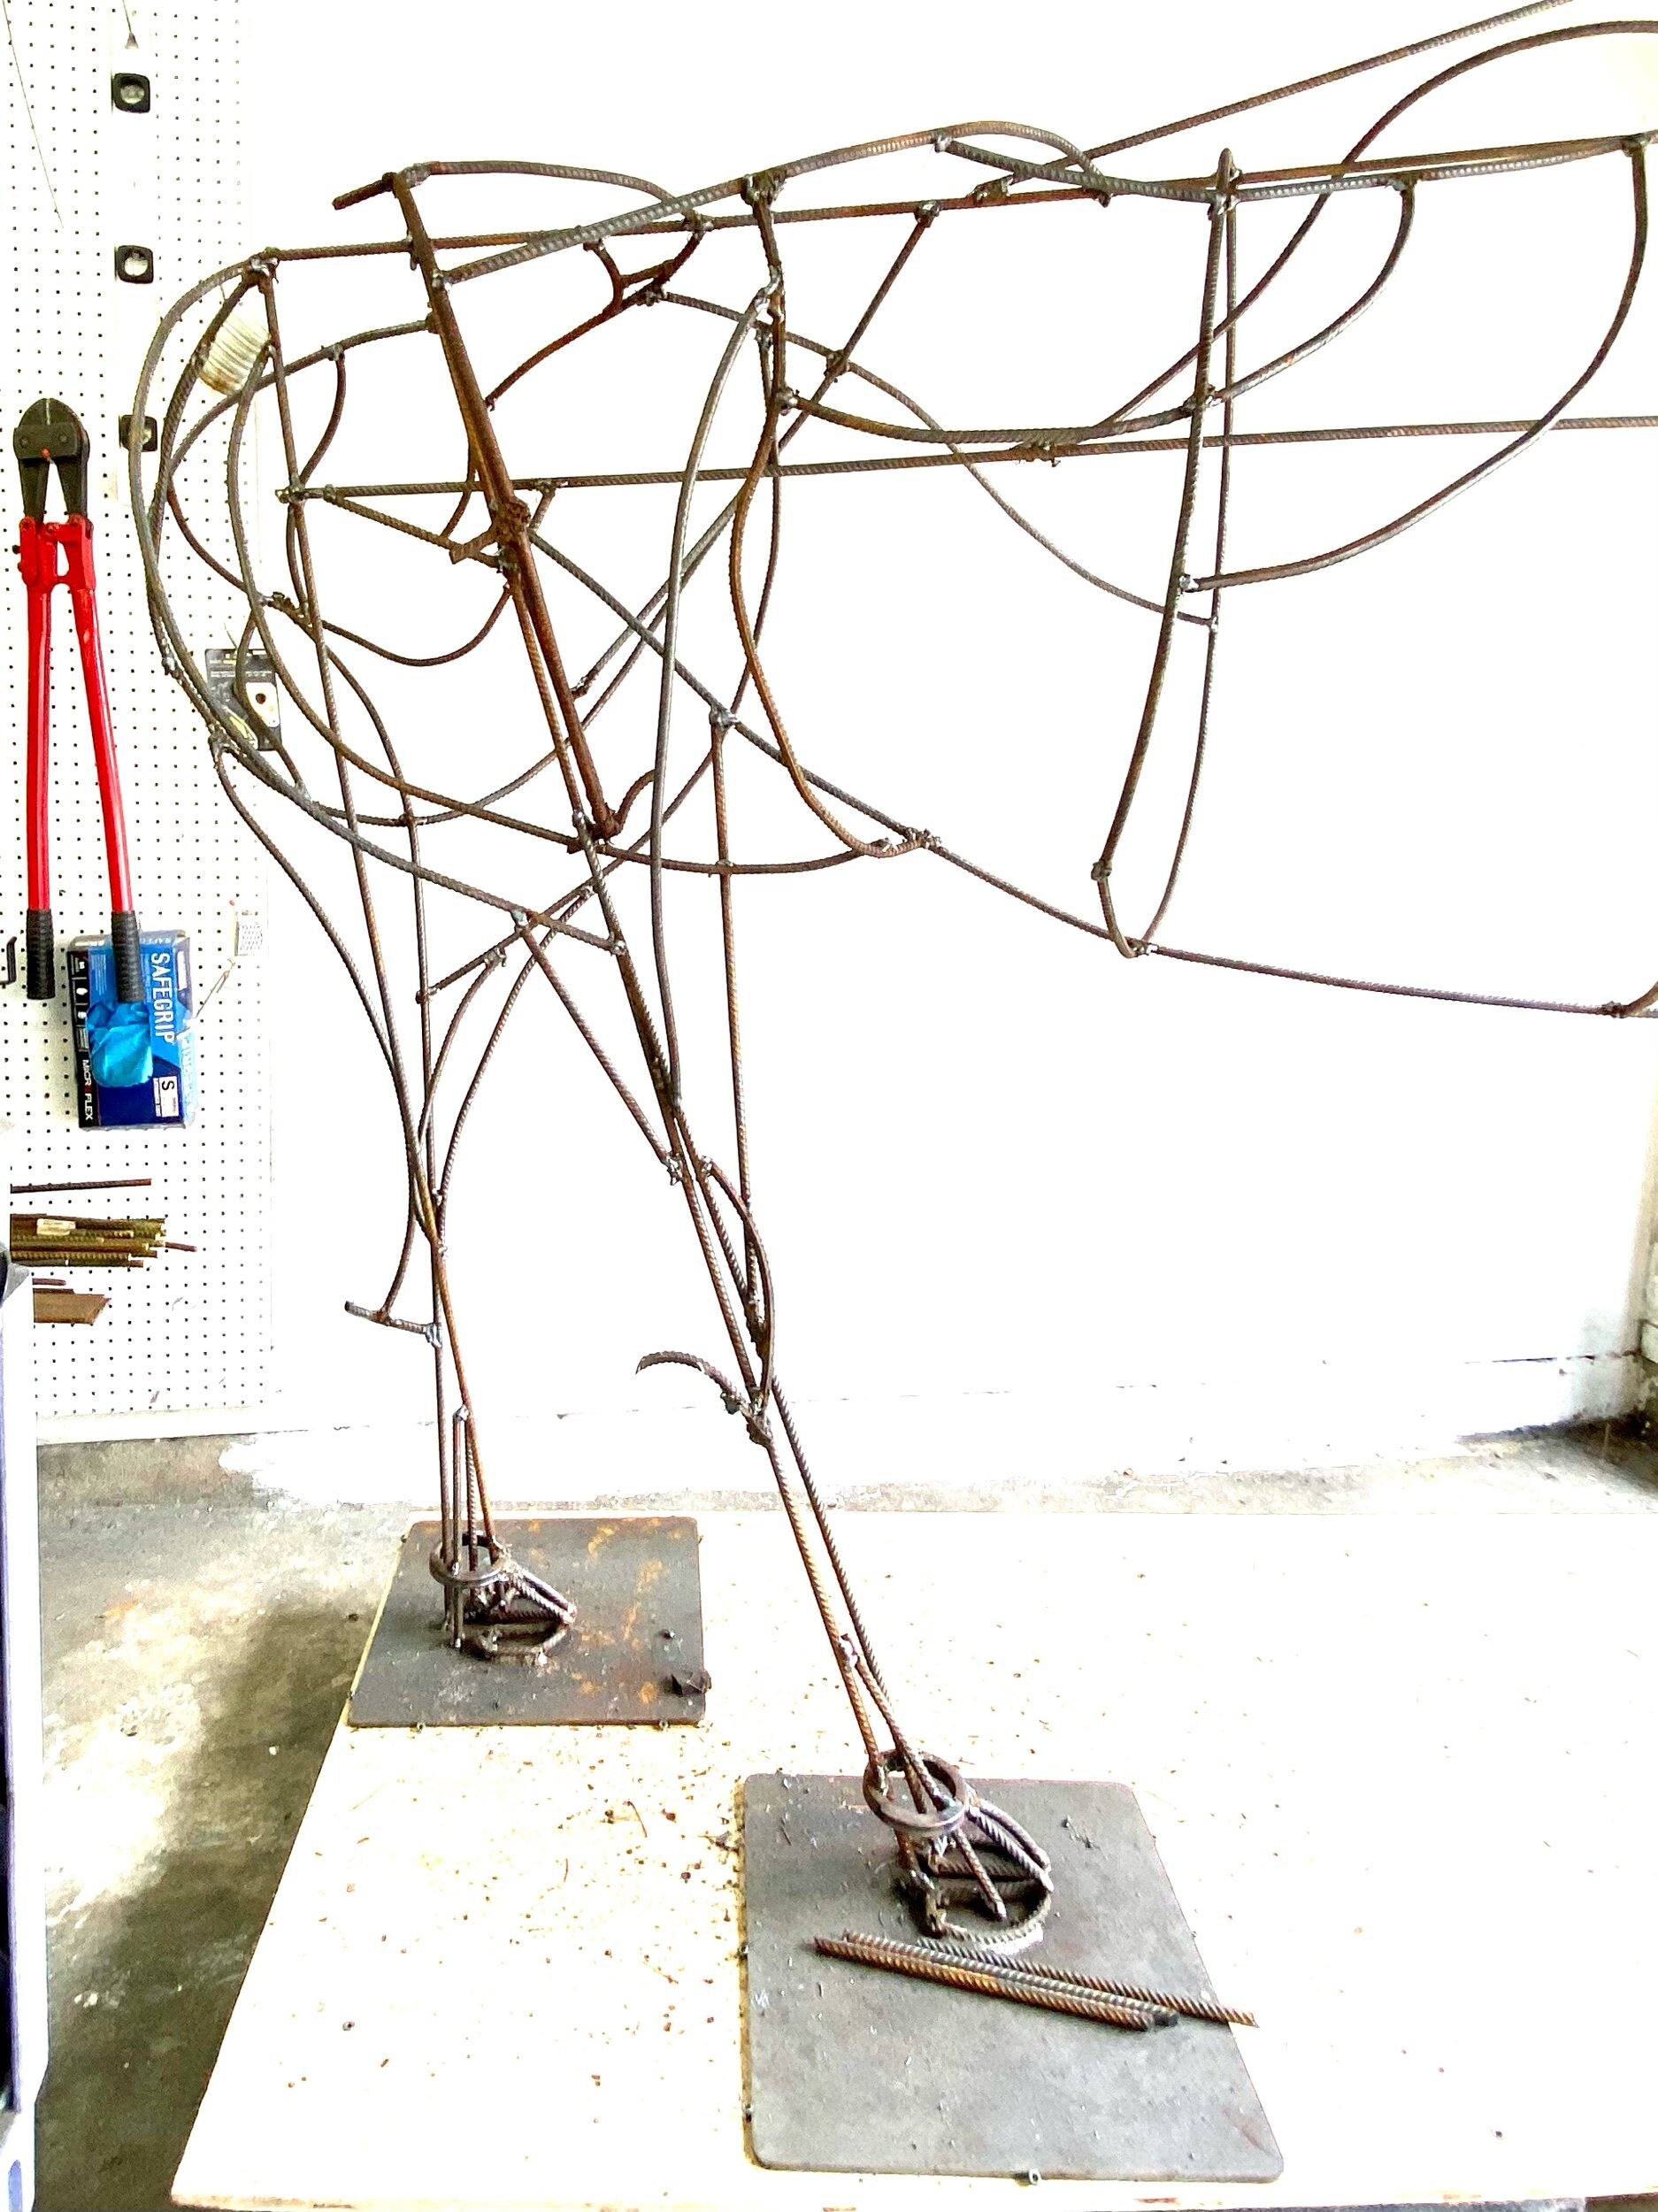


Front legs and right shoulder
20’ more of rebar.

I used 20’ more of rebar today to build the hip bones up on both sides and his right side in the stomach area of his side. I worked from the hip to his shoulder.

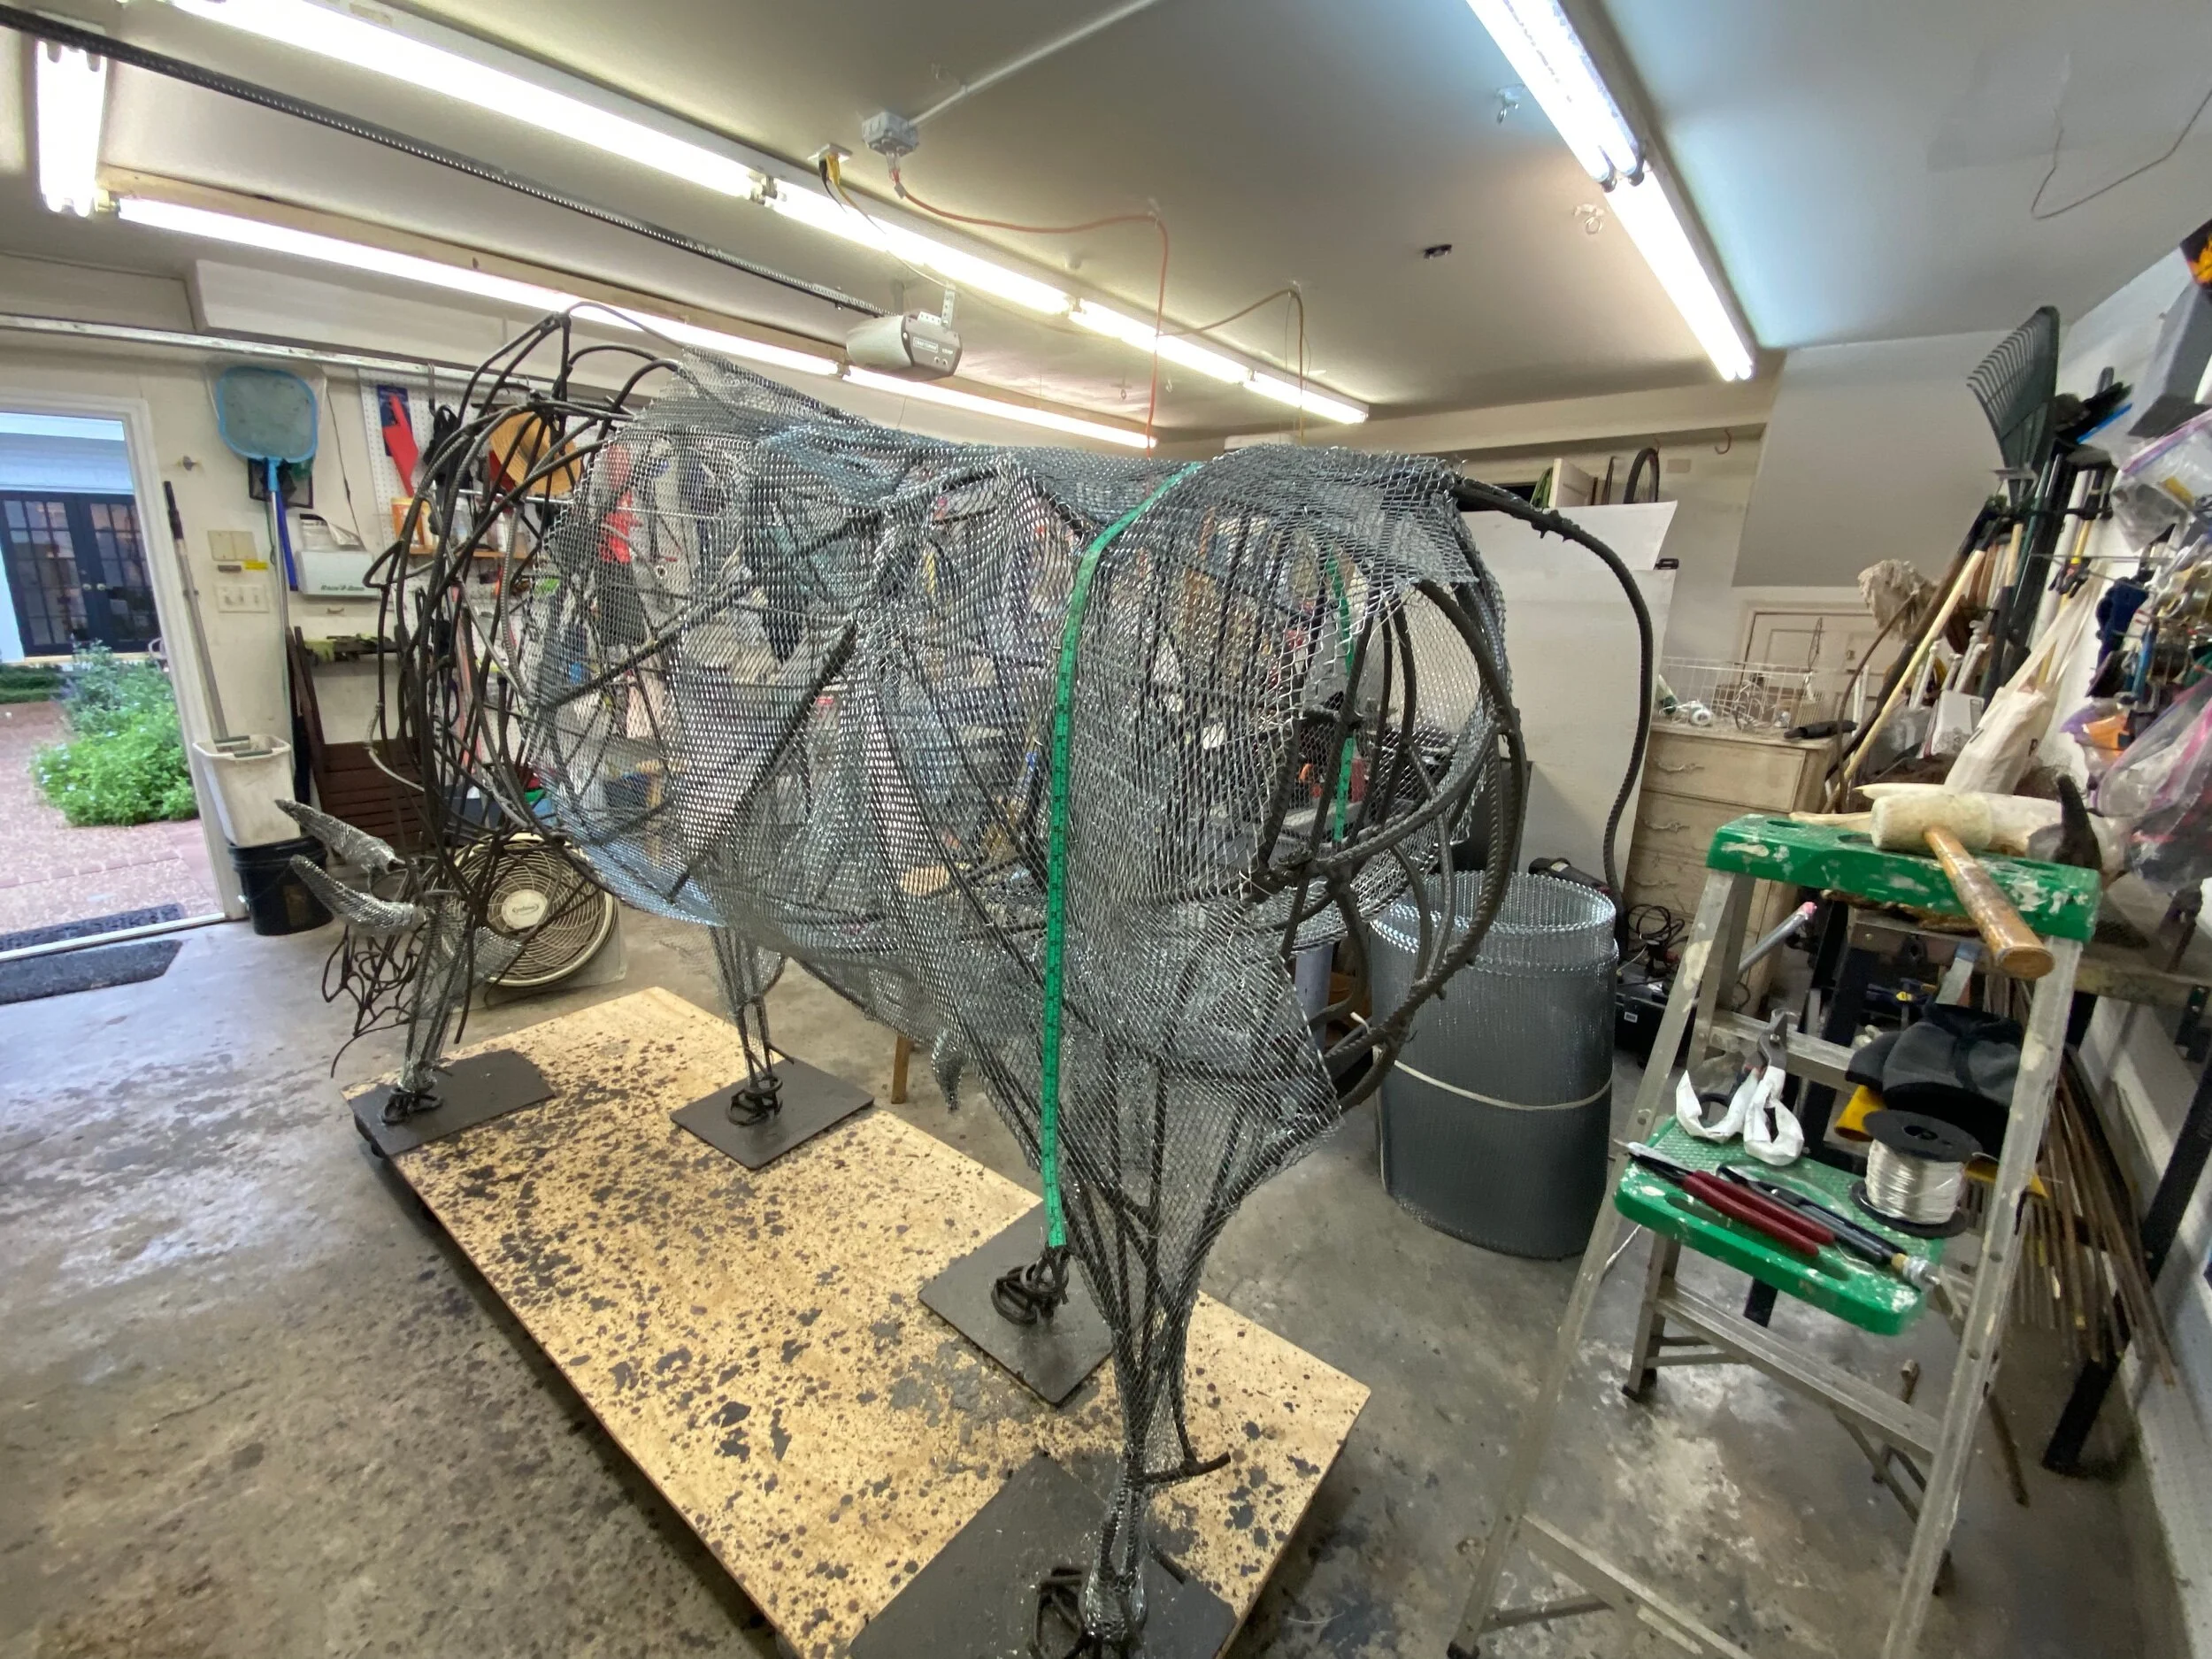
My work space is not large enough to get a good side photo.
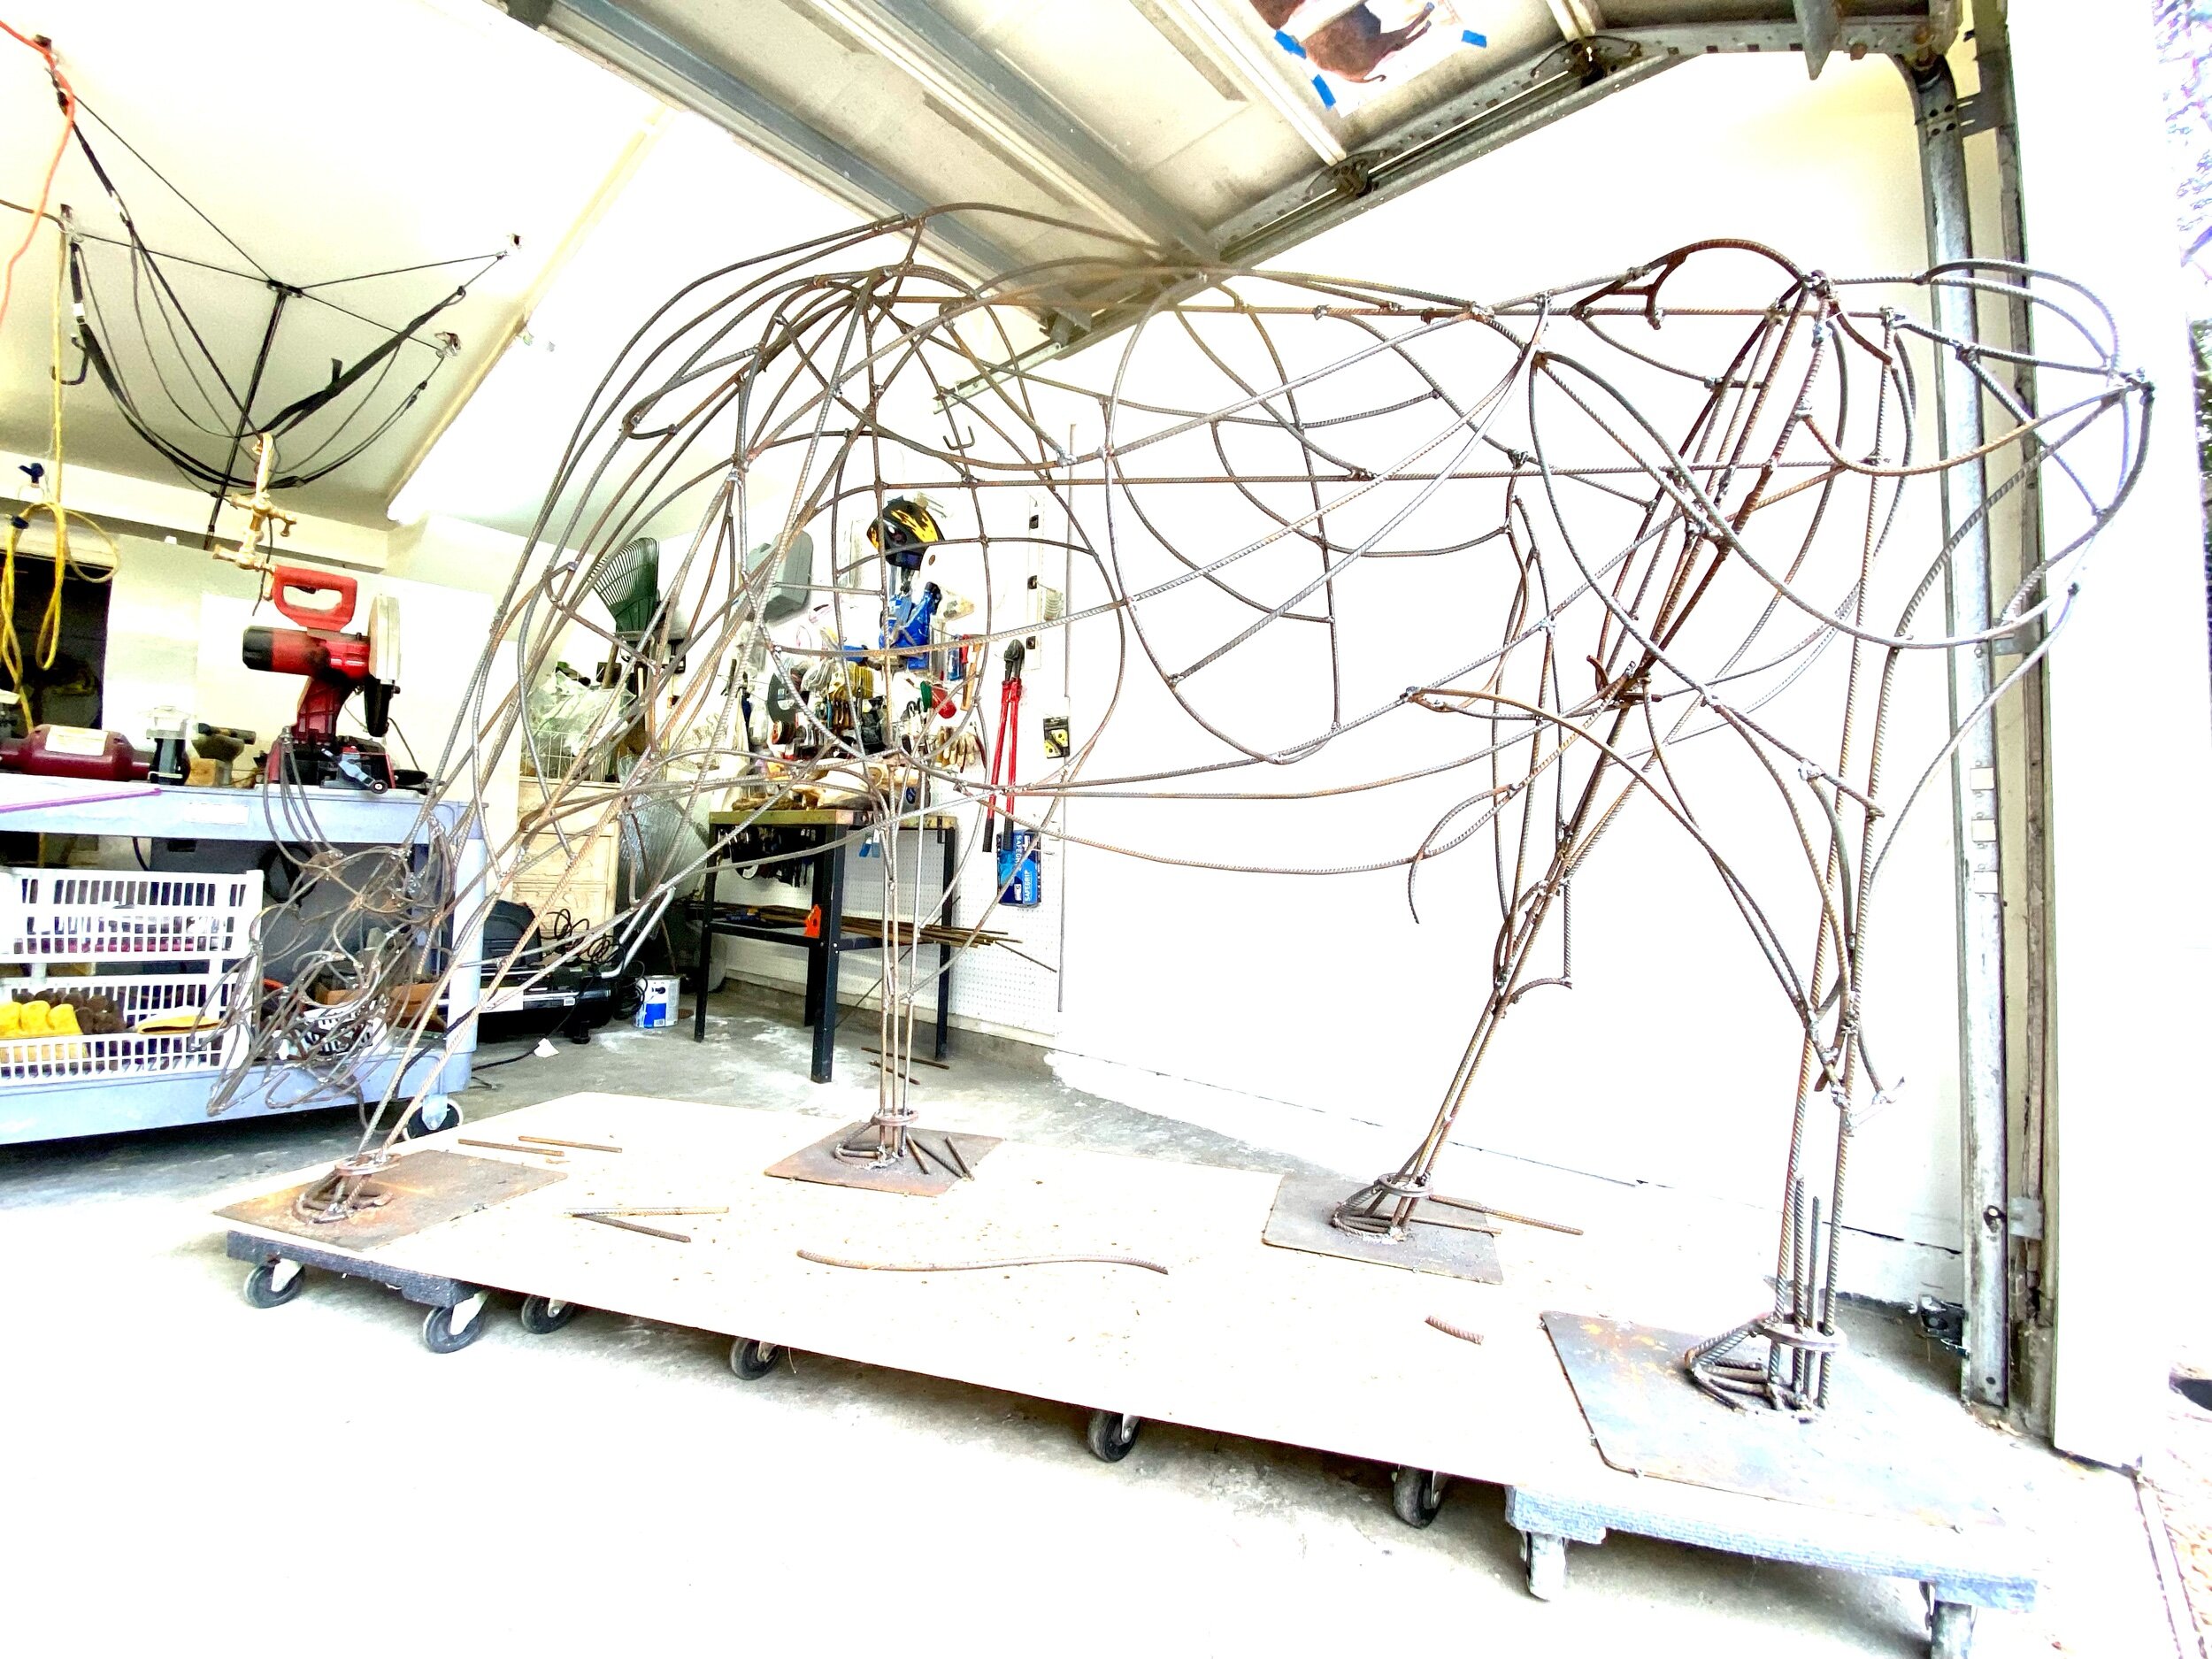
Another big day of welding..I added a big 96” circumference chest. Put the entire piece on four dollies and started his hump. Below are a few pics from todays work.

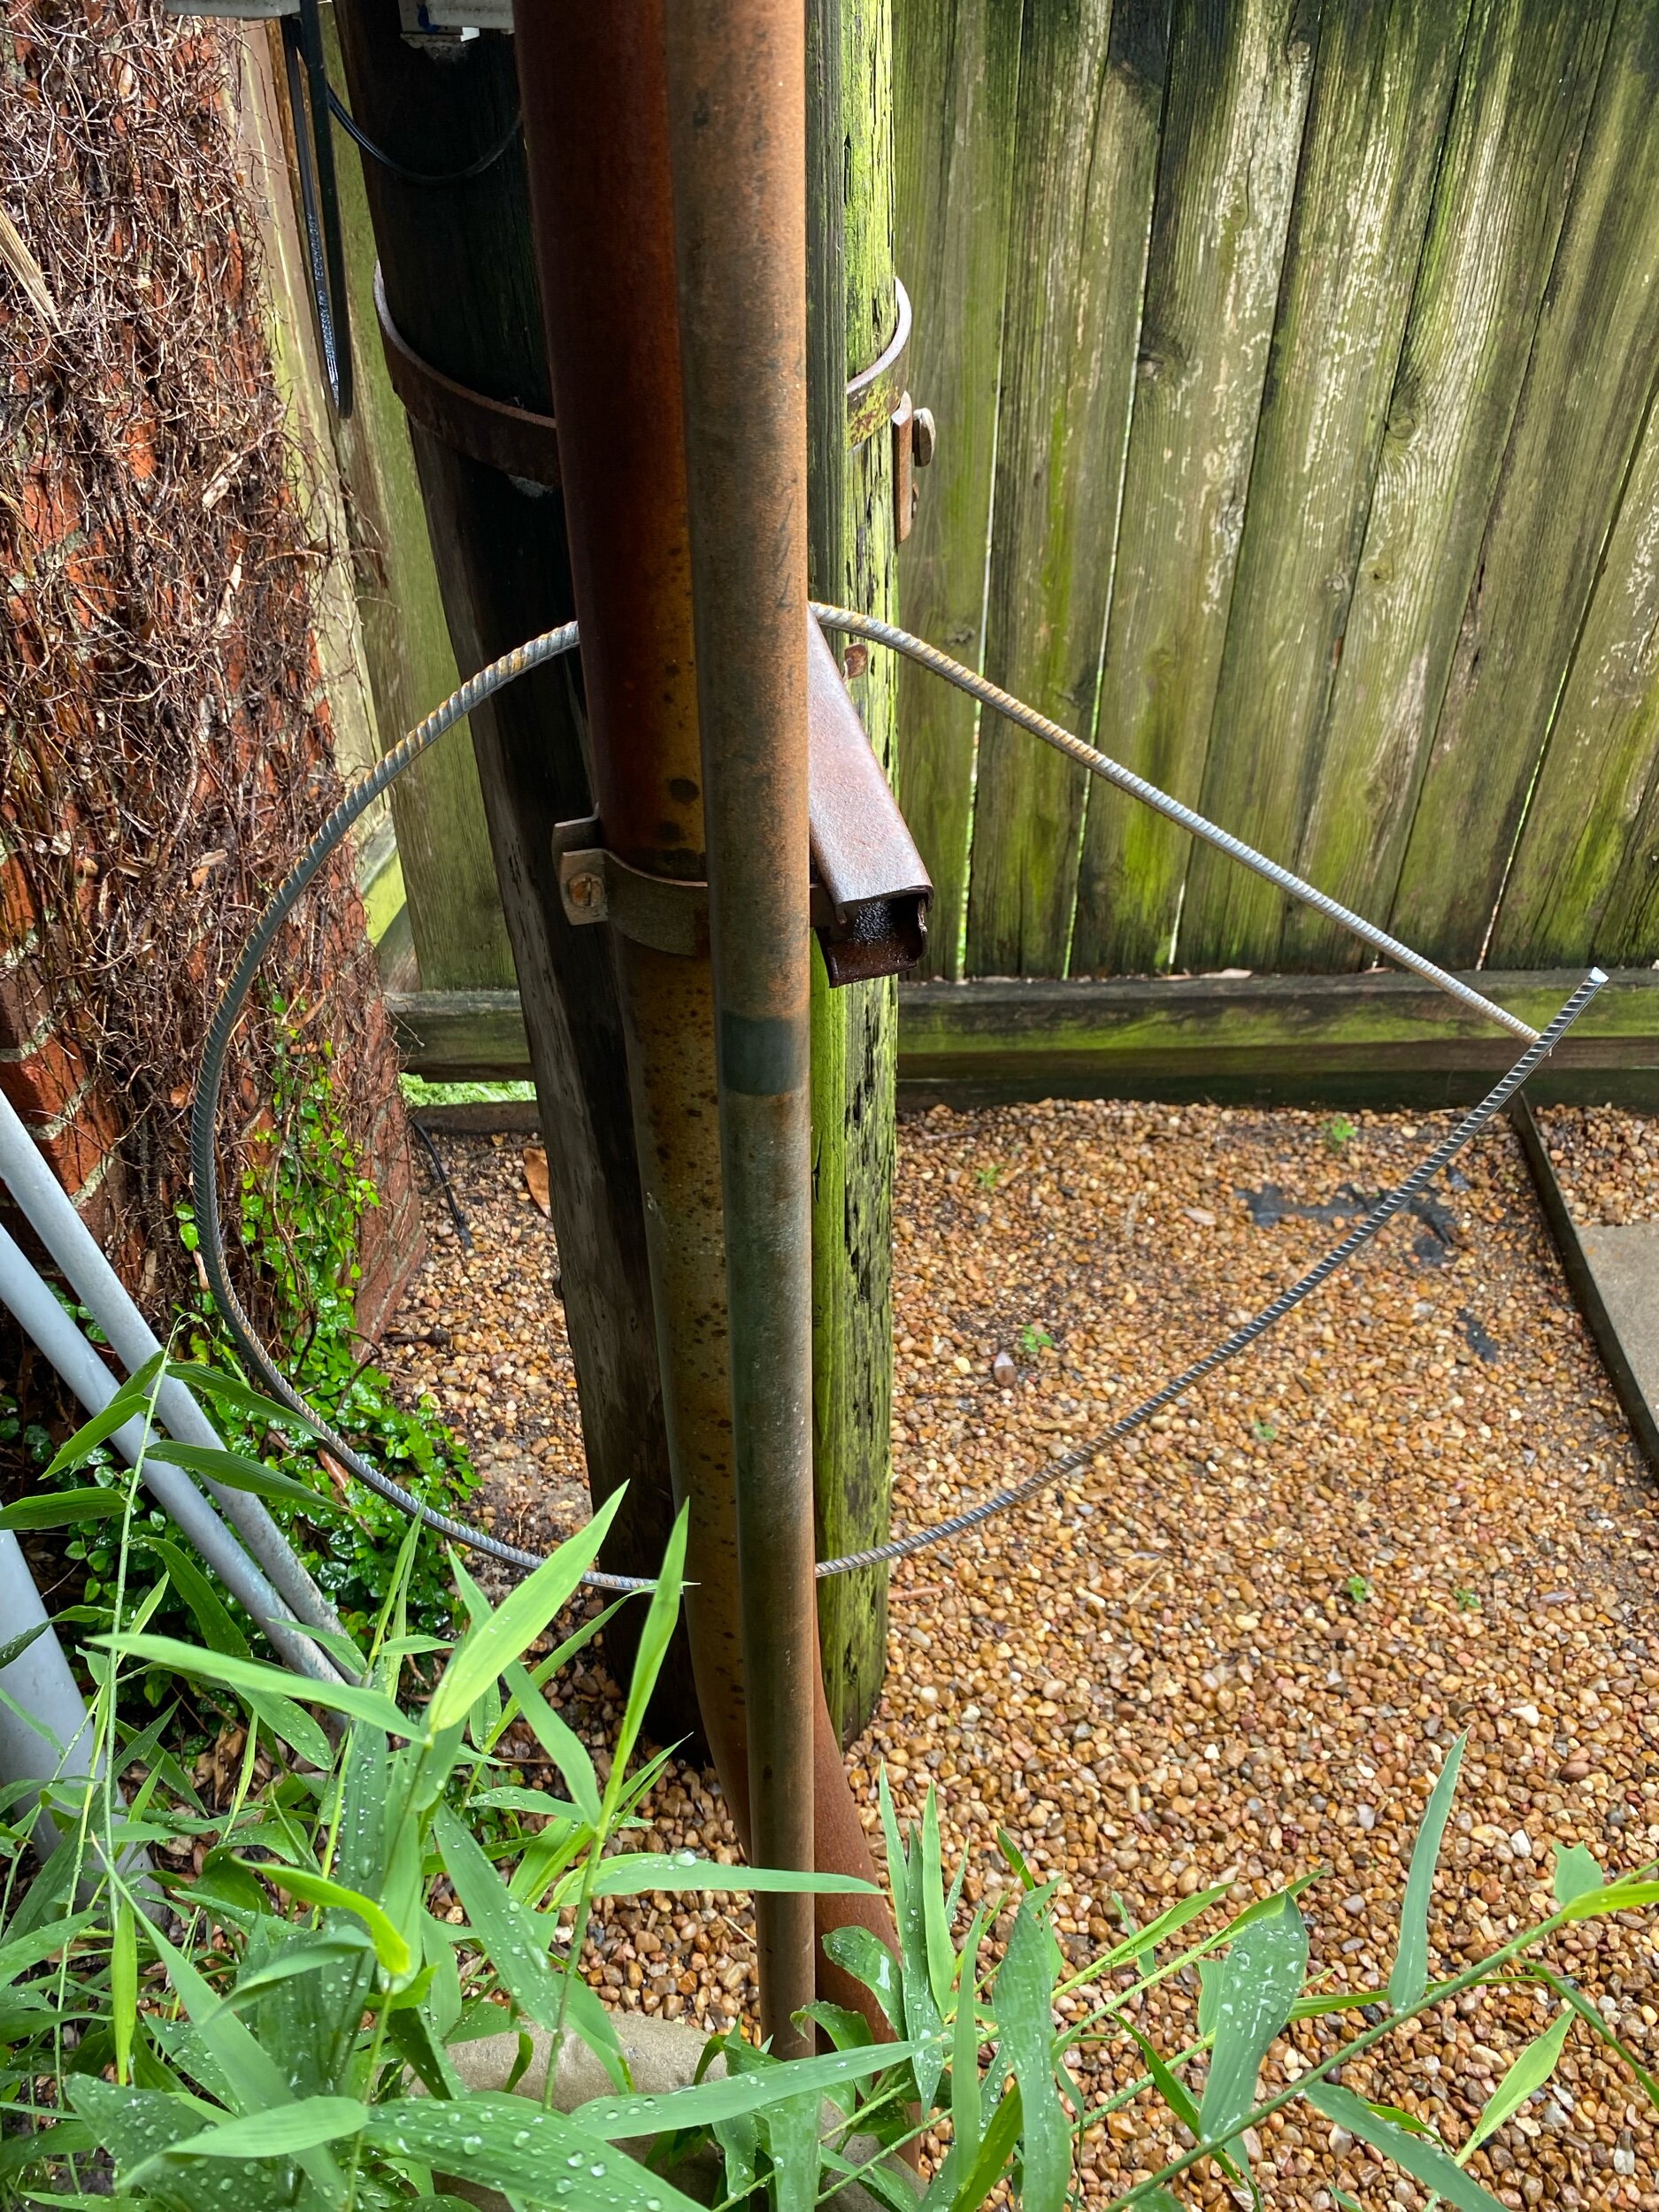
Behind my garage is a telephone pole. I use it to bend my rebar. This is a side view where I am going to bend the piece for the chest.
Halfway to becoming a bison chest.
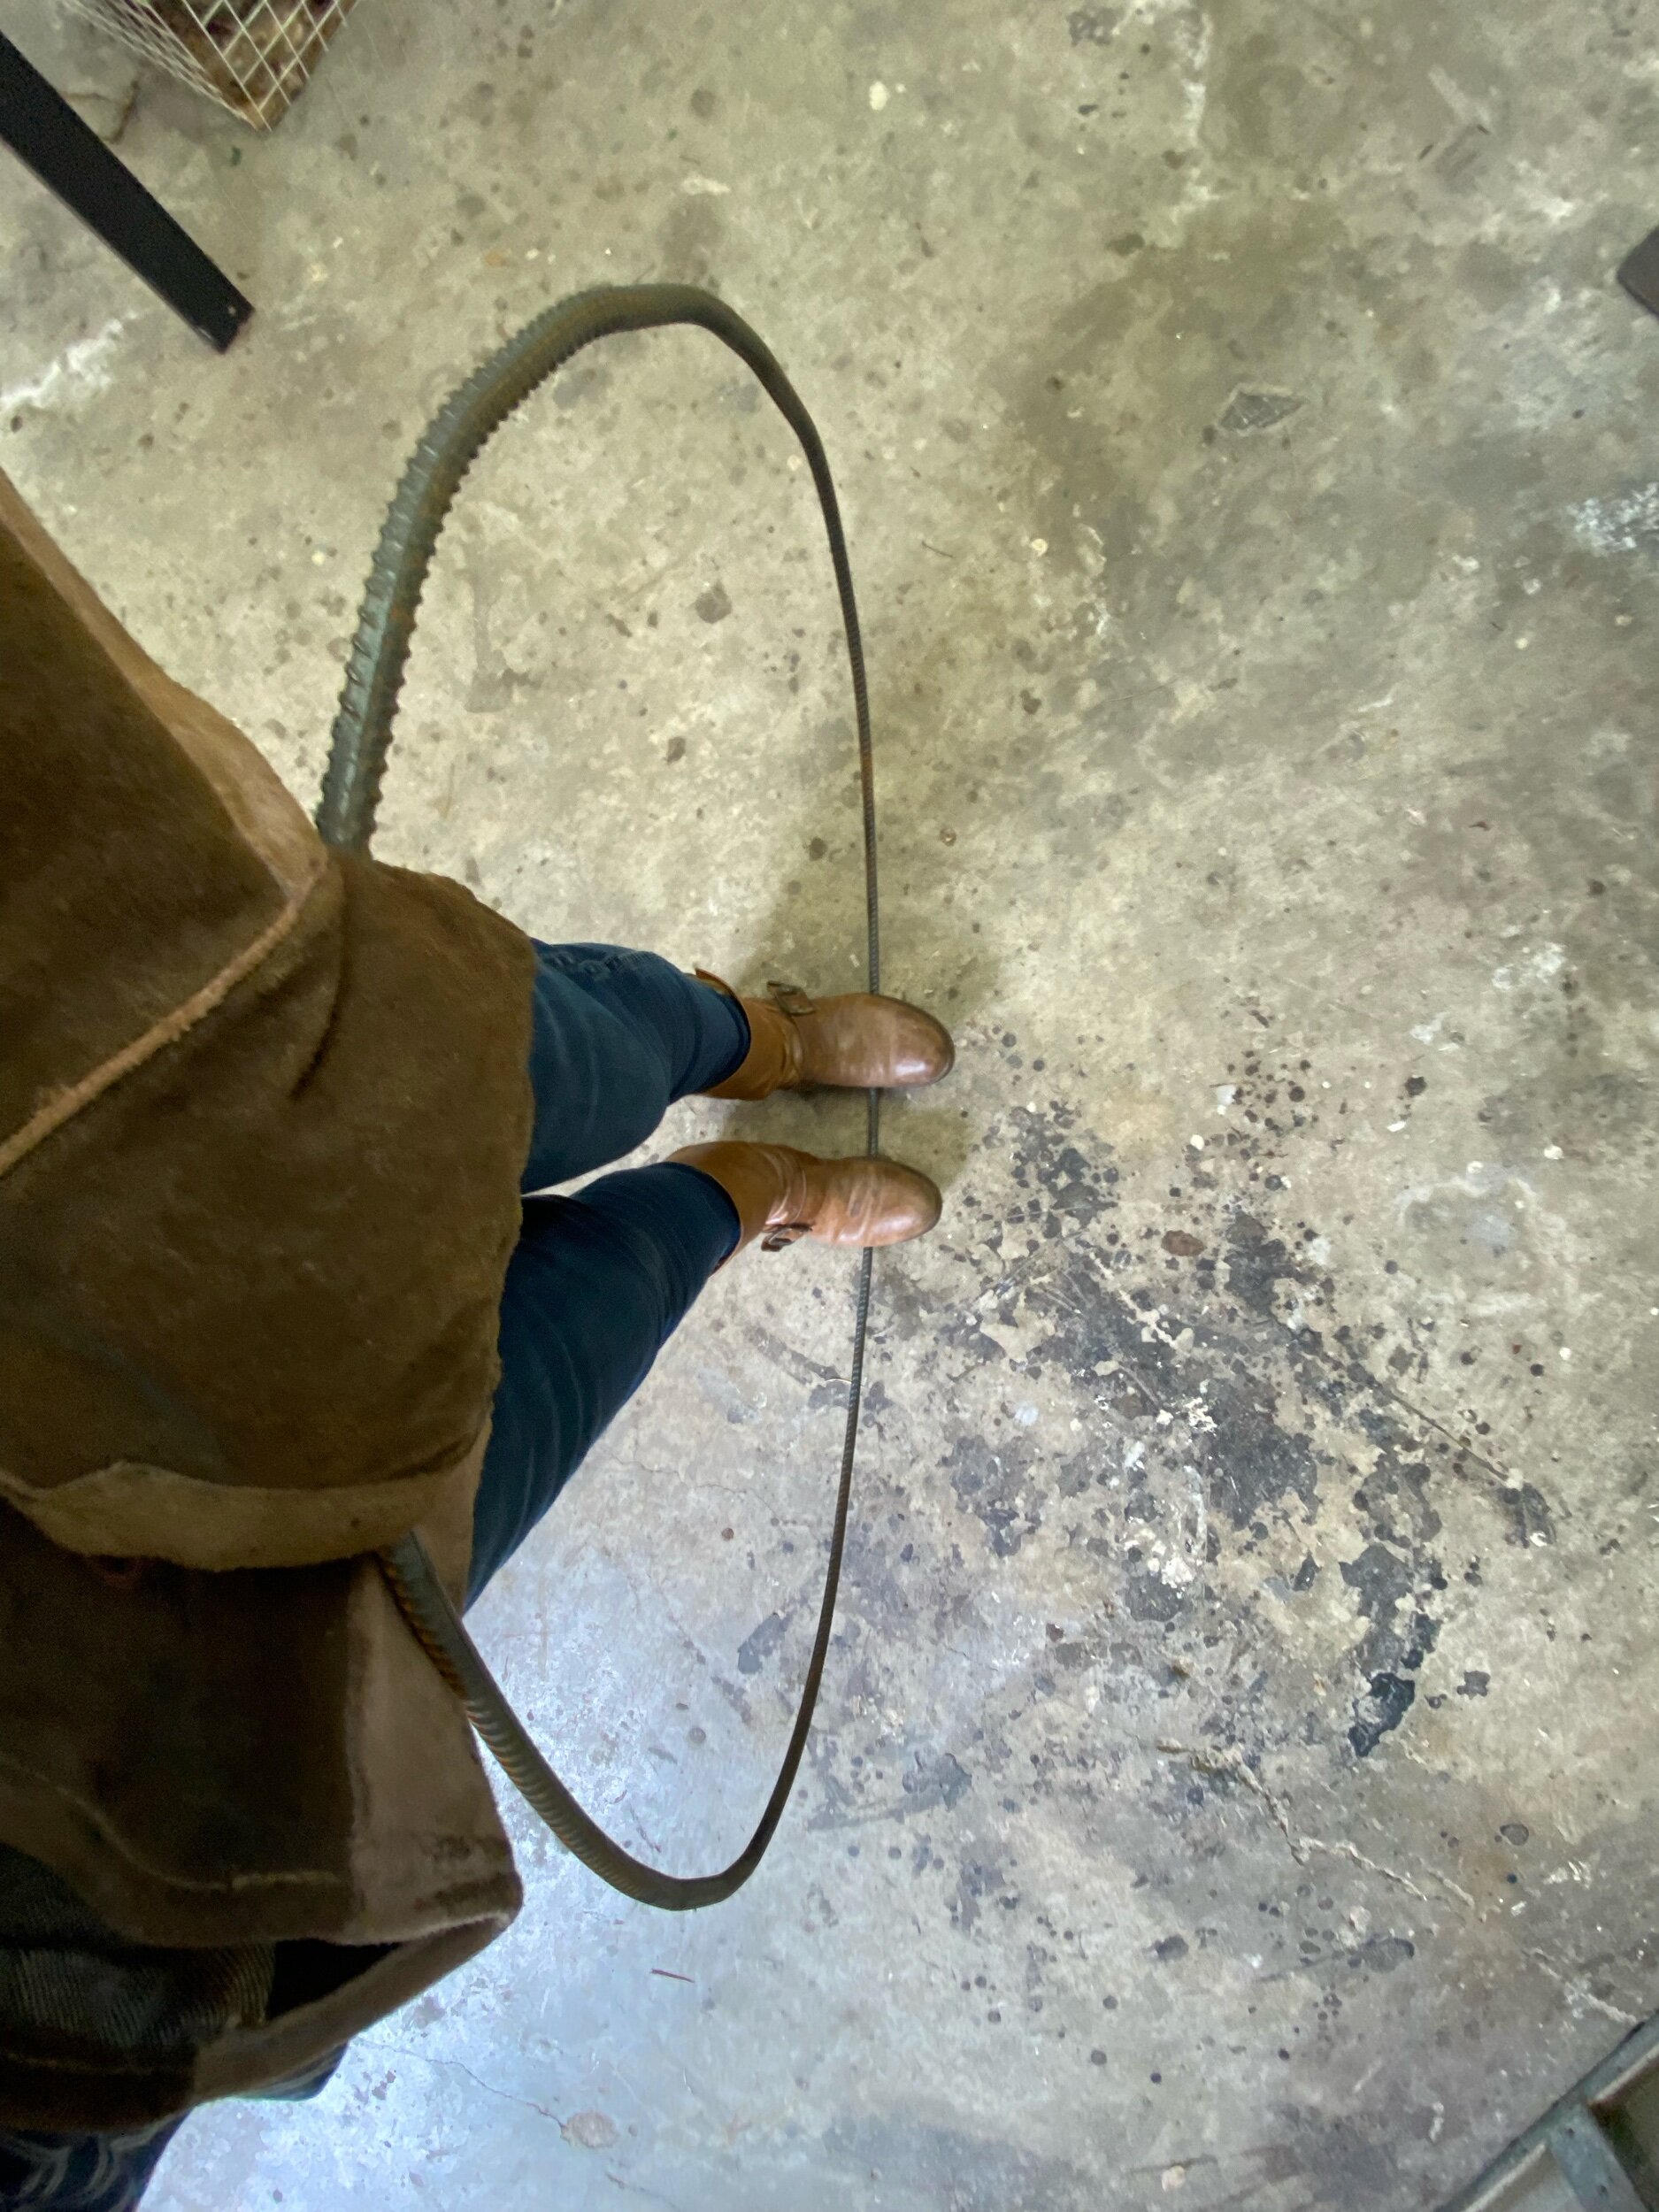
Then I use my weight to even out the shape.

I hang the chest over the back and decide if it is big enough.

Next I weld the ends together .

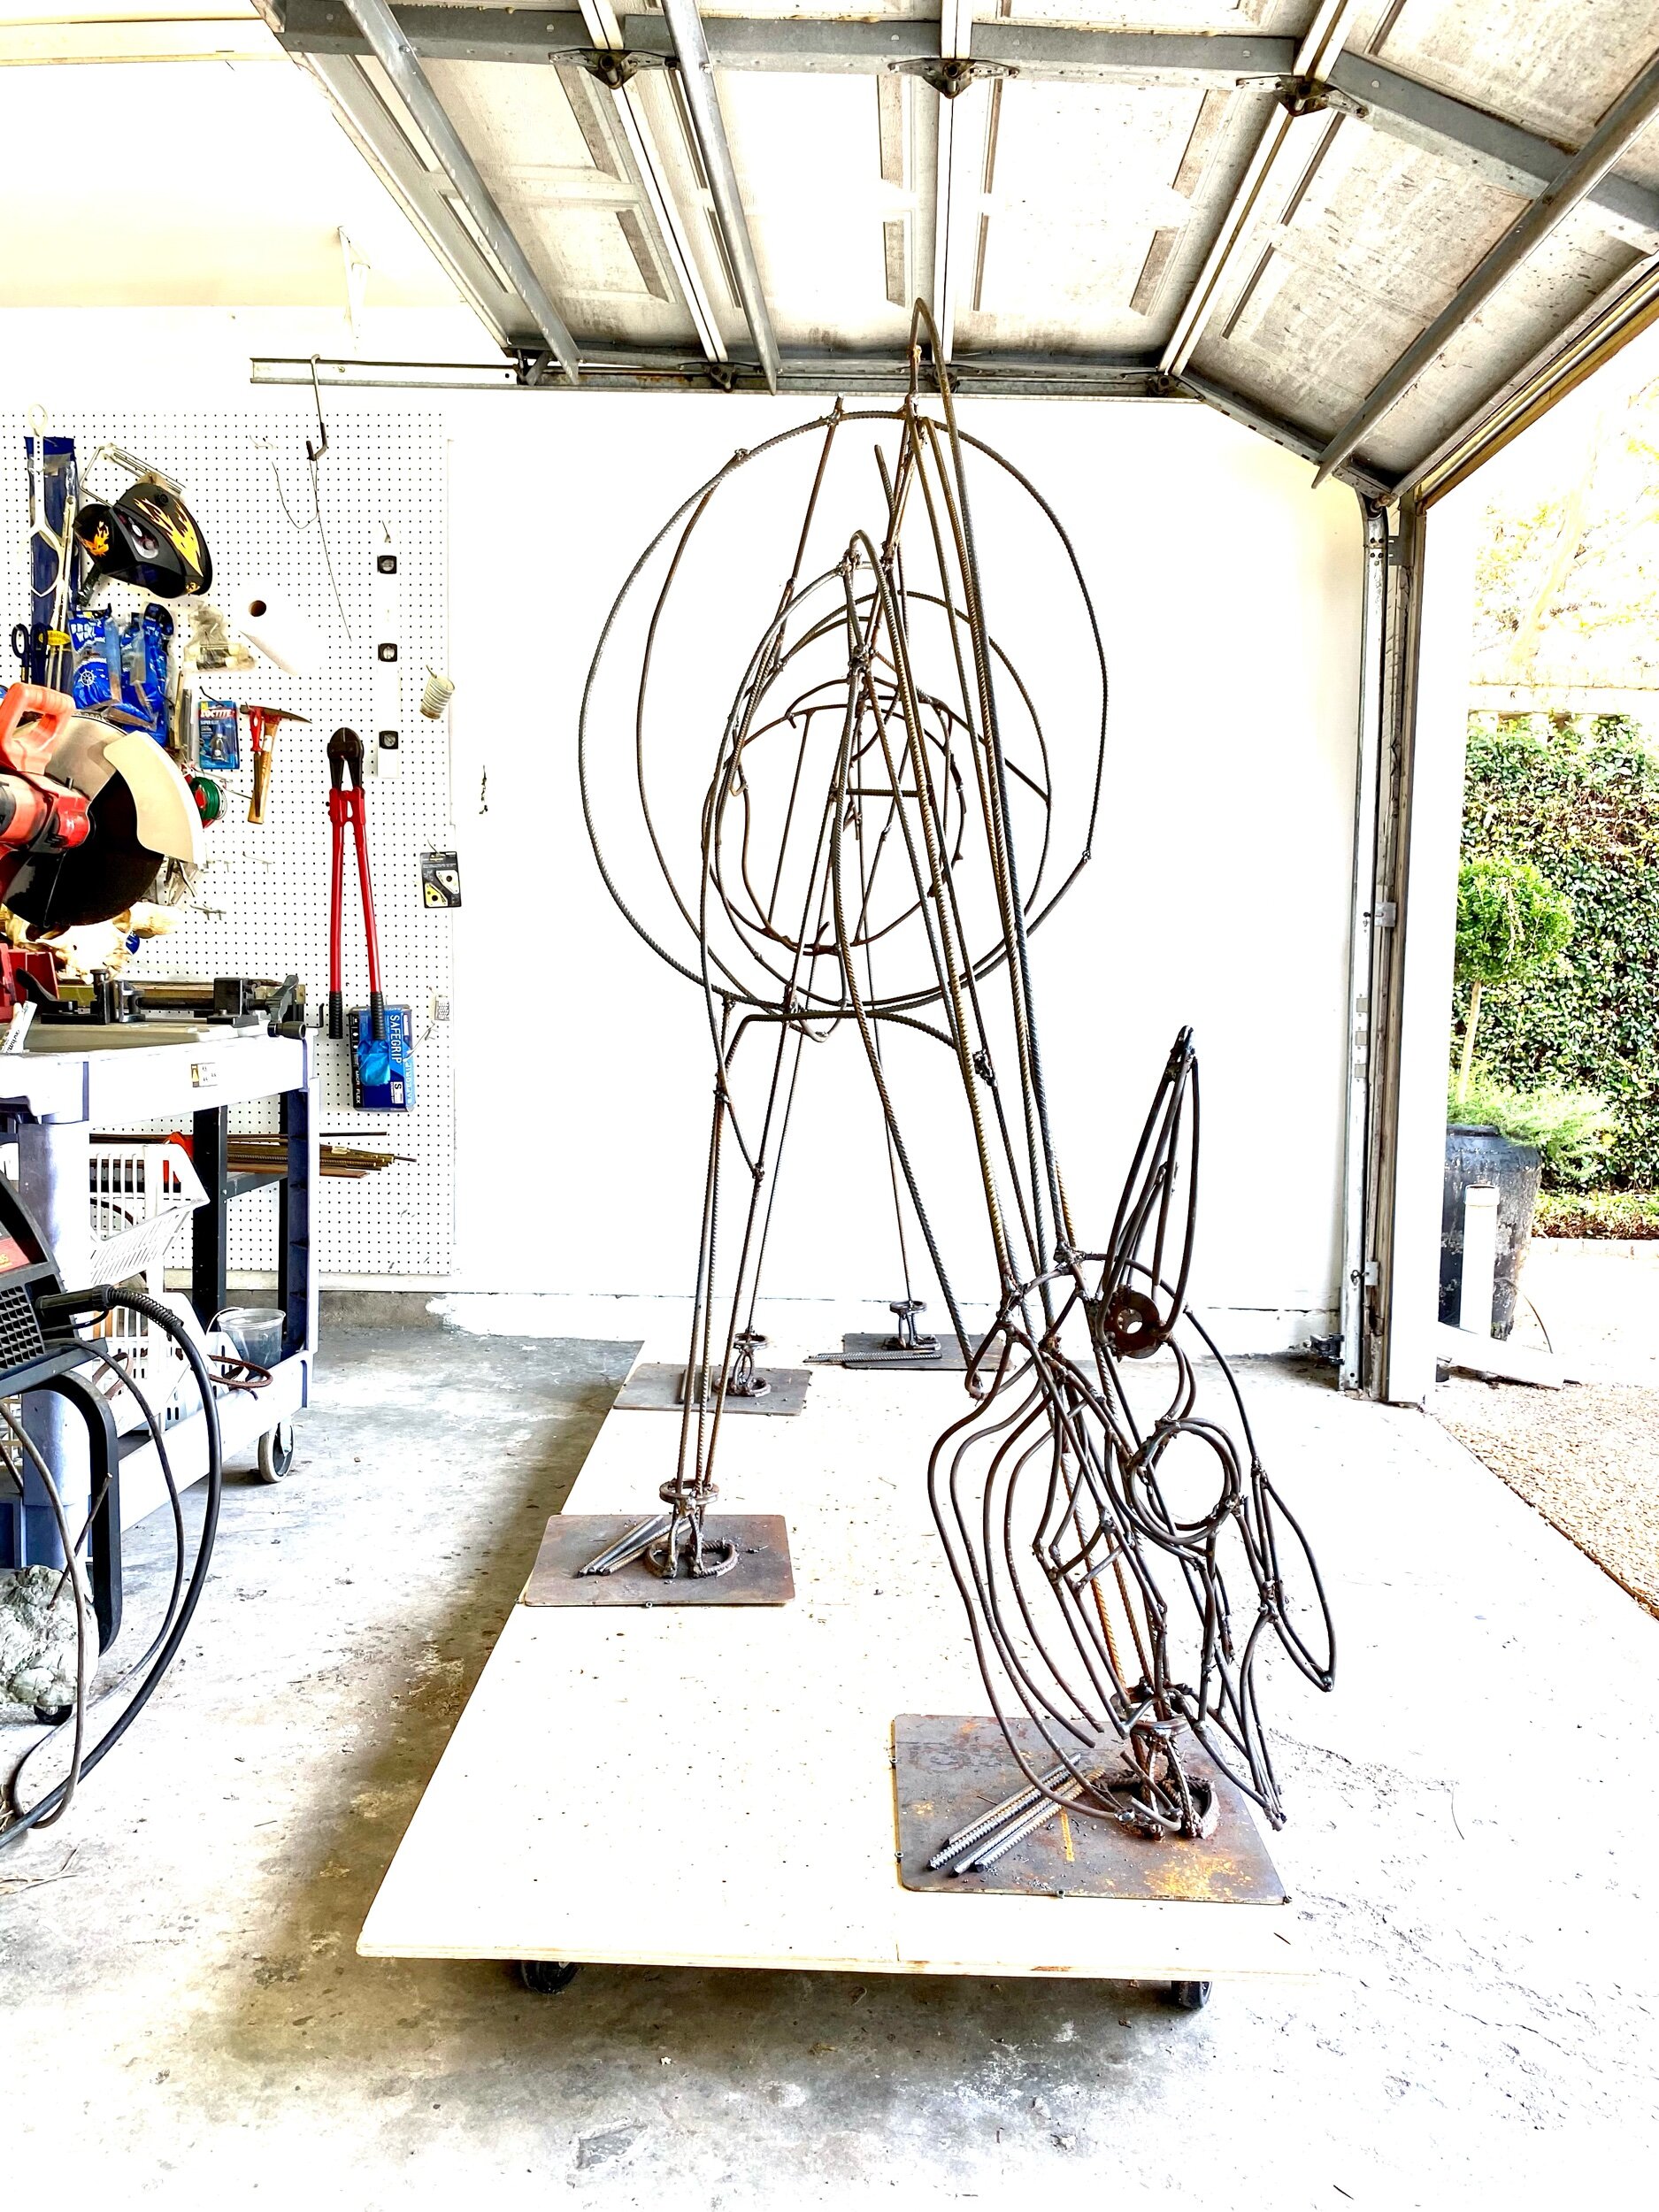
Recycling some old dollies from past work and deciding on the best plan. Balance and portability is the goal. The brown paper is the footprint of my bisons. Each leg is supported by a dollie.

Thanks to Curtis for getting me the plywood and helping me mount the beast. This is just for while I work on the sculpture and for transportation. It is not part of the work.

Just goofing around

My garage studio assistant is taking a sun break.
Starting to assemble the hump.

And that's a wrap.
July 5th.
Attaching the head—
I welded just one connection from the neck to the head. As I assemble other parts of his body I will continue to evaluate the position of the head. I want him to be his reaching to the side searching for the next blades of grass within the reach of his massive head and tongue. With only one weld I can easily cut it off if I decide it is not in the right place or at the right angle. I do enjoy having a bobblehead bison in my garage for a while.
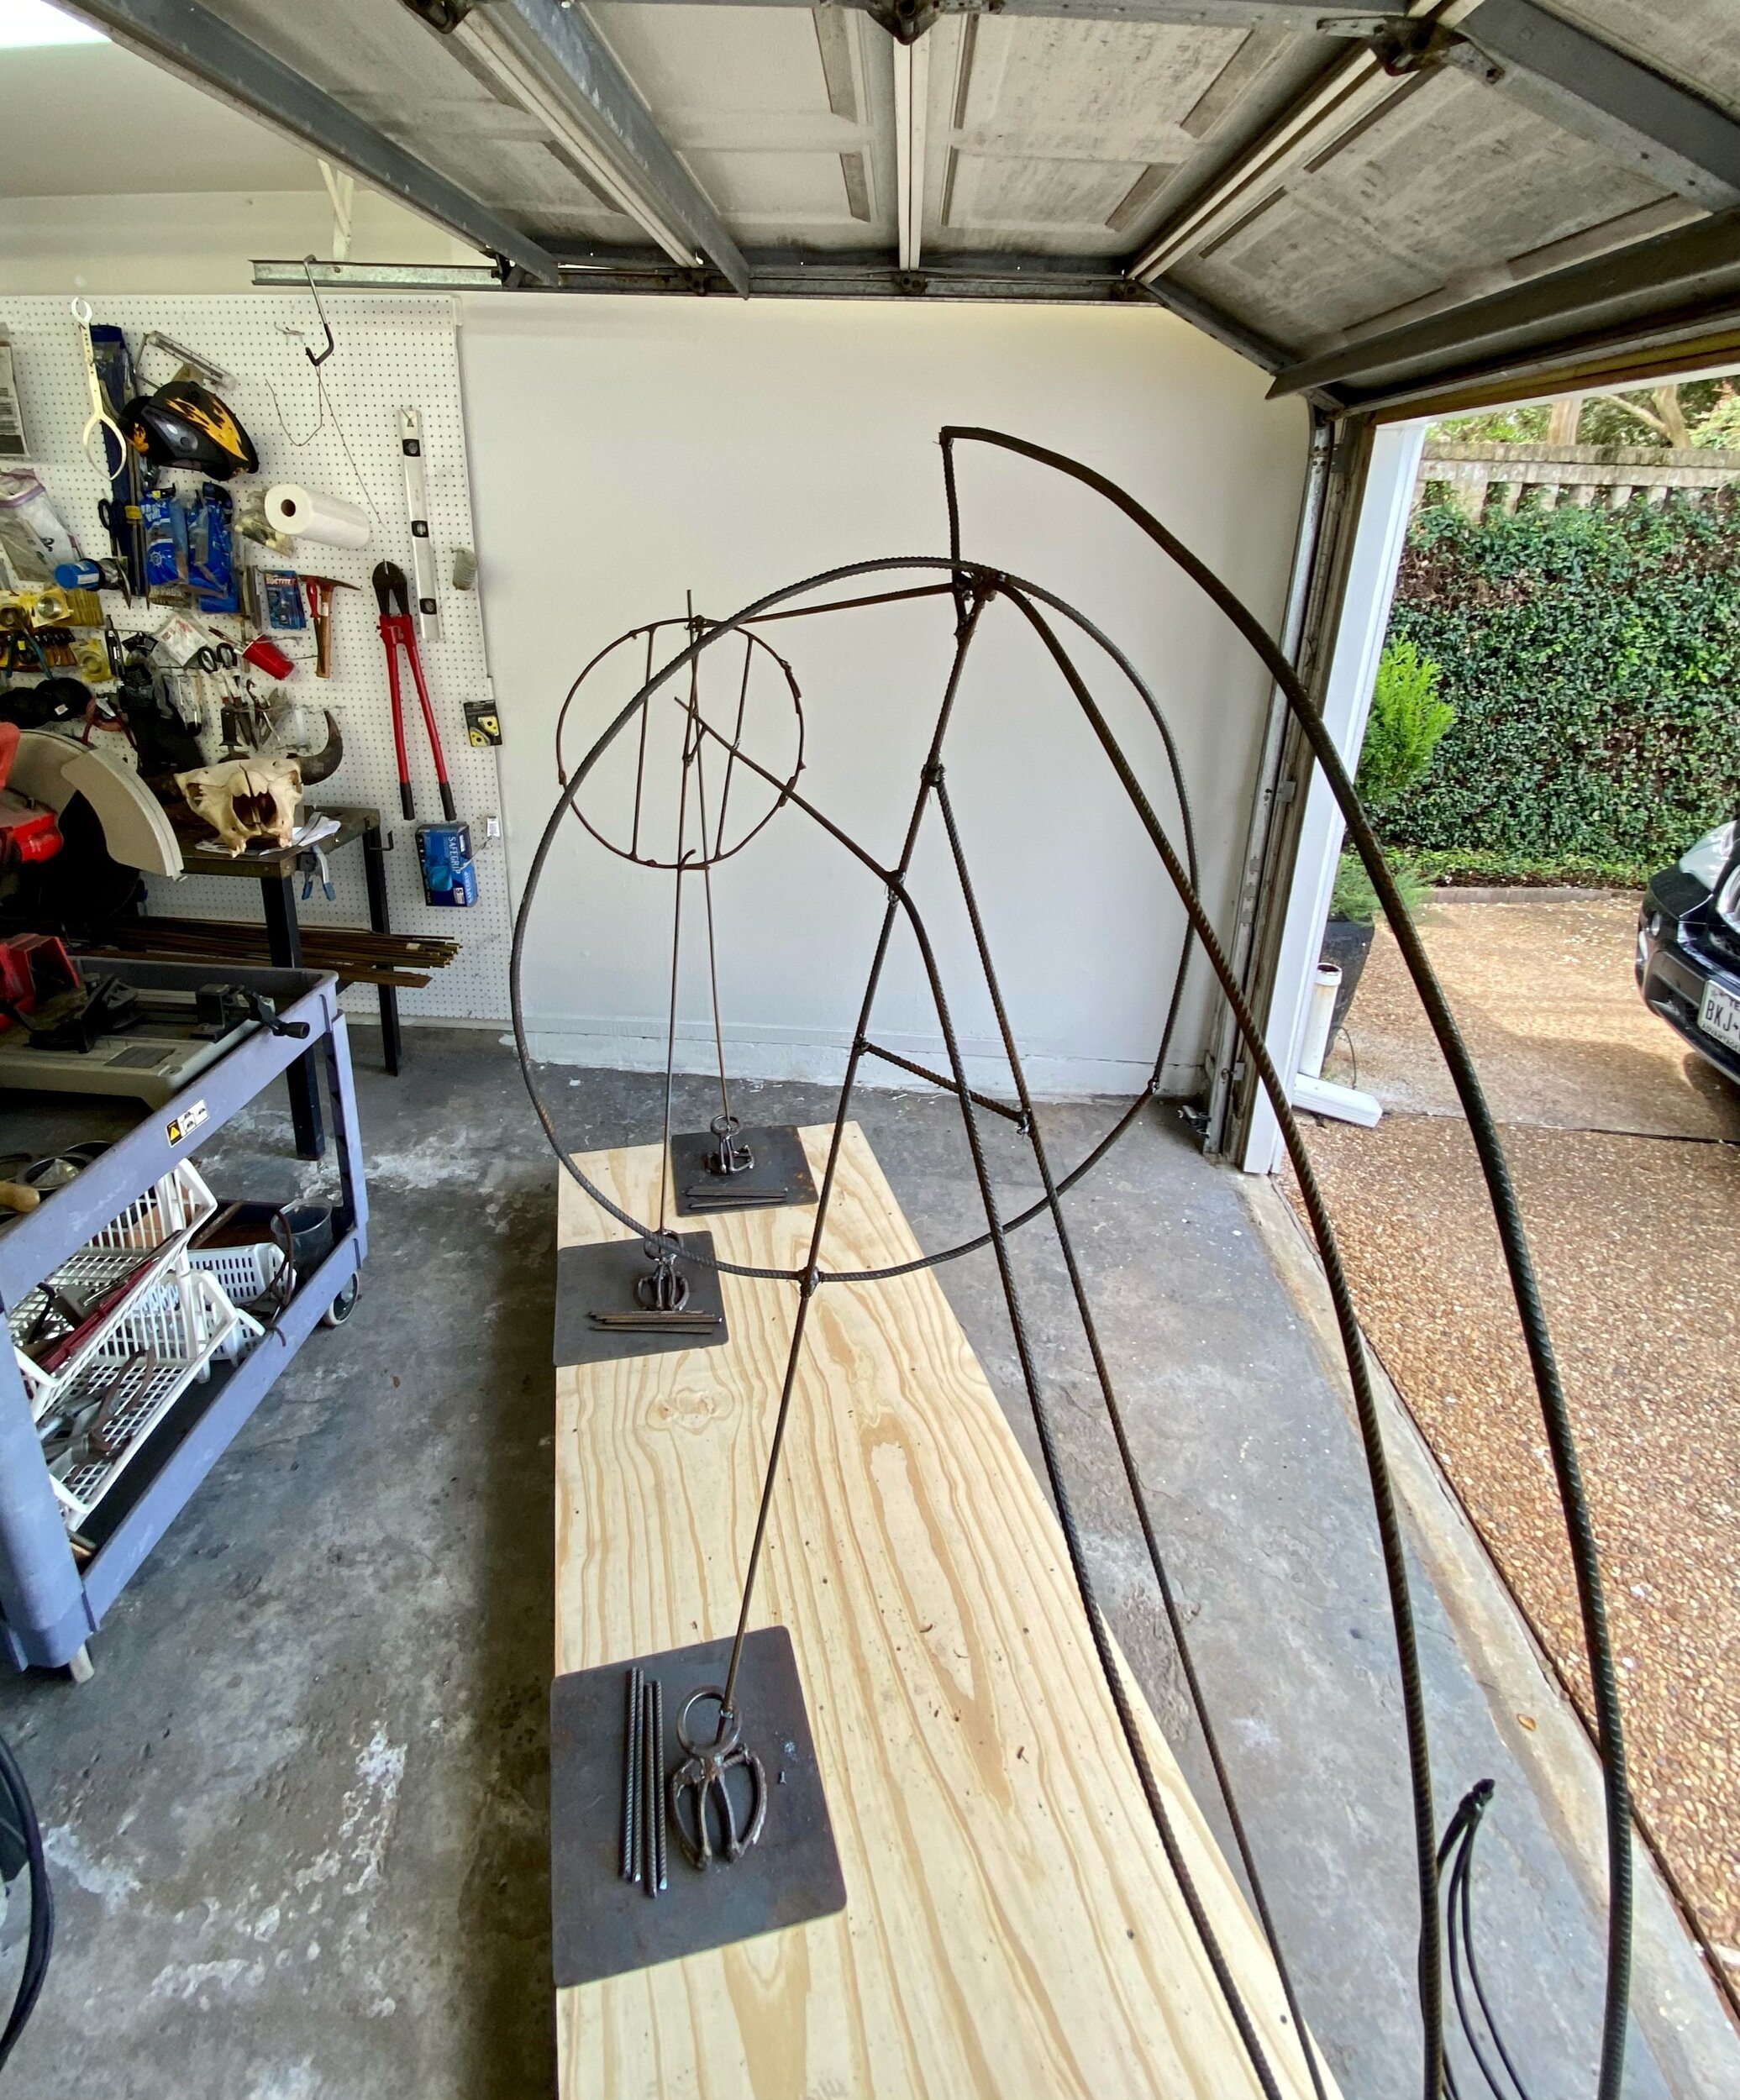
Building the girt—
I happened to have a circular scrap piece of rebar almost the right size. I created it years ago to be a round seat for a faux bois chair that was started and not finished. I turned it into the basis for the bison’s rear hip girth/stomach.
It is a little small, the small size gives me the flexibility to add to it exactly where I want it to protrude. As I get more elements worked out I will make it larger by adding the back hip bones that protrude. t is a lot easier to add pieces as I build him than to cut out pieces.

1 small tack world neck to head. Just to see where I want it.

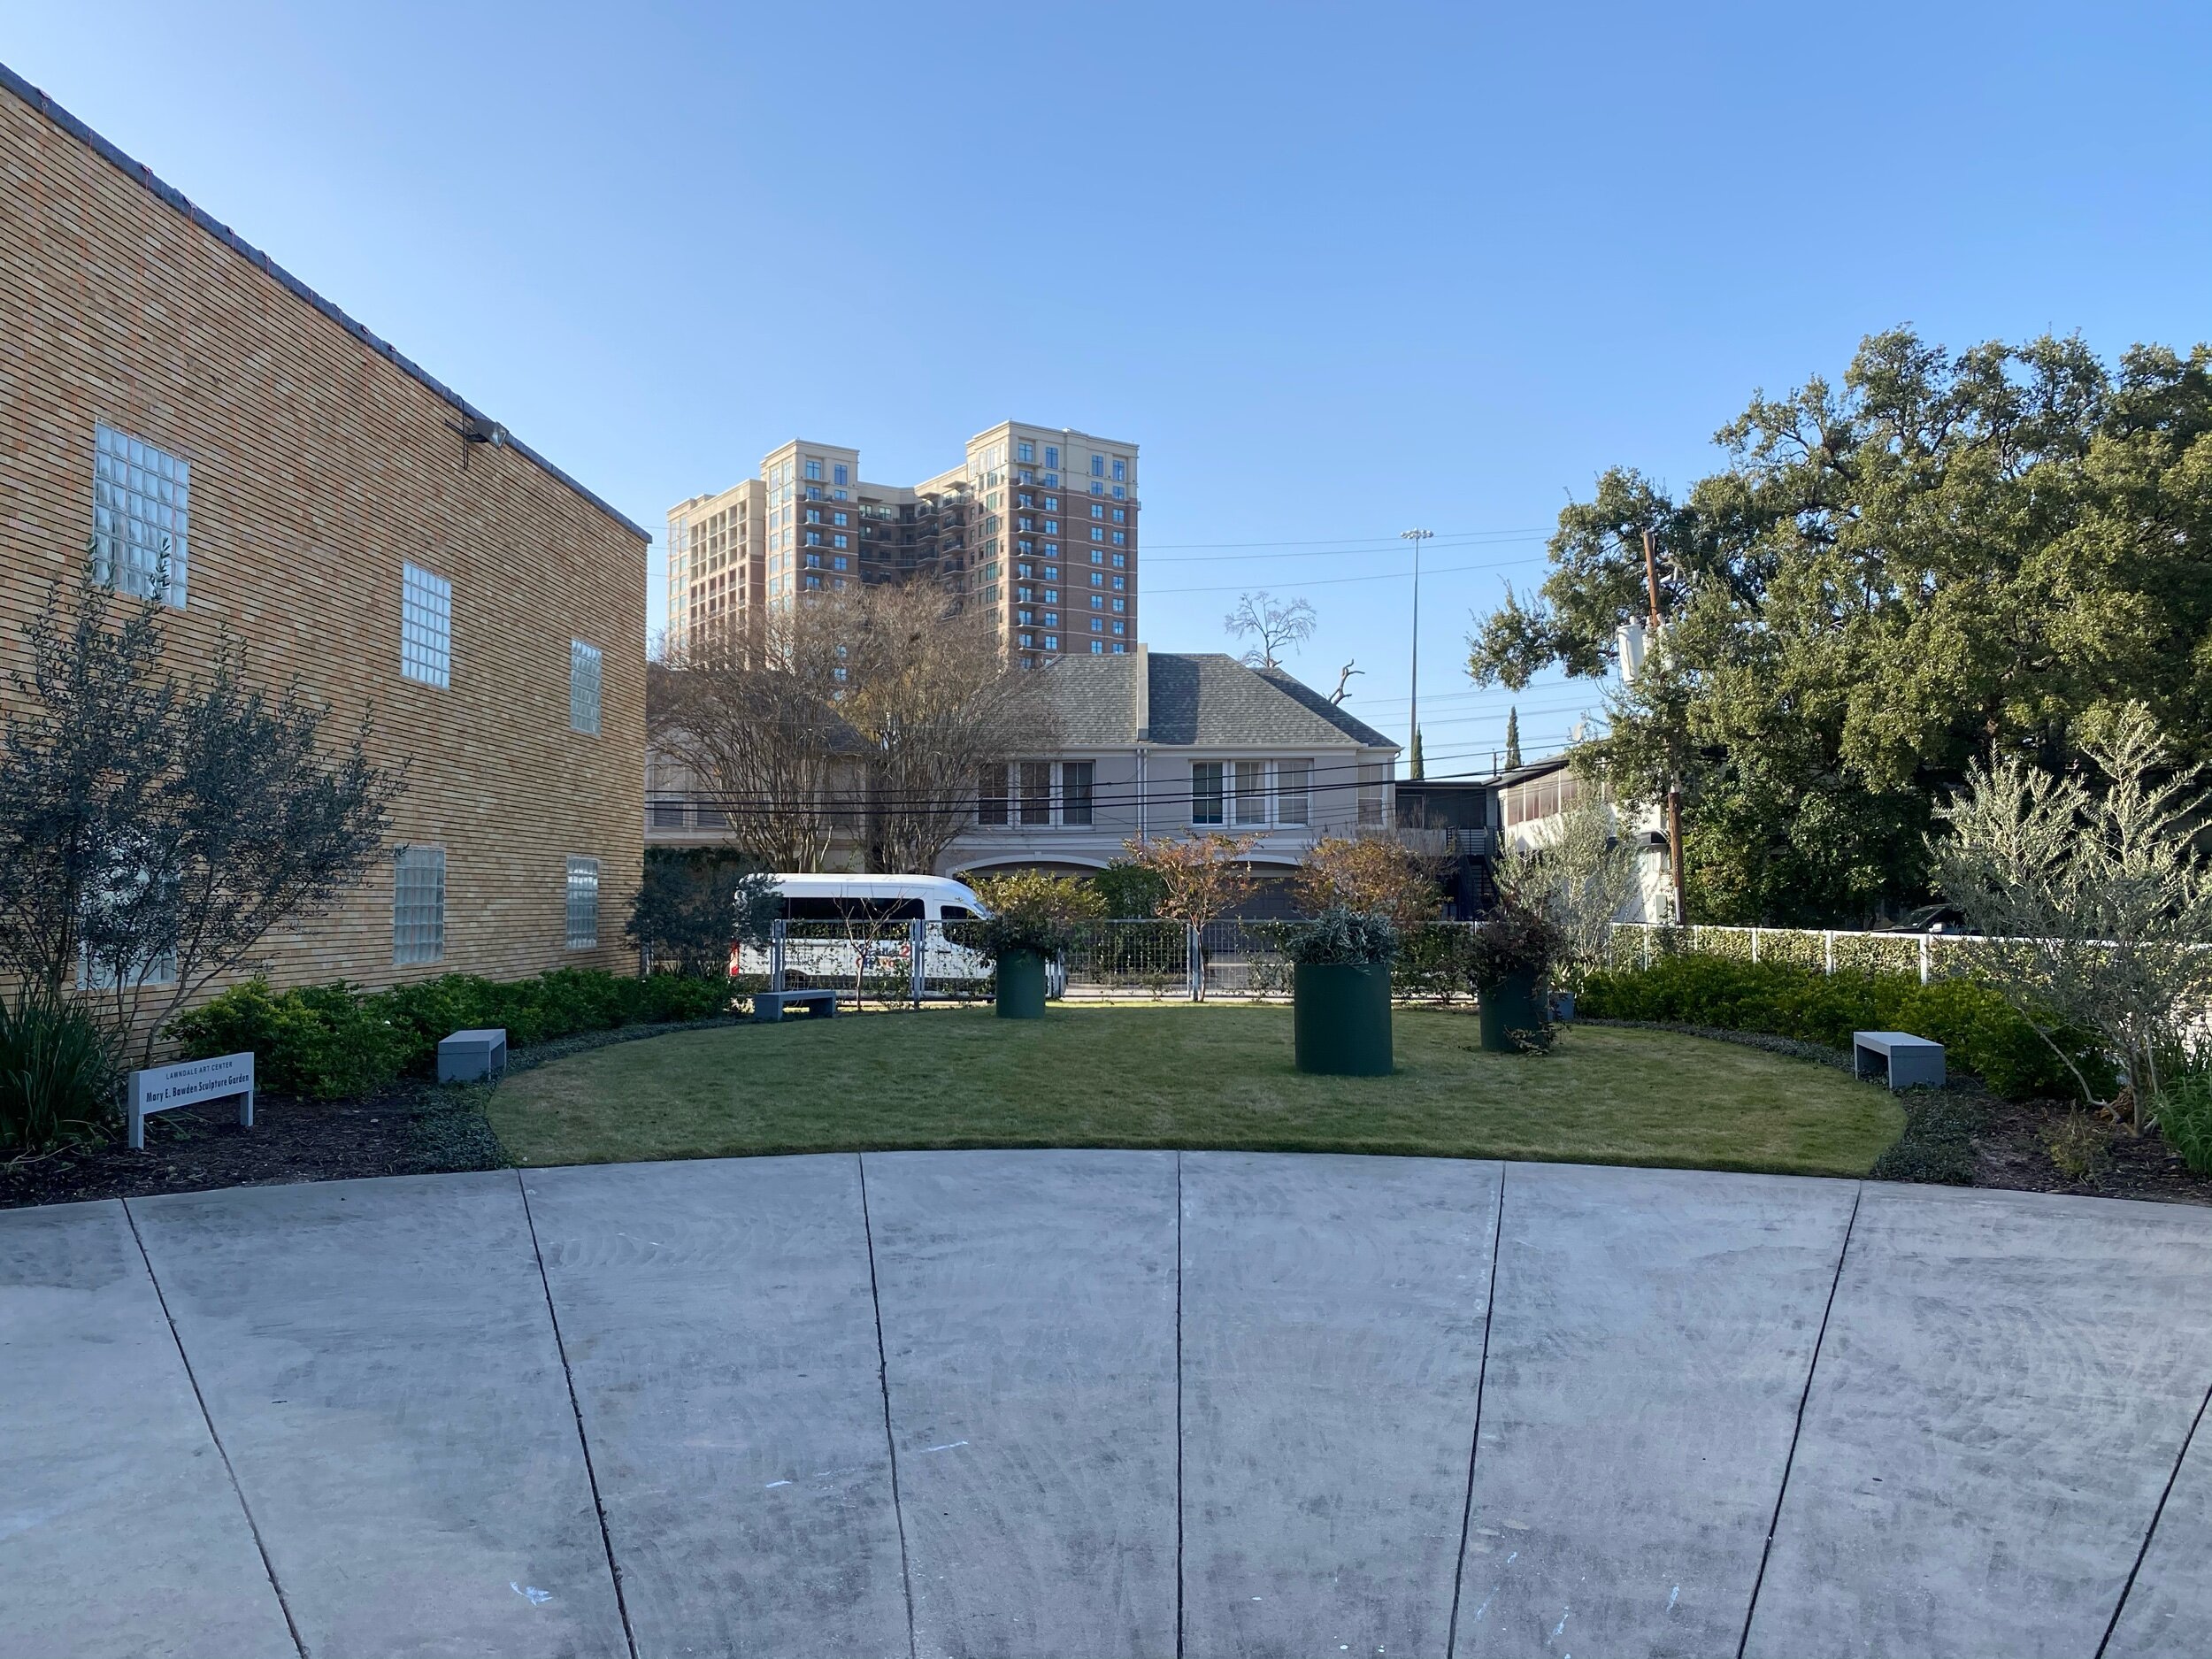
In Symbiosis I am stretching my practice and creating a living piece of site-specific art activism that will reimagine a 53.5’ X 48’ traditional urban landscape/sculpture garden and answer the question: how do we holistically restore an ecological balance in Houston? Symbiosis is a collaboration with Lawndale Art Center’s community, neighbors, urban wildlife, and the coastal prairies carbon cycle.
The west border of the garden has five 1 1/2 year old Crepe Myrtle’s a tree famous for murder. The murder refers to badly pruning the tree- down to the knuckles. I was not having these Crape Myrtle’s murdered. Today I used a extractive method of sculpting and clipped- nipped - and cut the existing branches. I shaped the branches/armature of the two end trees.
A sculpture garden has the four seasons of the year and a sculpture garden has the additional change of exhibitions. The pedestals from the last exhibit were still in the garden. 🤔perfect way to highlight the beauty in the wild- the imperfect- the not immaculate urban landscape.
FYI- crepe Myrtle’s are not native however they are a cherished gift to the Art Center. As an optimistic art activist I look at the project holistically to include the desires of the Art Centers board.
When I work in wire, or steele if I cut too much I can always weld it back it add more wire they are forgiving materials. When I clip a branch it is gone- no second chance. .
#artactivism #cindeeklementart #symbiosis #lawndaleartcenter #nativeplants #coastalprairie #sculpture

Create Myrtle cuttings wildly place on a pedestal.

North West Crepe Myrtle after pruning.

Cuttings from two Crepe Myrtle's and the olive trees from a few weeks ago.

South end Crepe Myrtle
I just read an intesting article; how Cowbirds are hedging their bets when choosing surrogate birds to hatch and raise their young. Another instance that supports the theory that diversity is the ticket when it comes to the survival of a species.
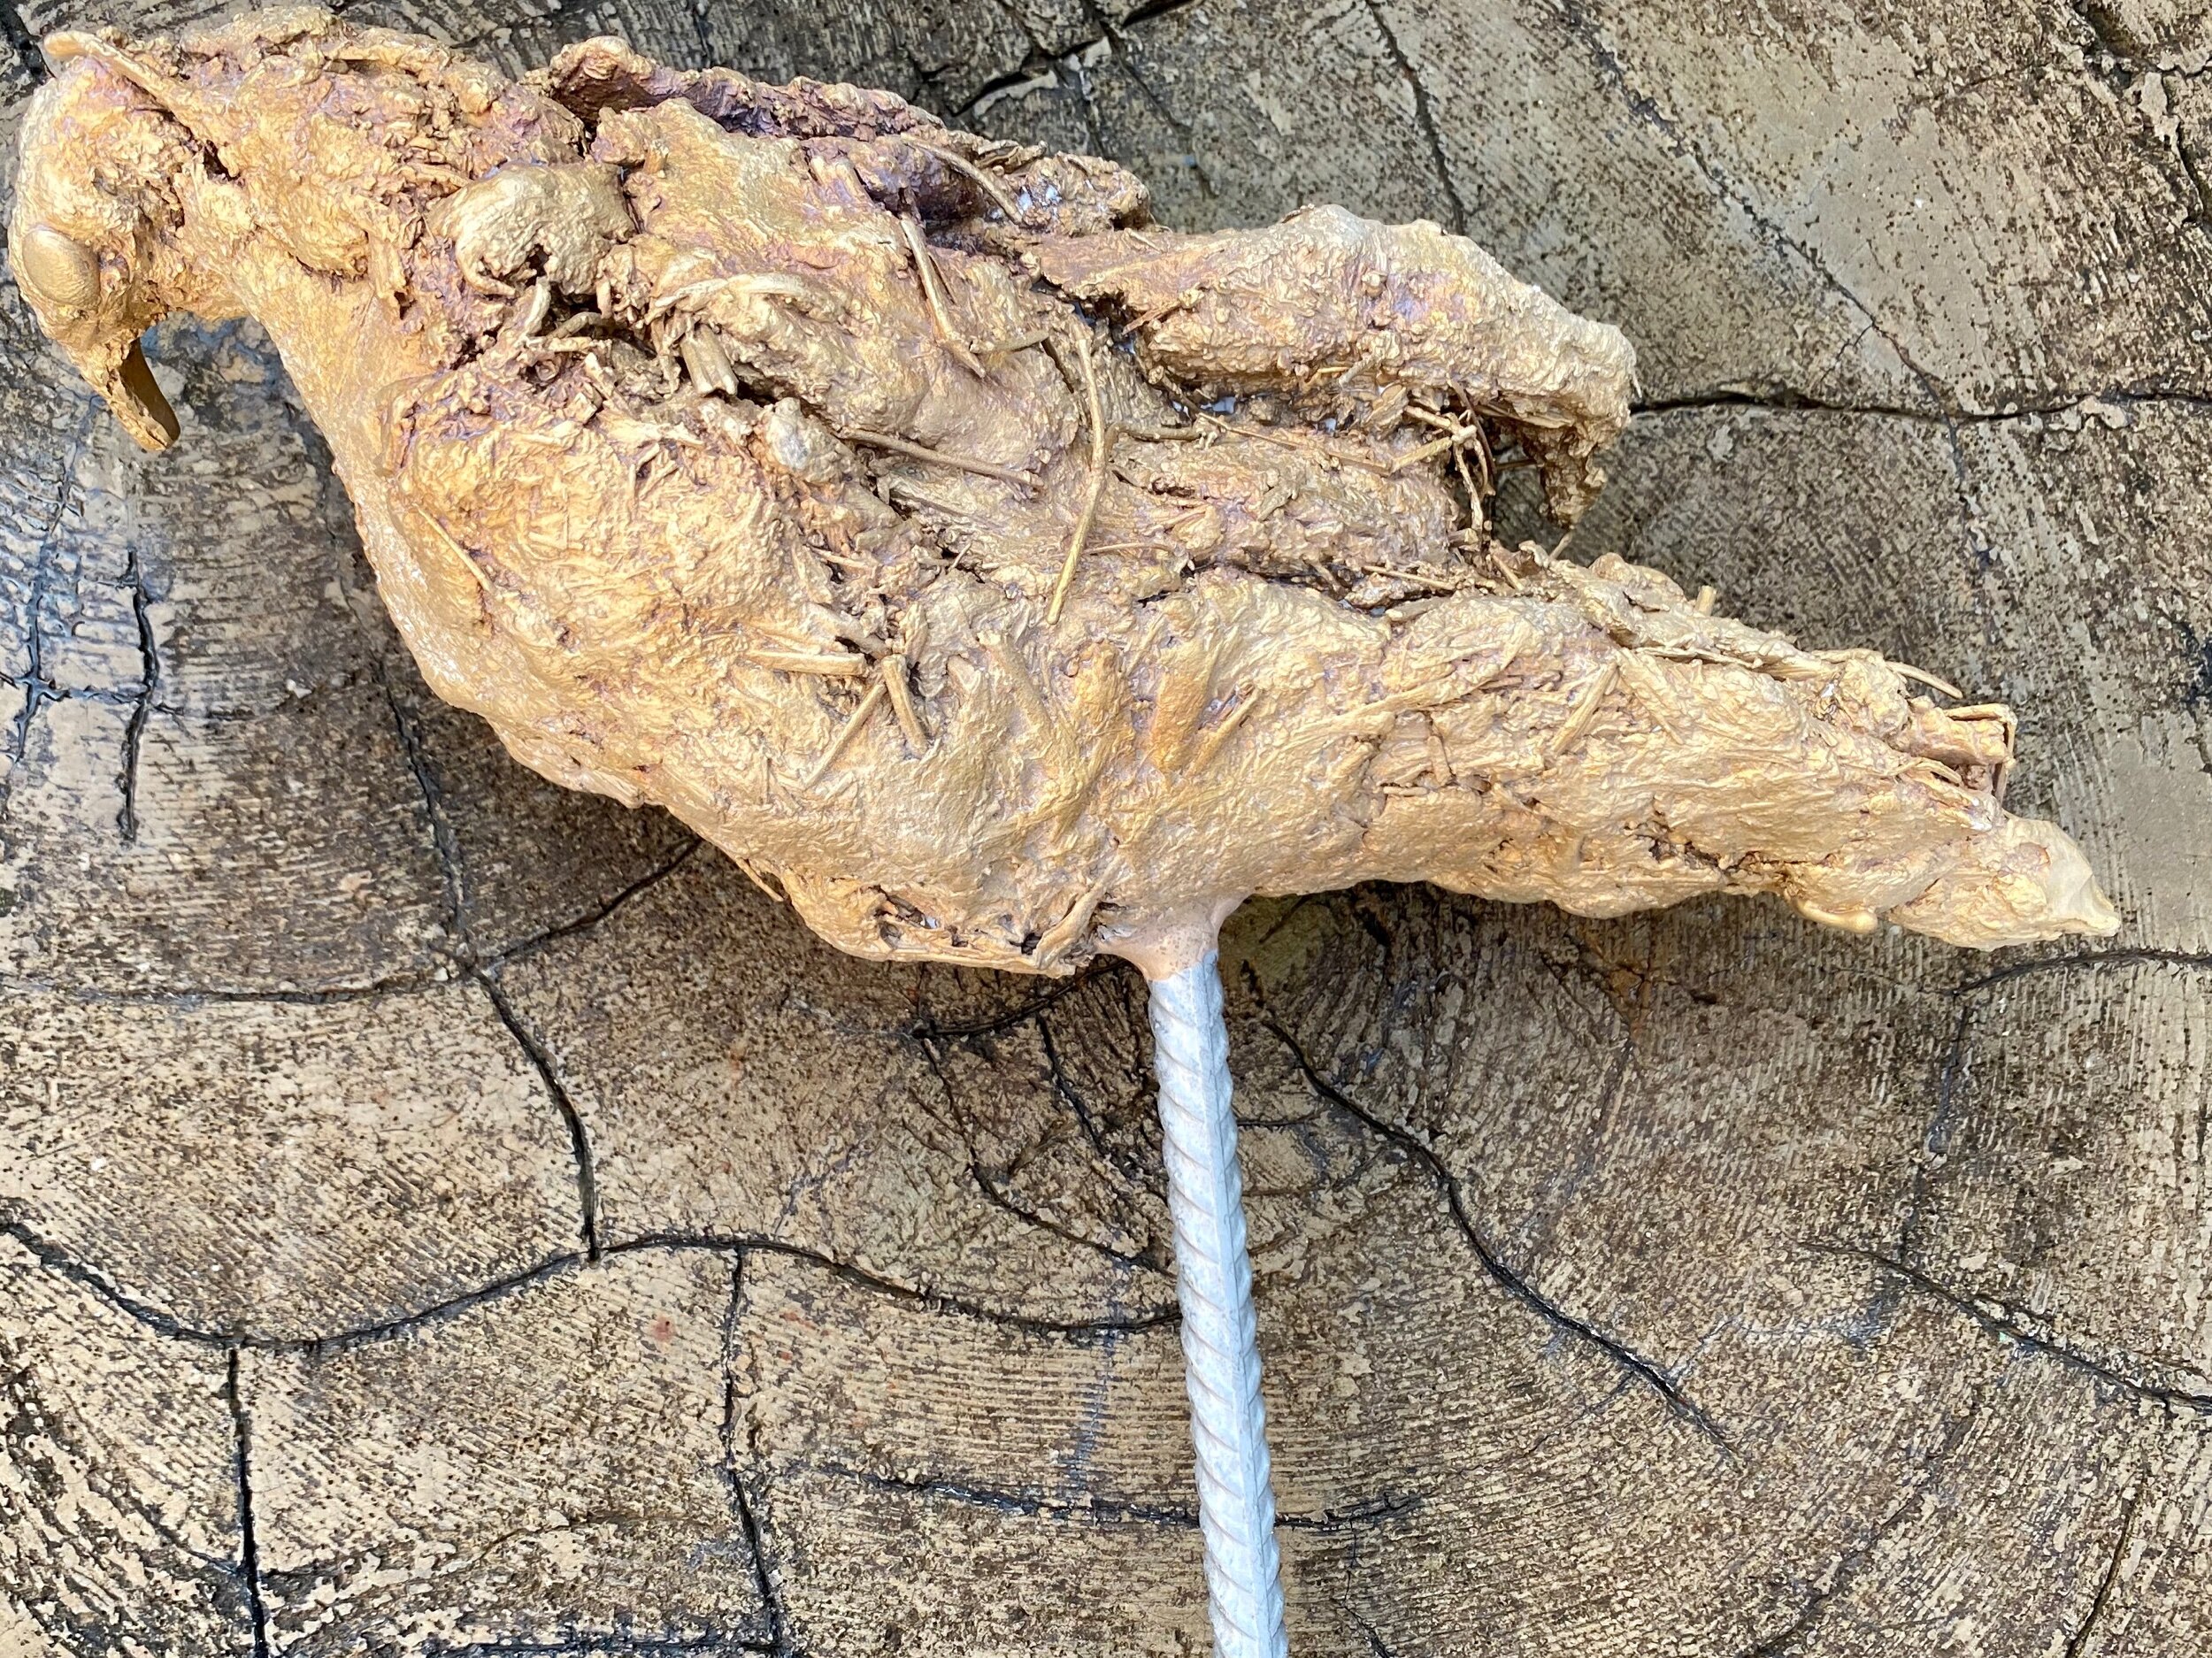
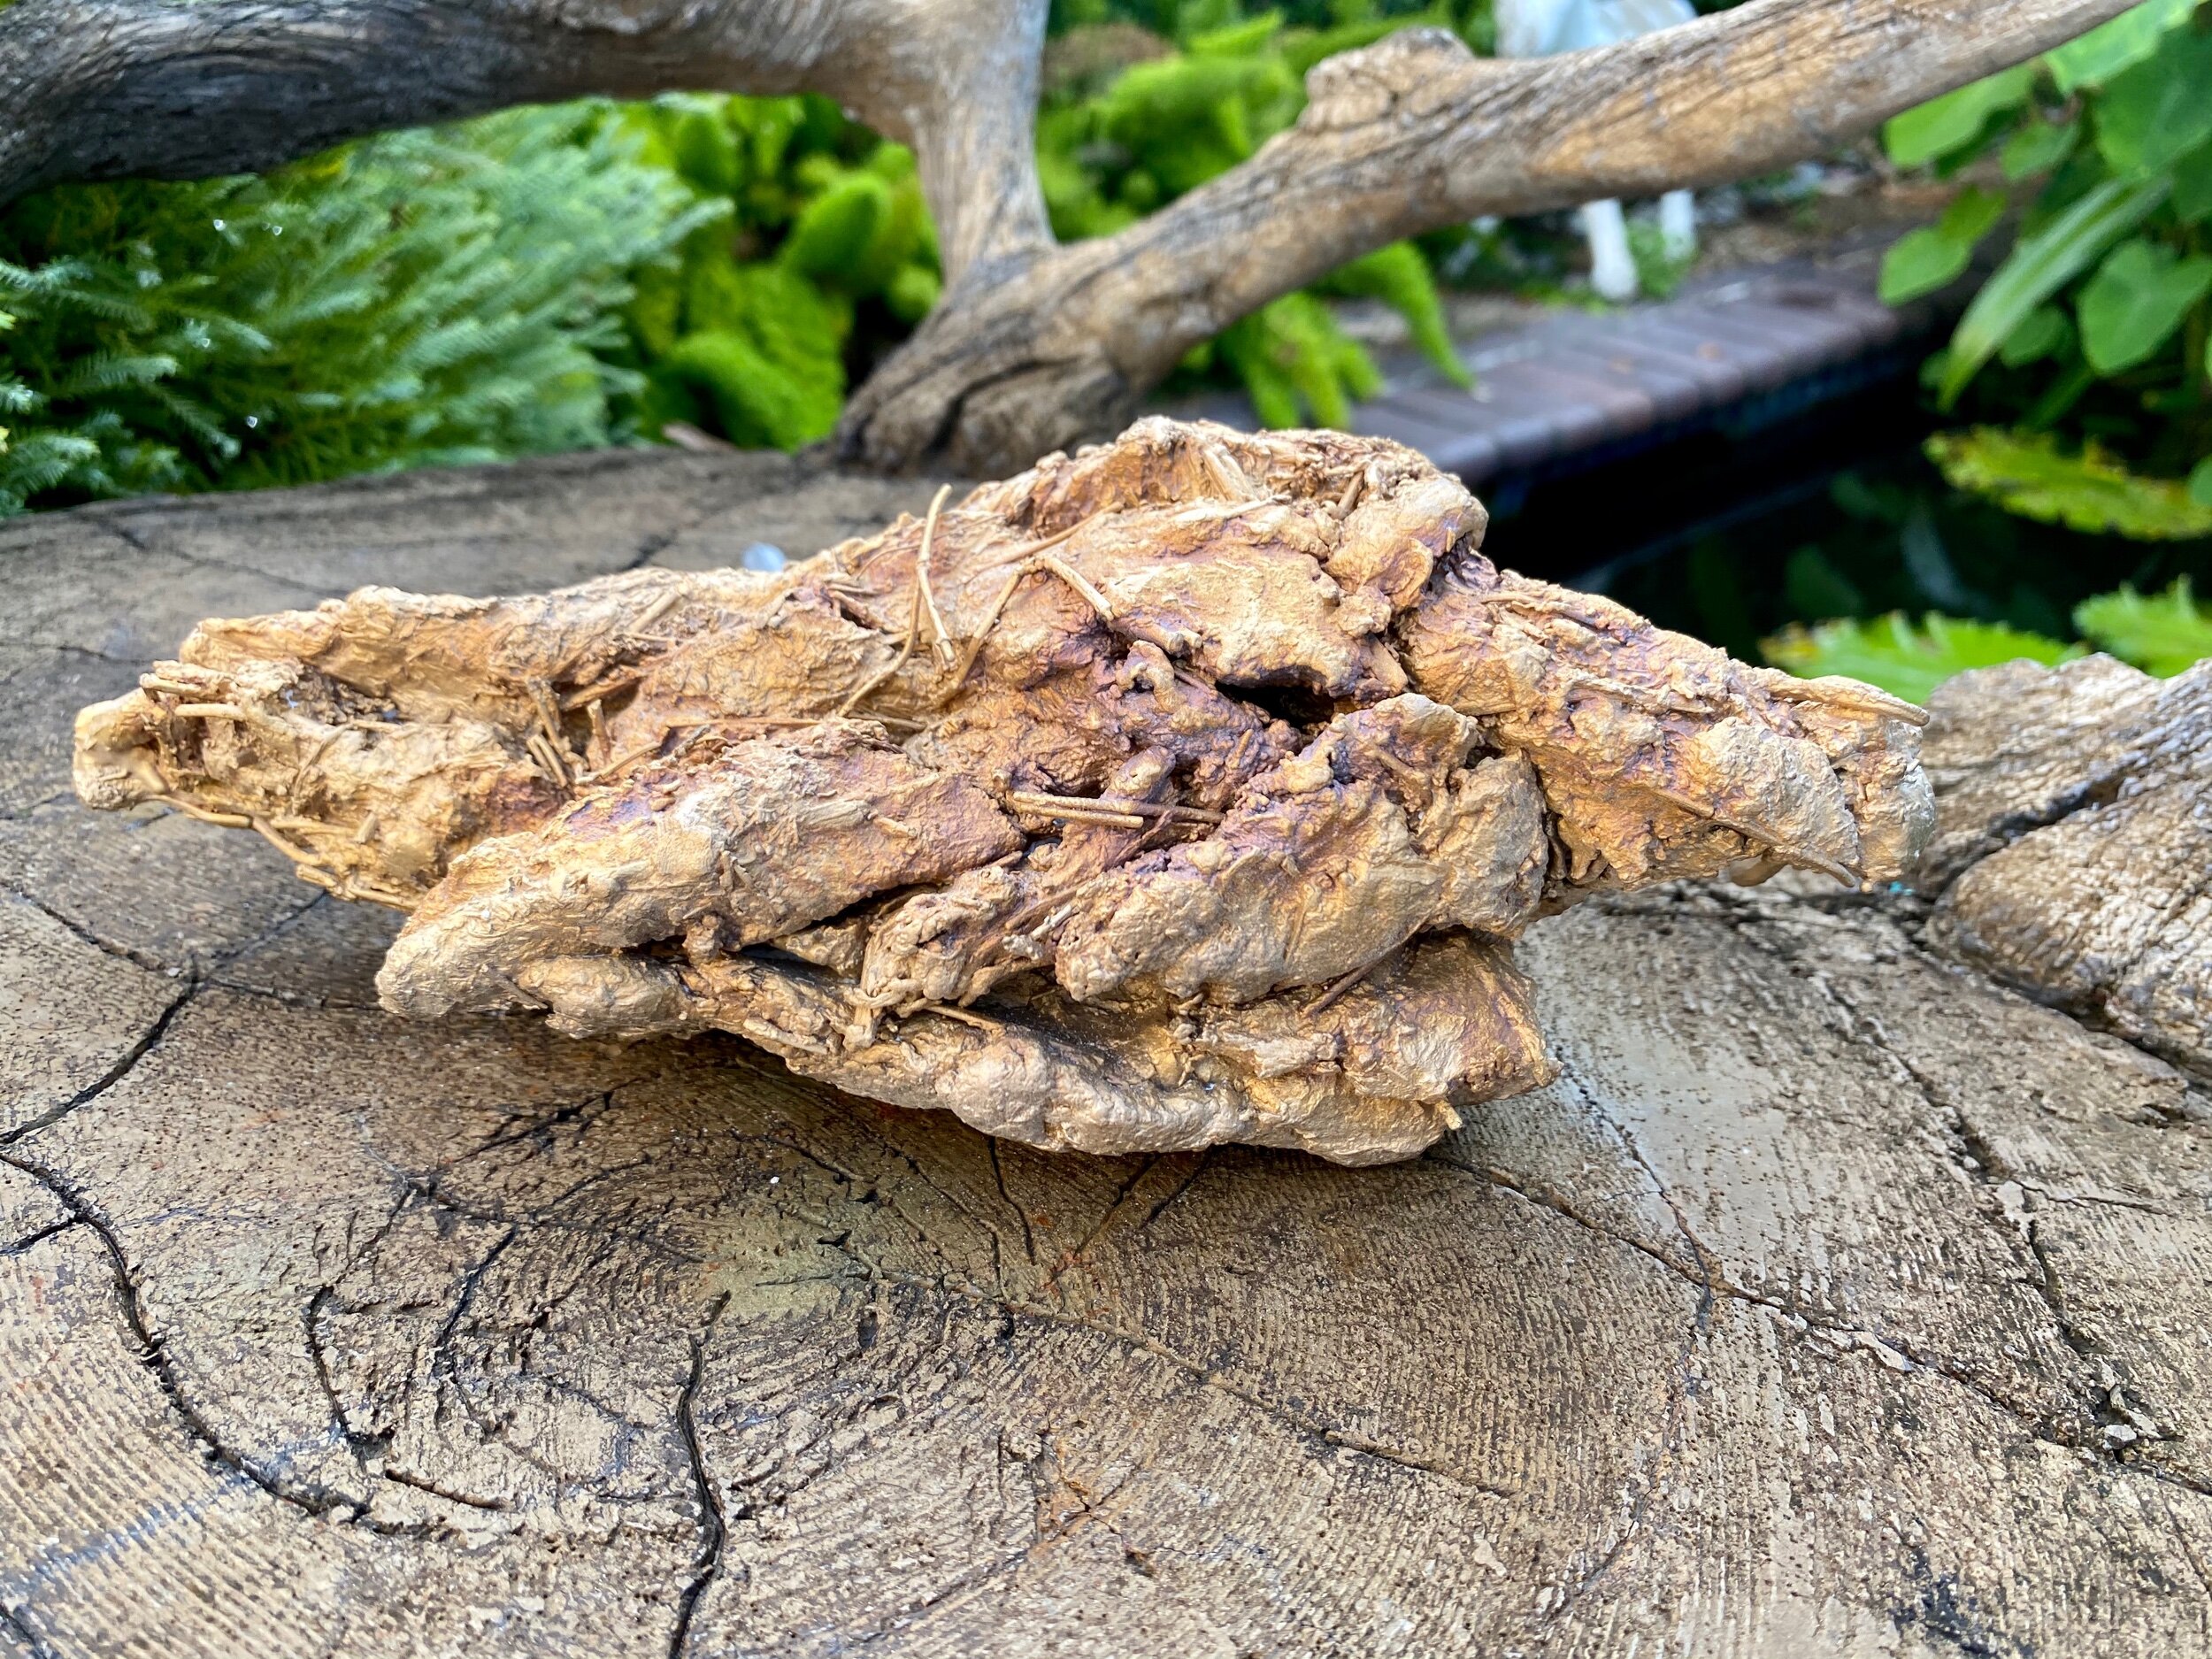
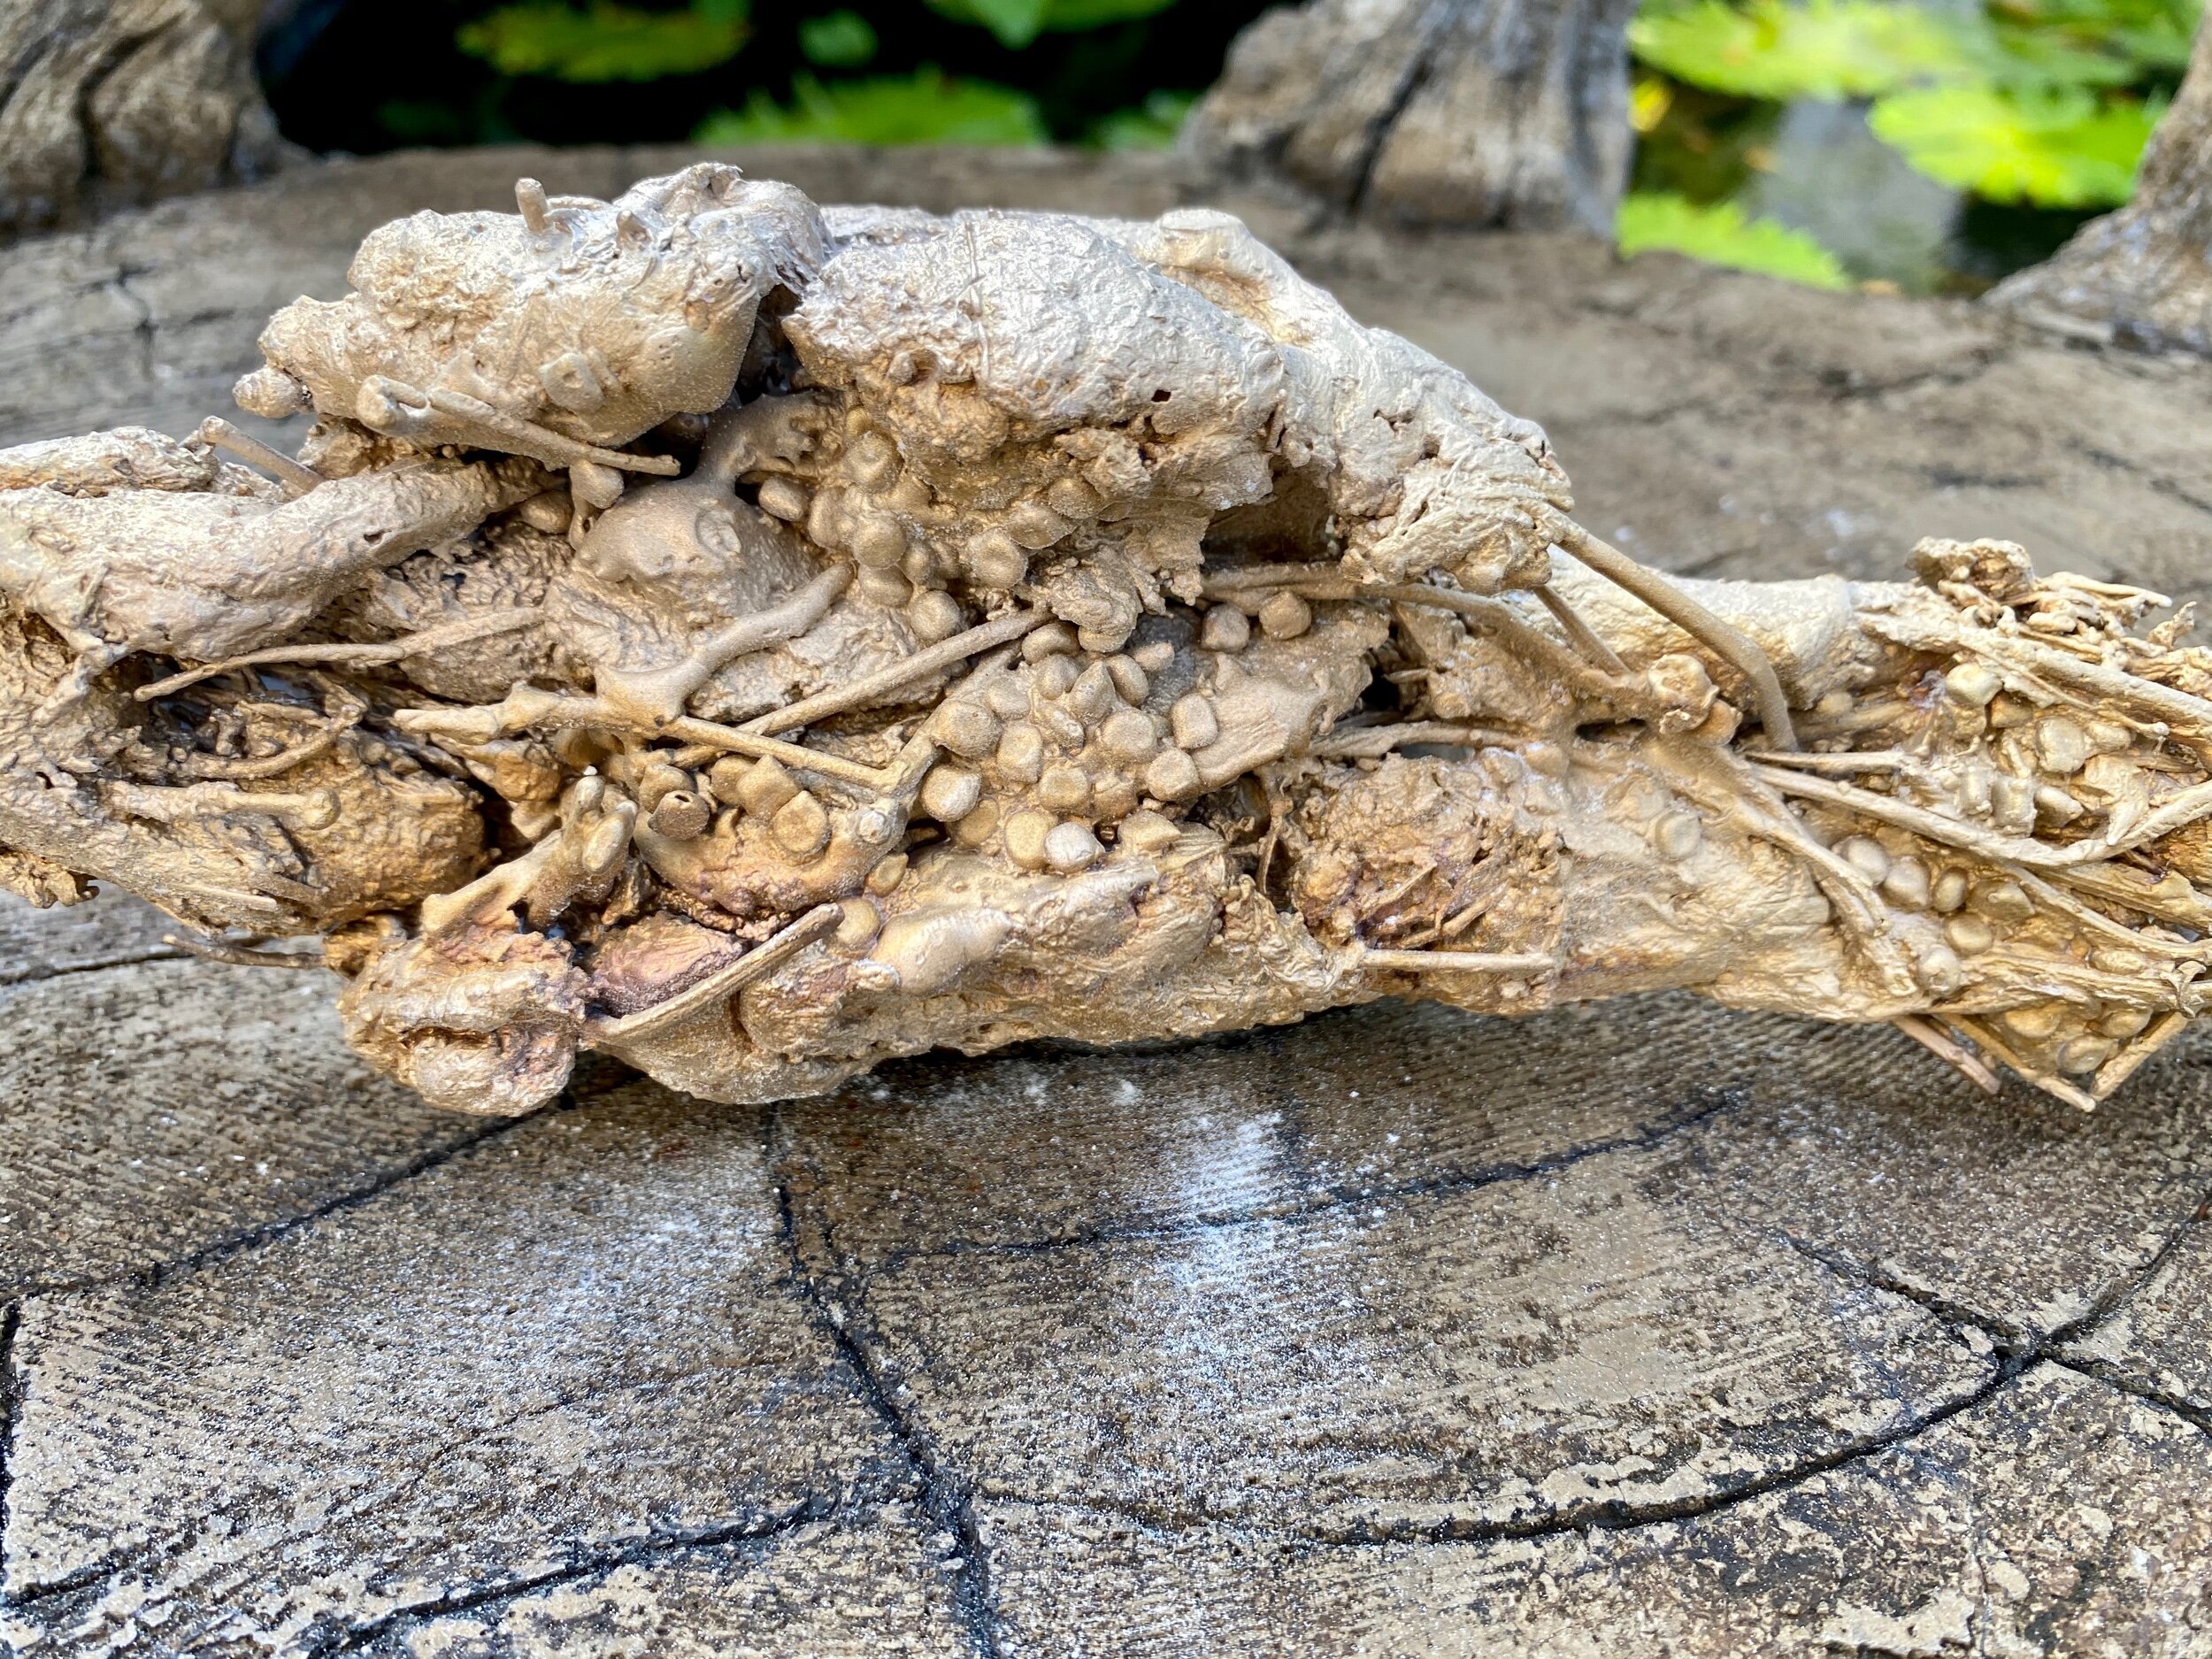
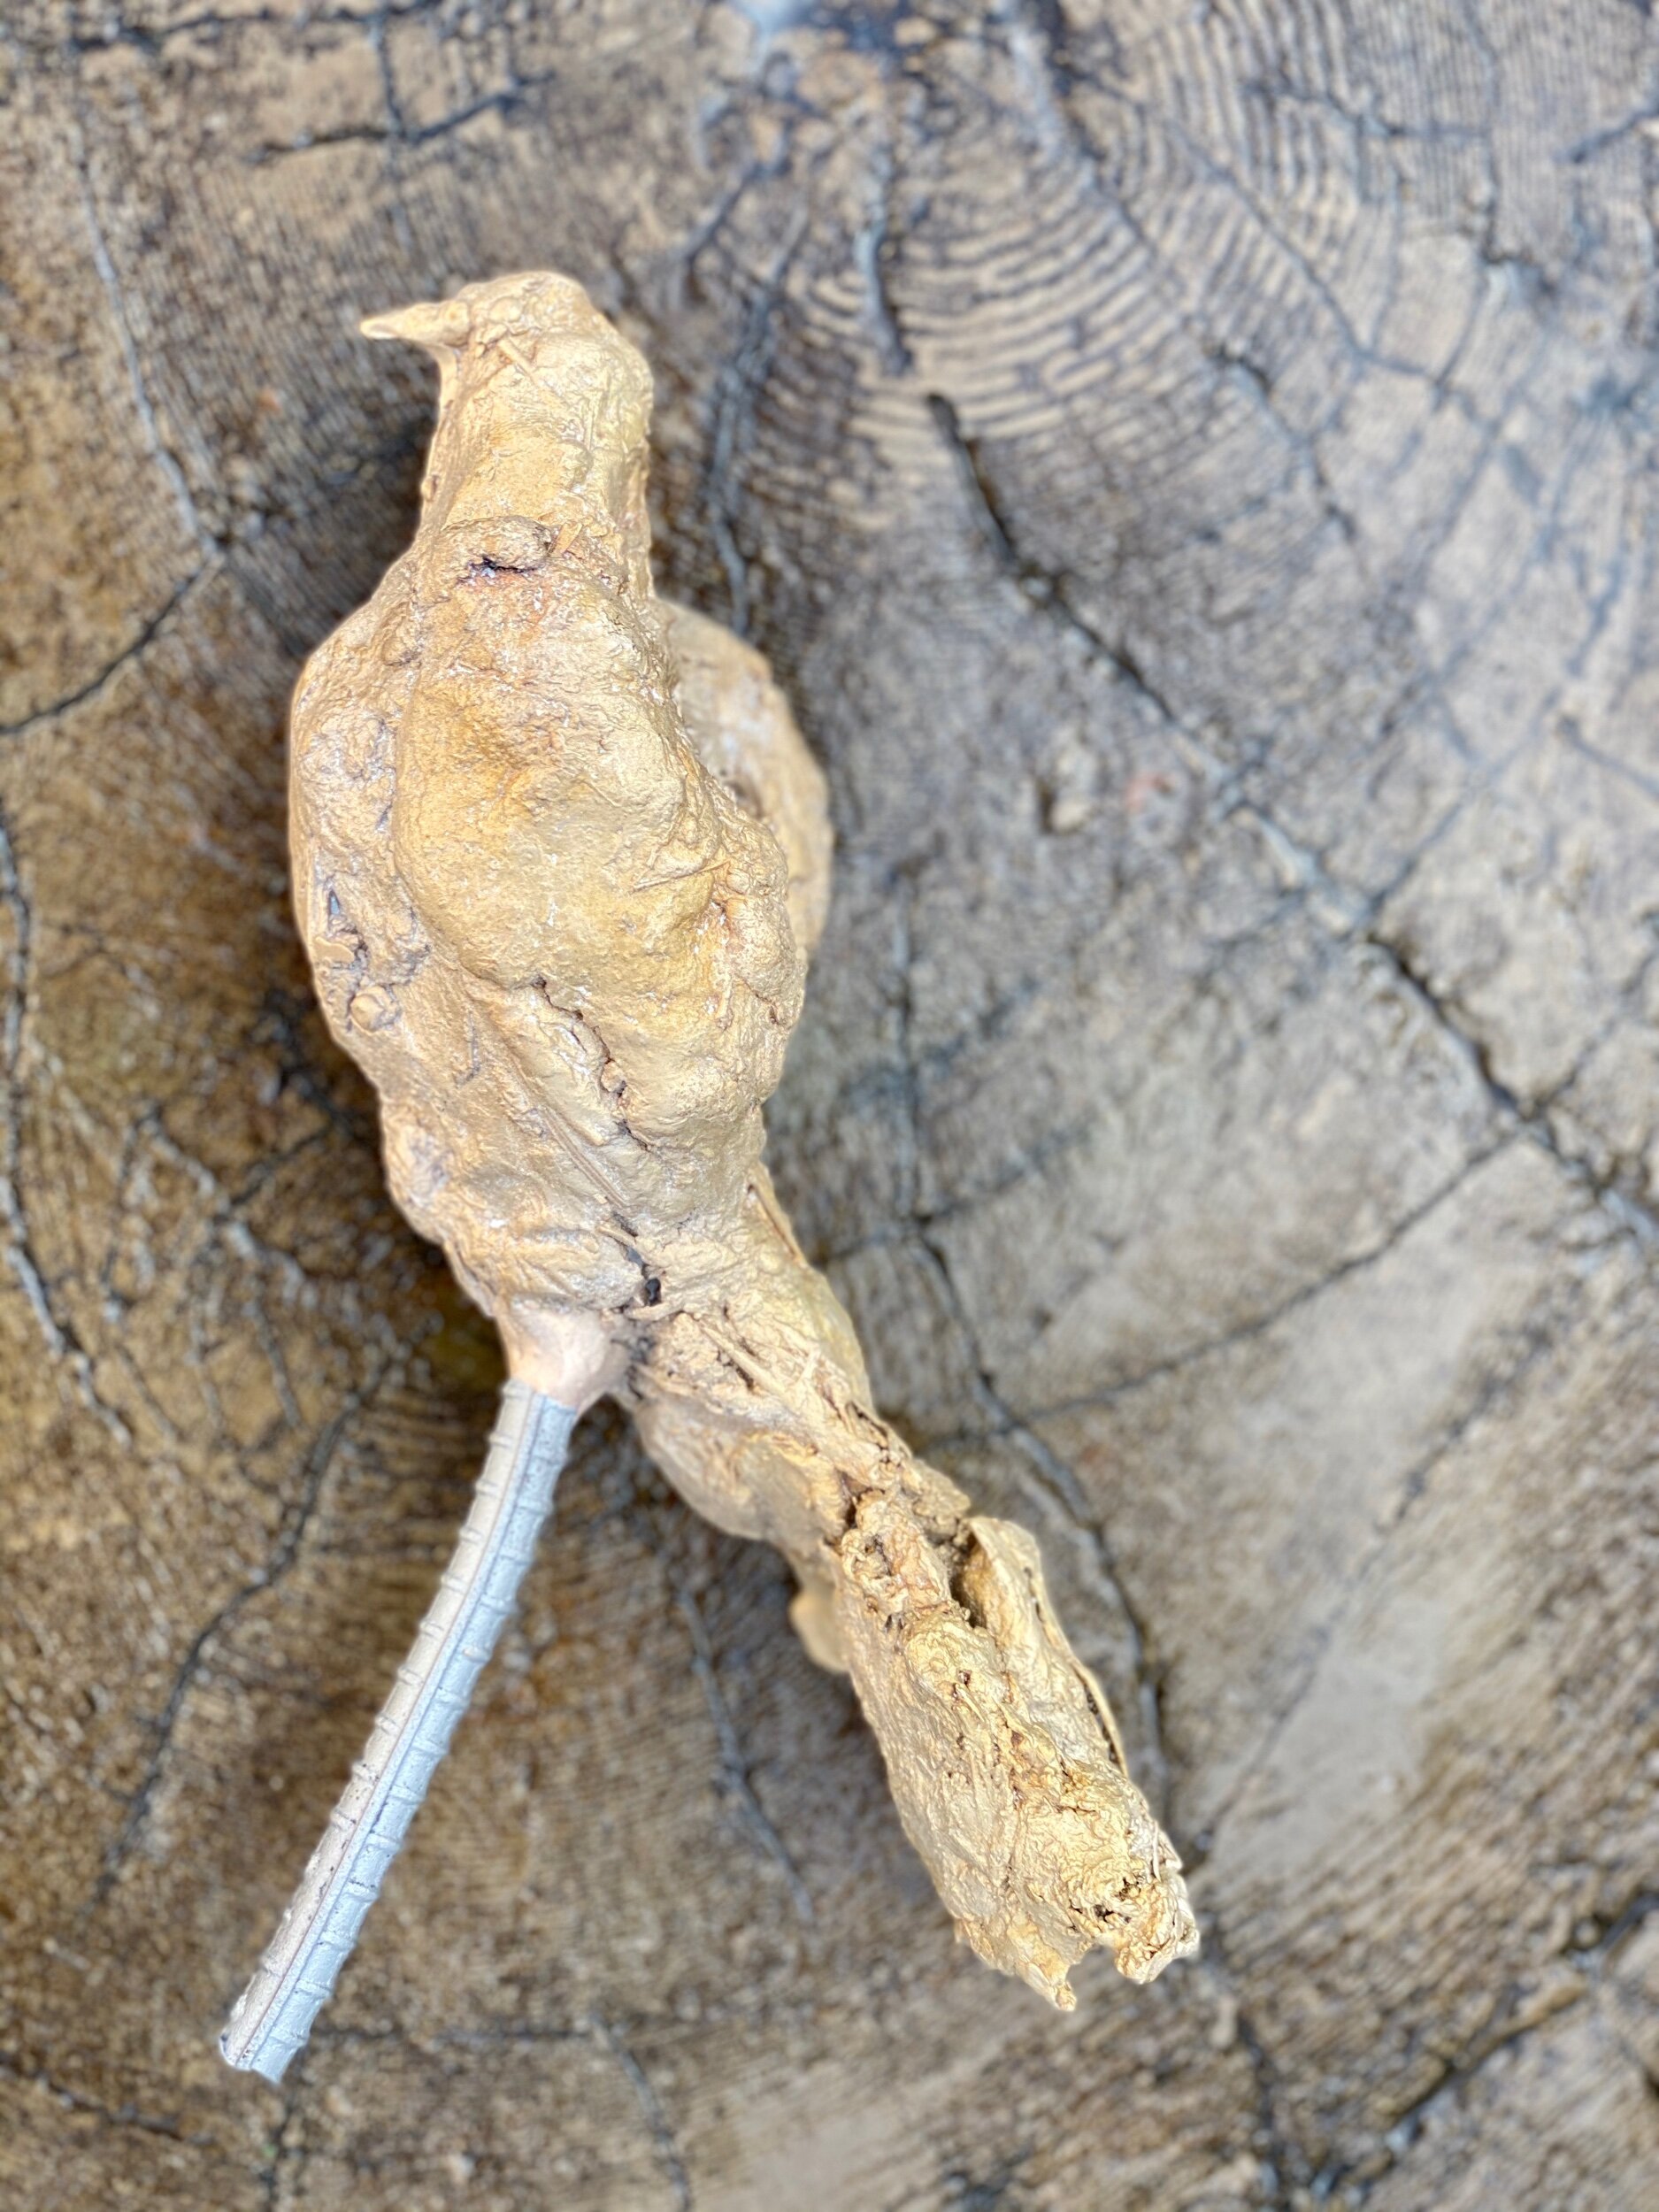
Coincidently I picked up the bronze Cowbirds yesterday. They are ready for me to recreate the texture where they were damaged during the spruing process. Once that is complete I will deal with their patina. I should wait and decide on their finish once the abstract bison is further developed. That said I am excited to see how the materials will look in a polished finish. Below are closeups of each bird - just for the record.
The finishes are very powdery looking and flat because they were just sandblasted. When I decide on the patiba the textures will really show up.
I took a risk when I decided on the manner in which I would create the birds. The Cowbirds are constructed in a primitive manner. And they look extra primitive laying on the faux bois chair. Context impacts the way we see. I feel hopeful the organic and rough construction will work on the abstract beast they will be attached to. Roughly constructed they support the story, polished perfectly detailed birds would not relay their connection to the geography and mammals. I realize I have not taken the safe root and hope I didn’t need to hedge my by as the Cowbirds did theirs.
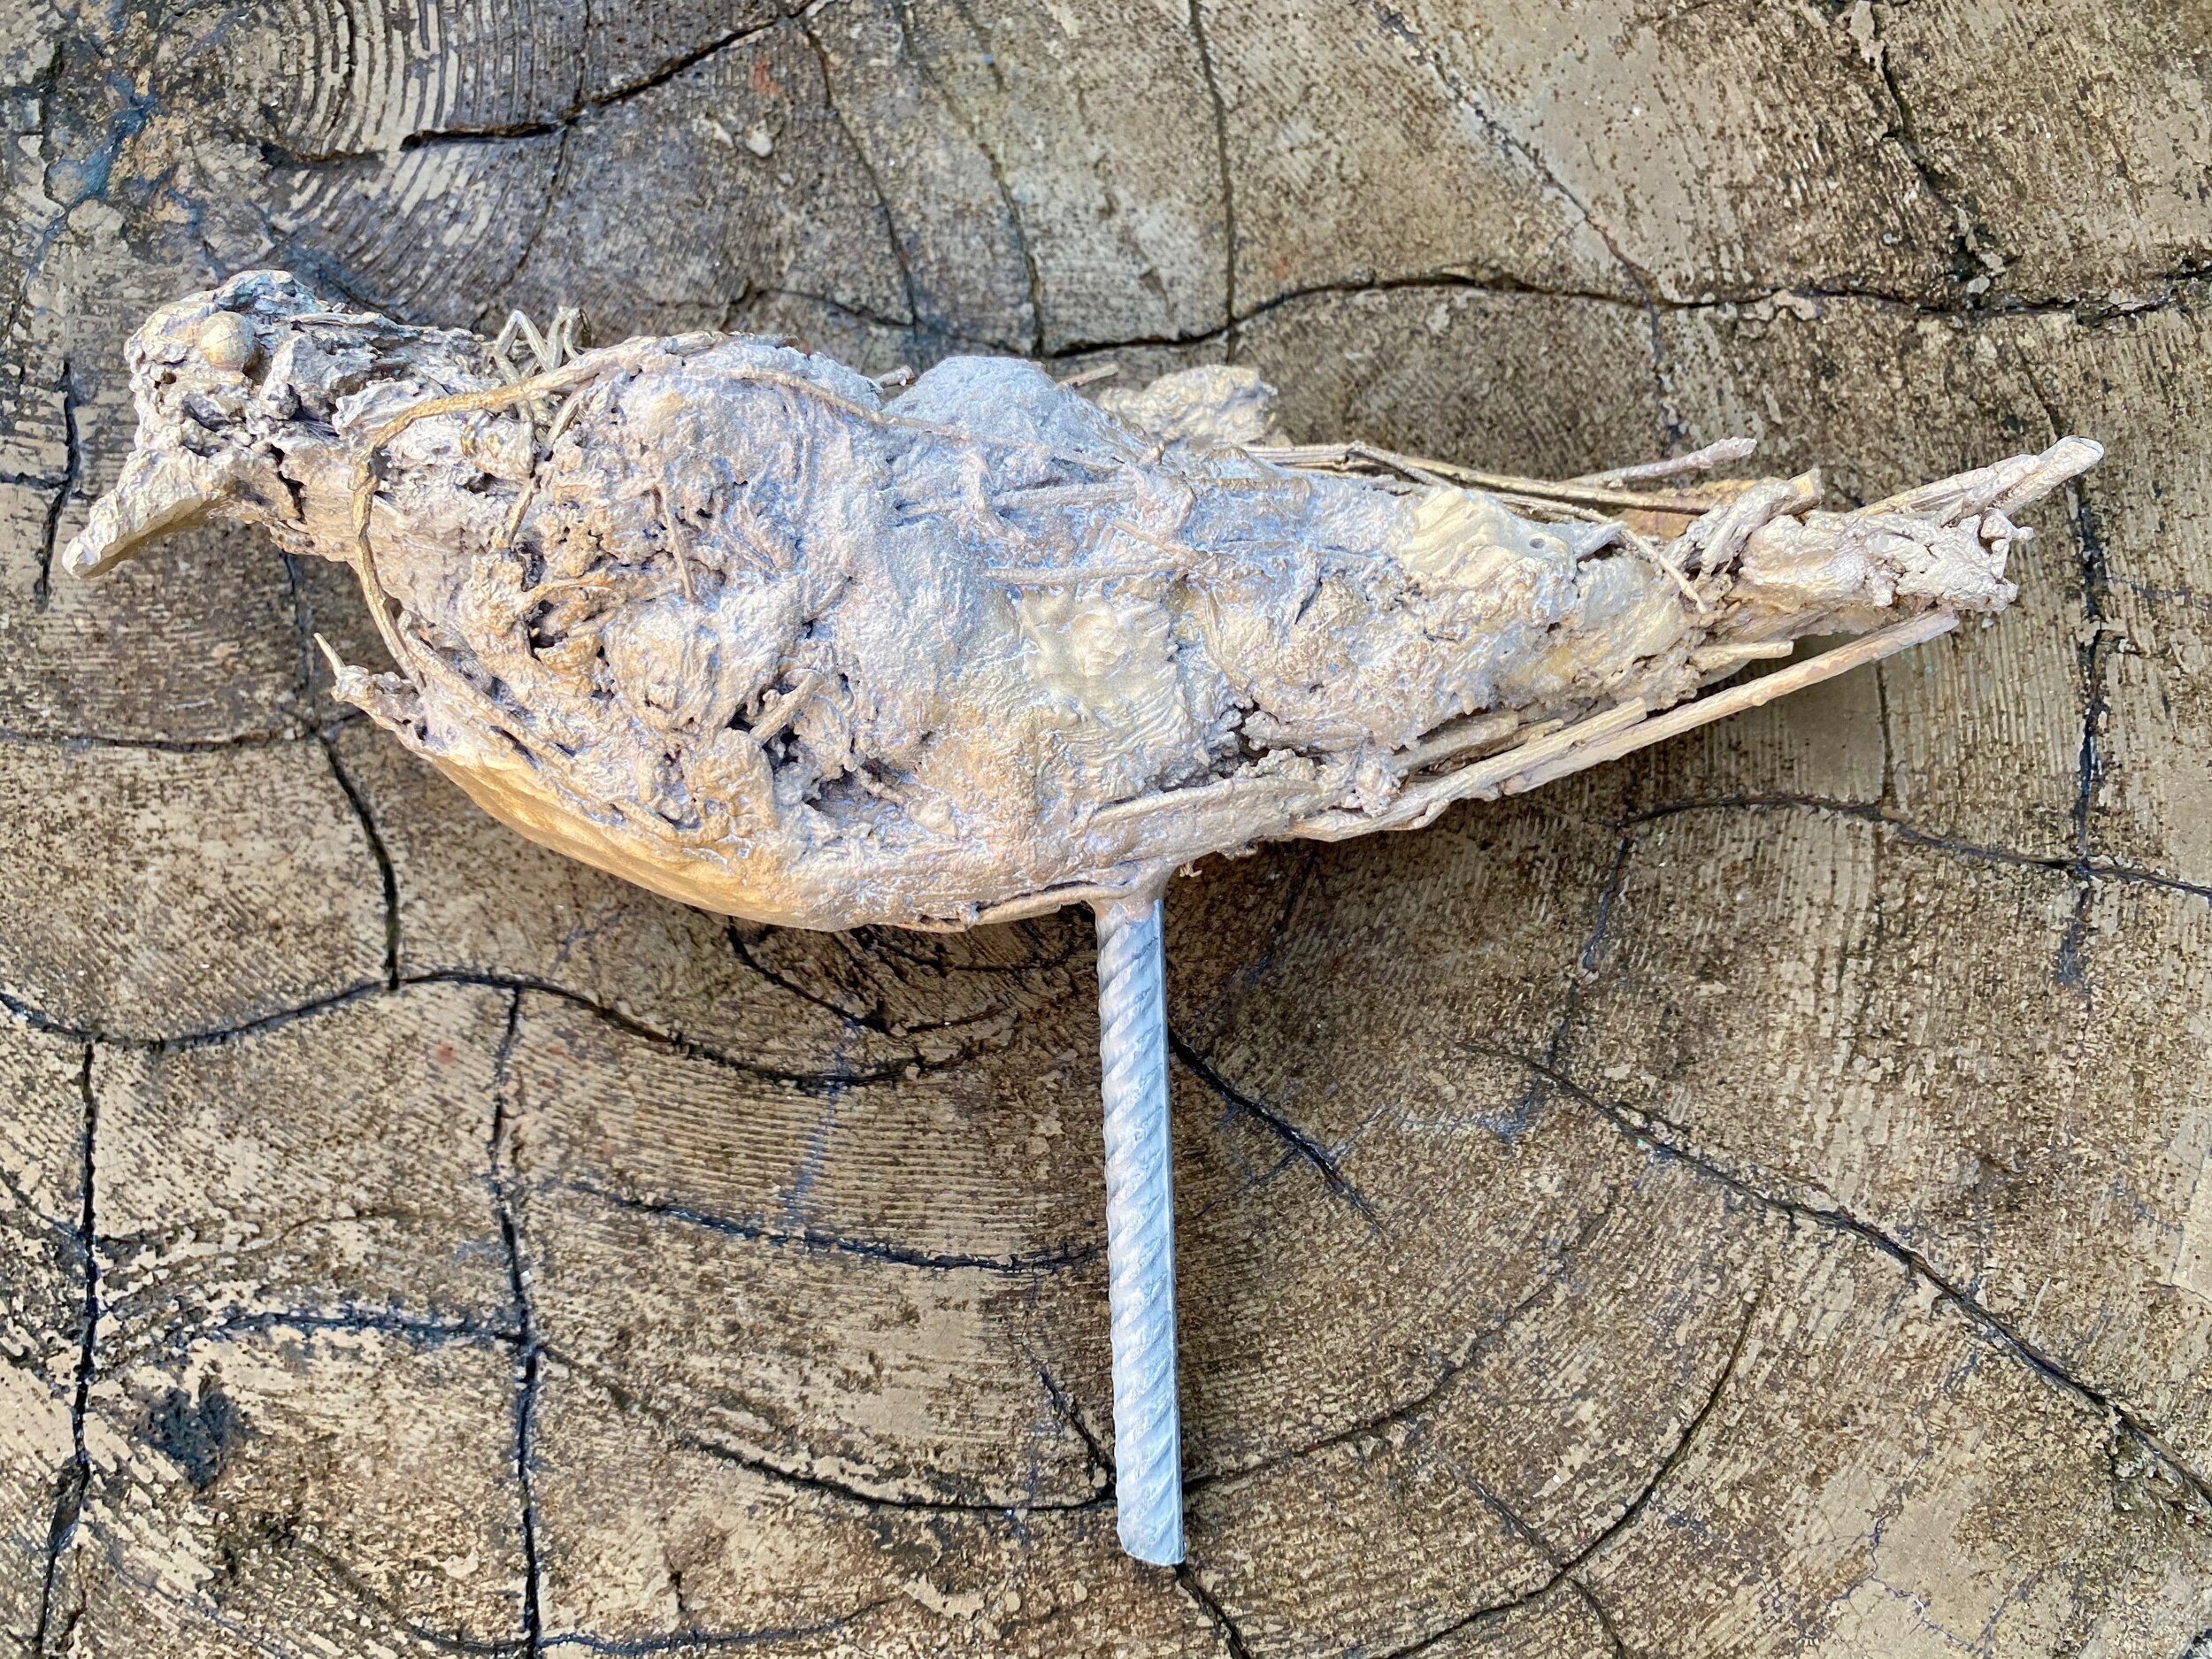
The big bird side 1
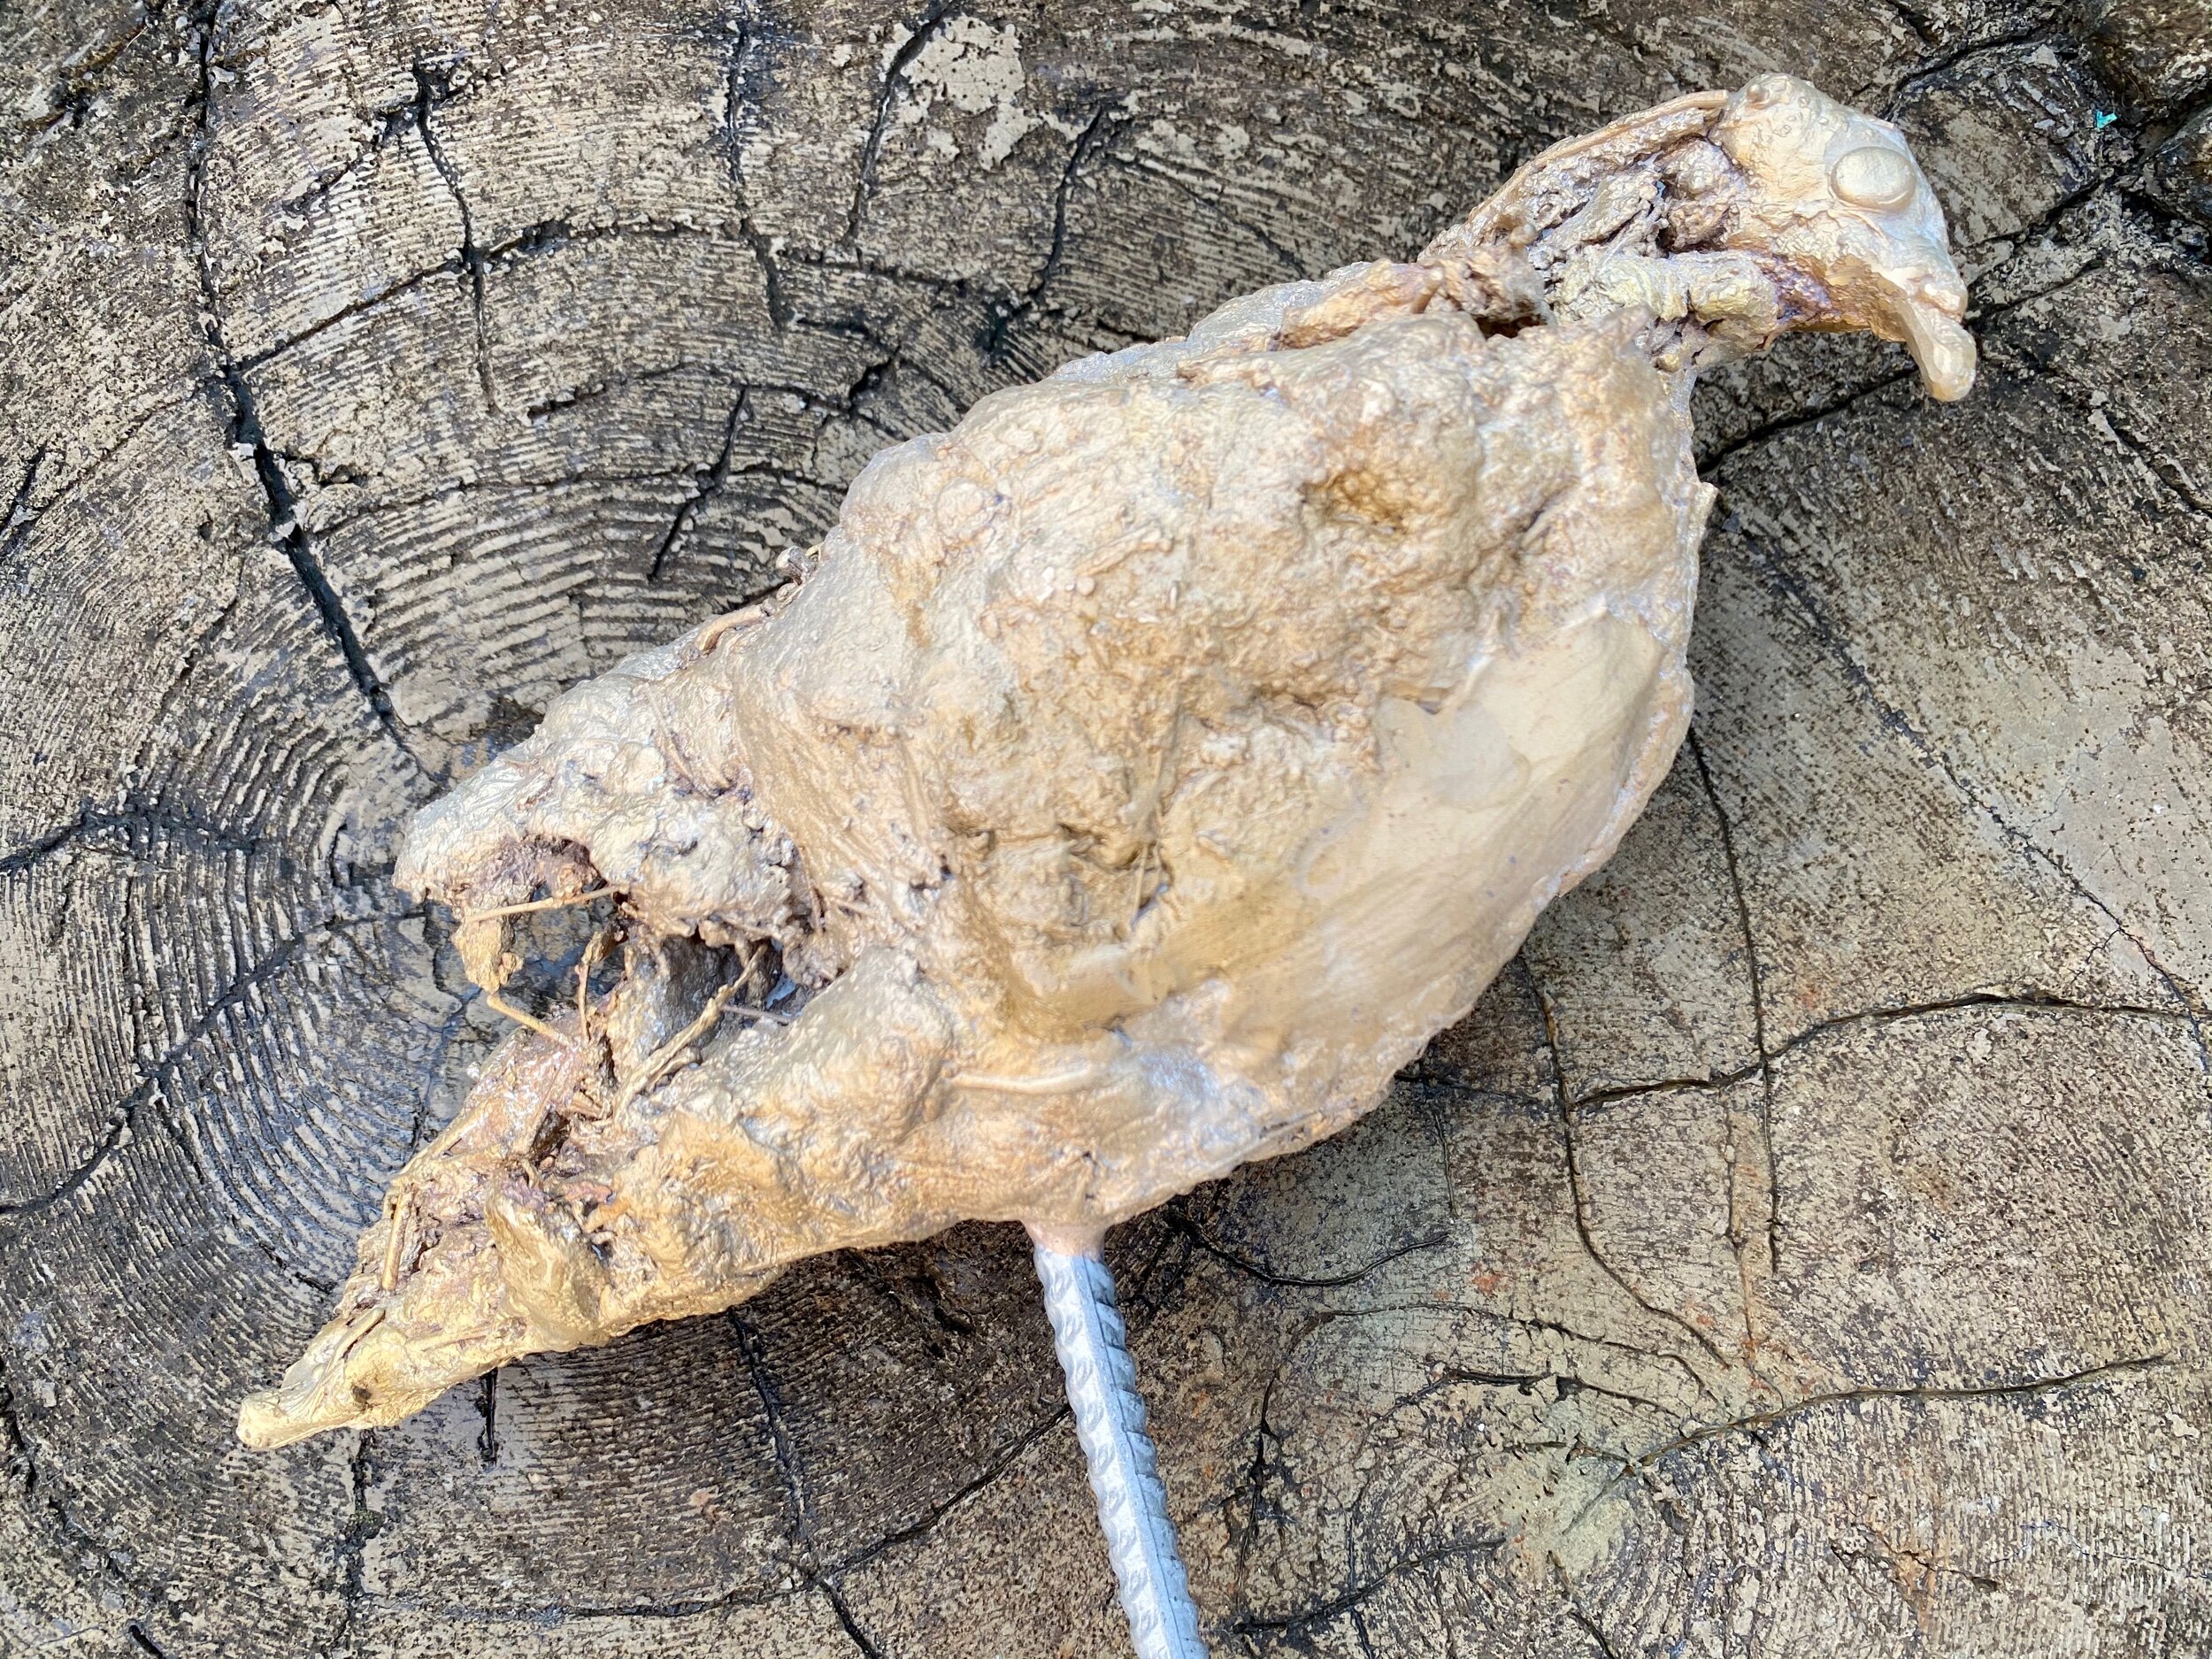
Opposite side.
On this image you can see a smooth surface from where the sprue was cur off. One spots the I will retexture.
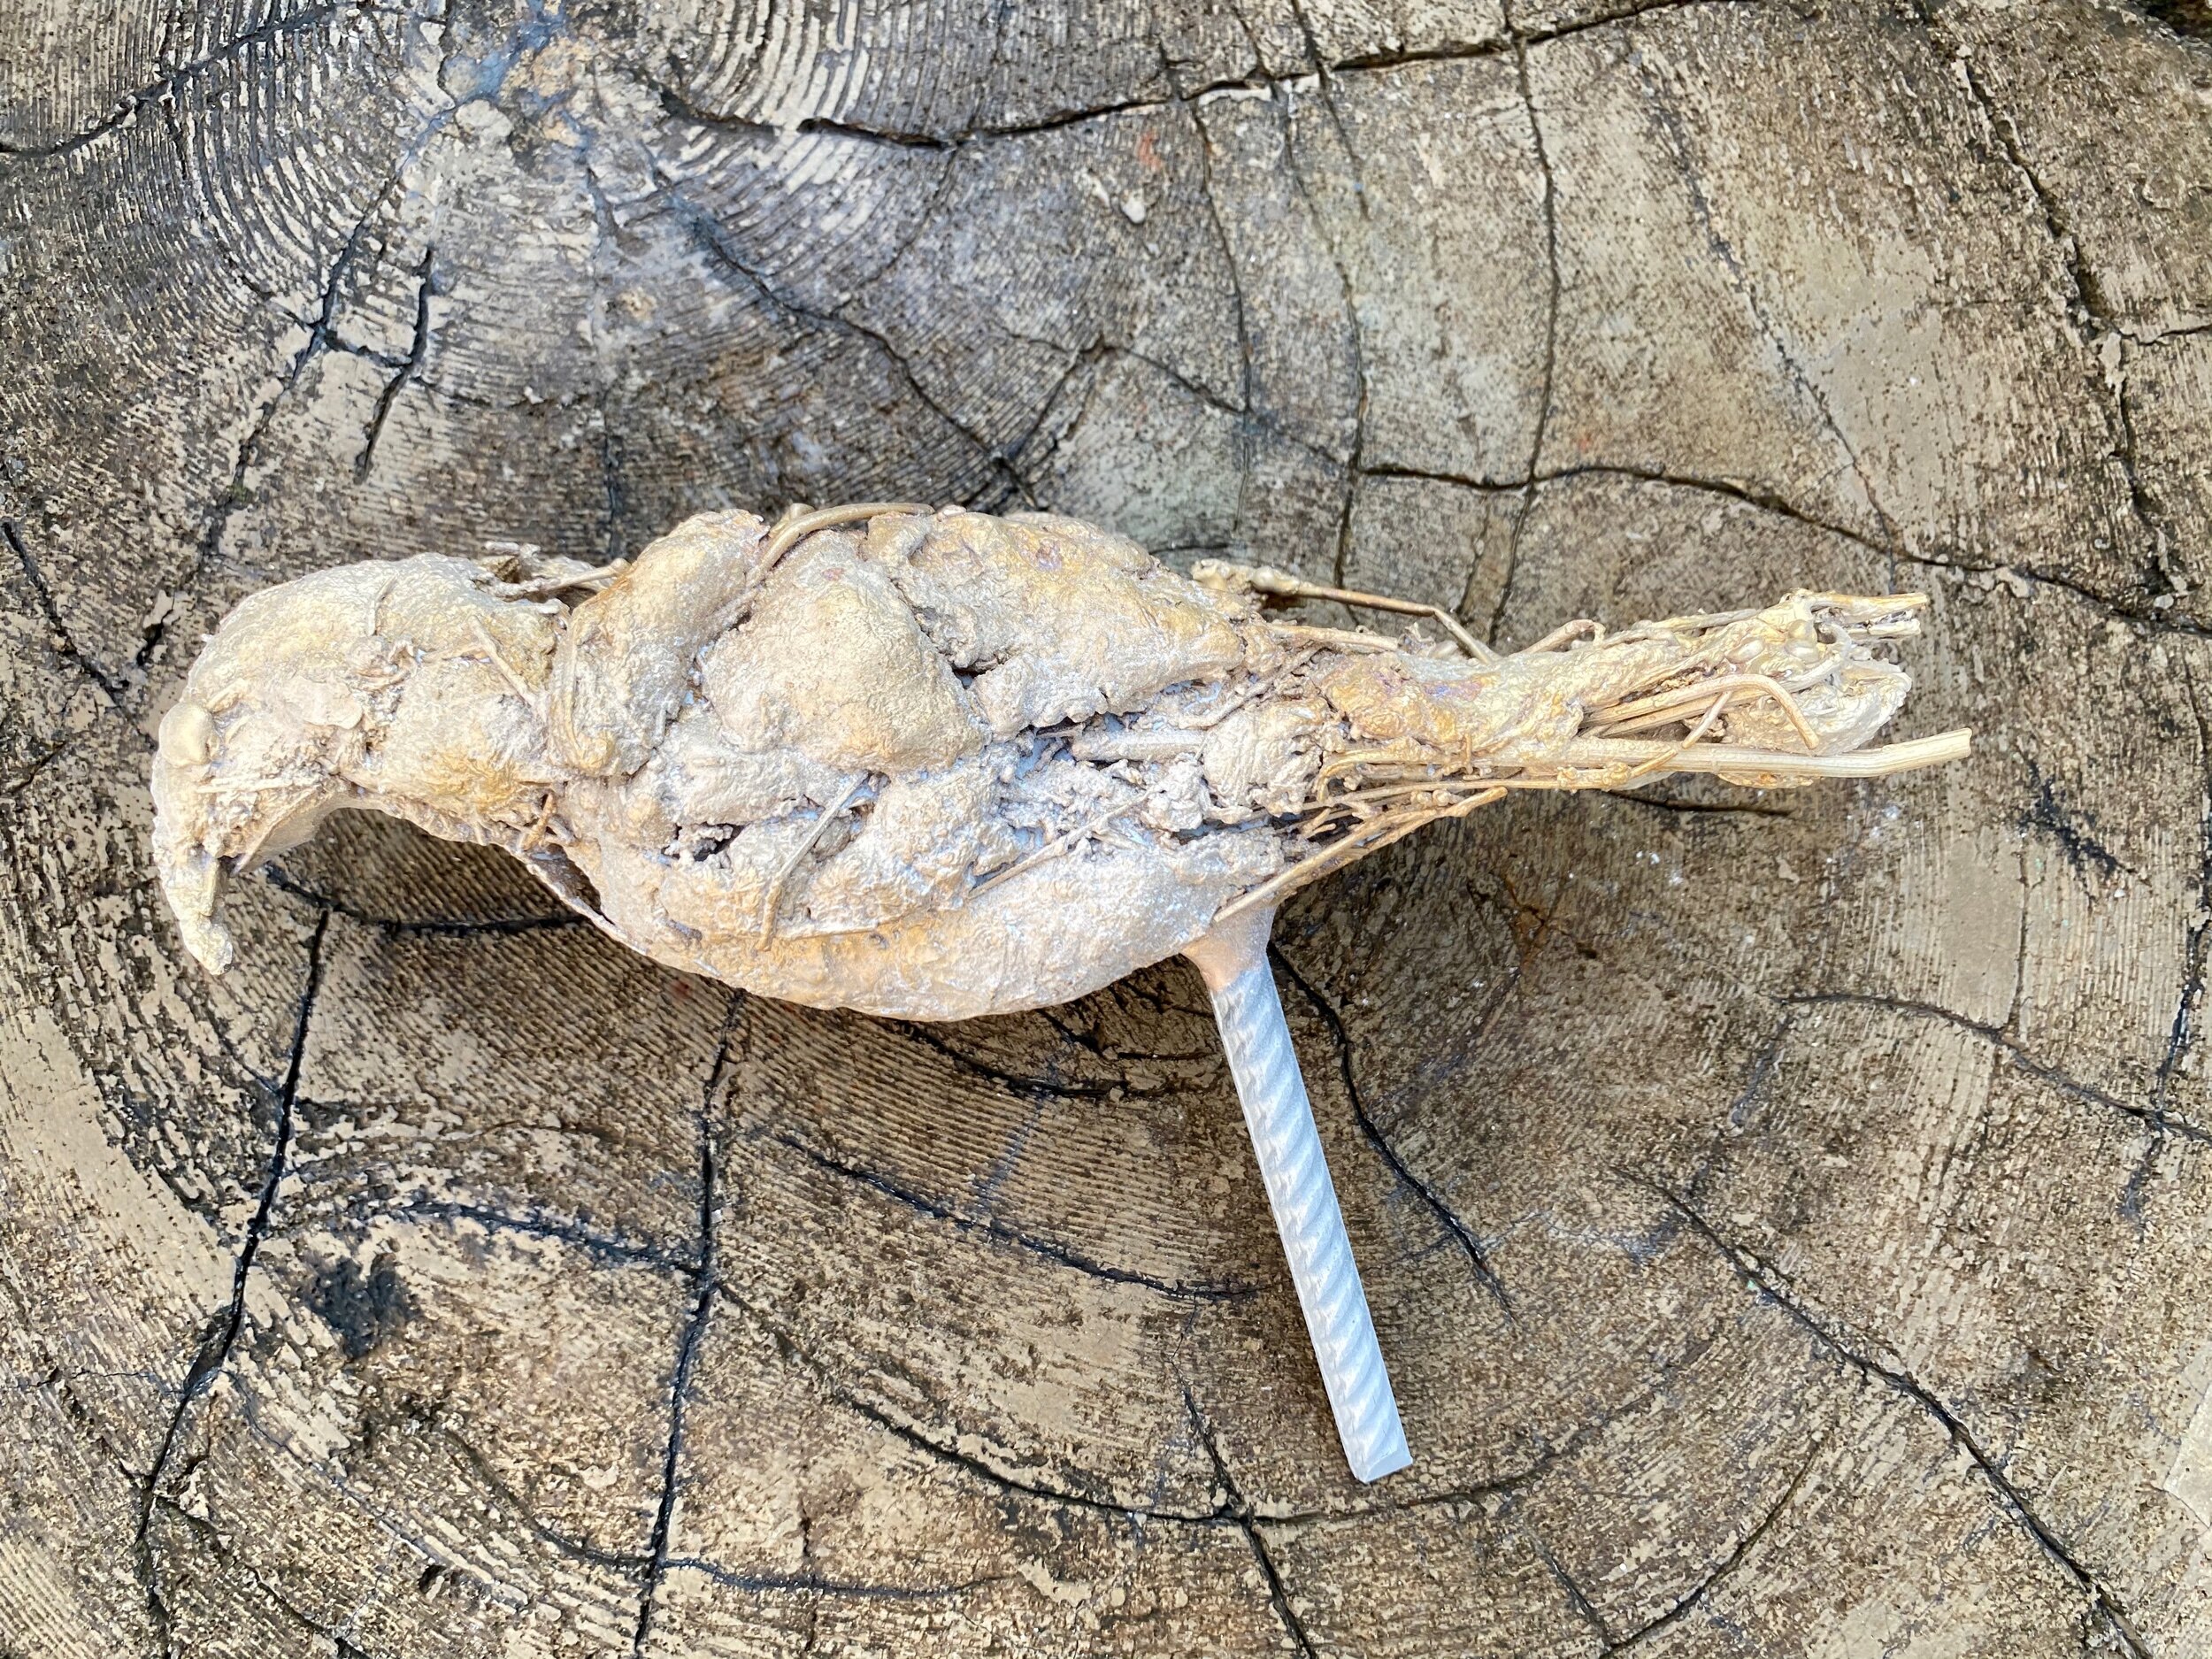
From the top

Bird 2


Bird 3


Derail shot of bird 3 - you can see the seeds and grass stems.
Bird 4
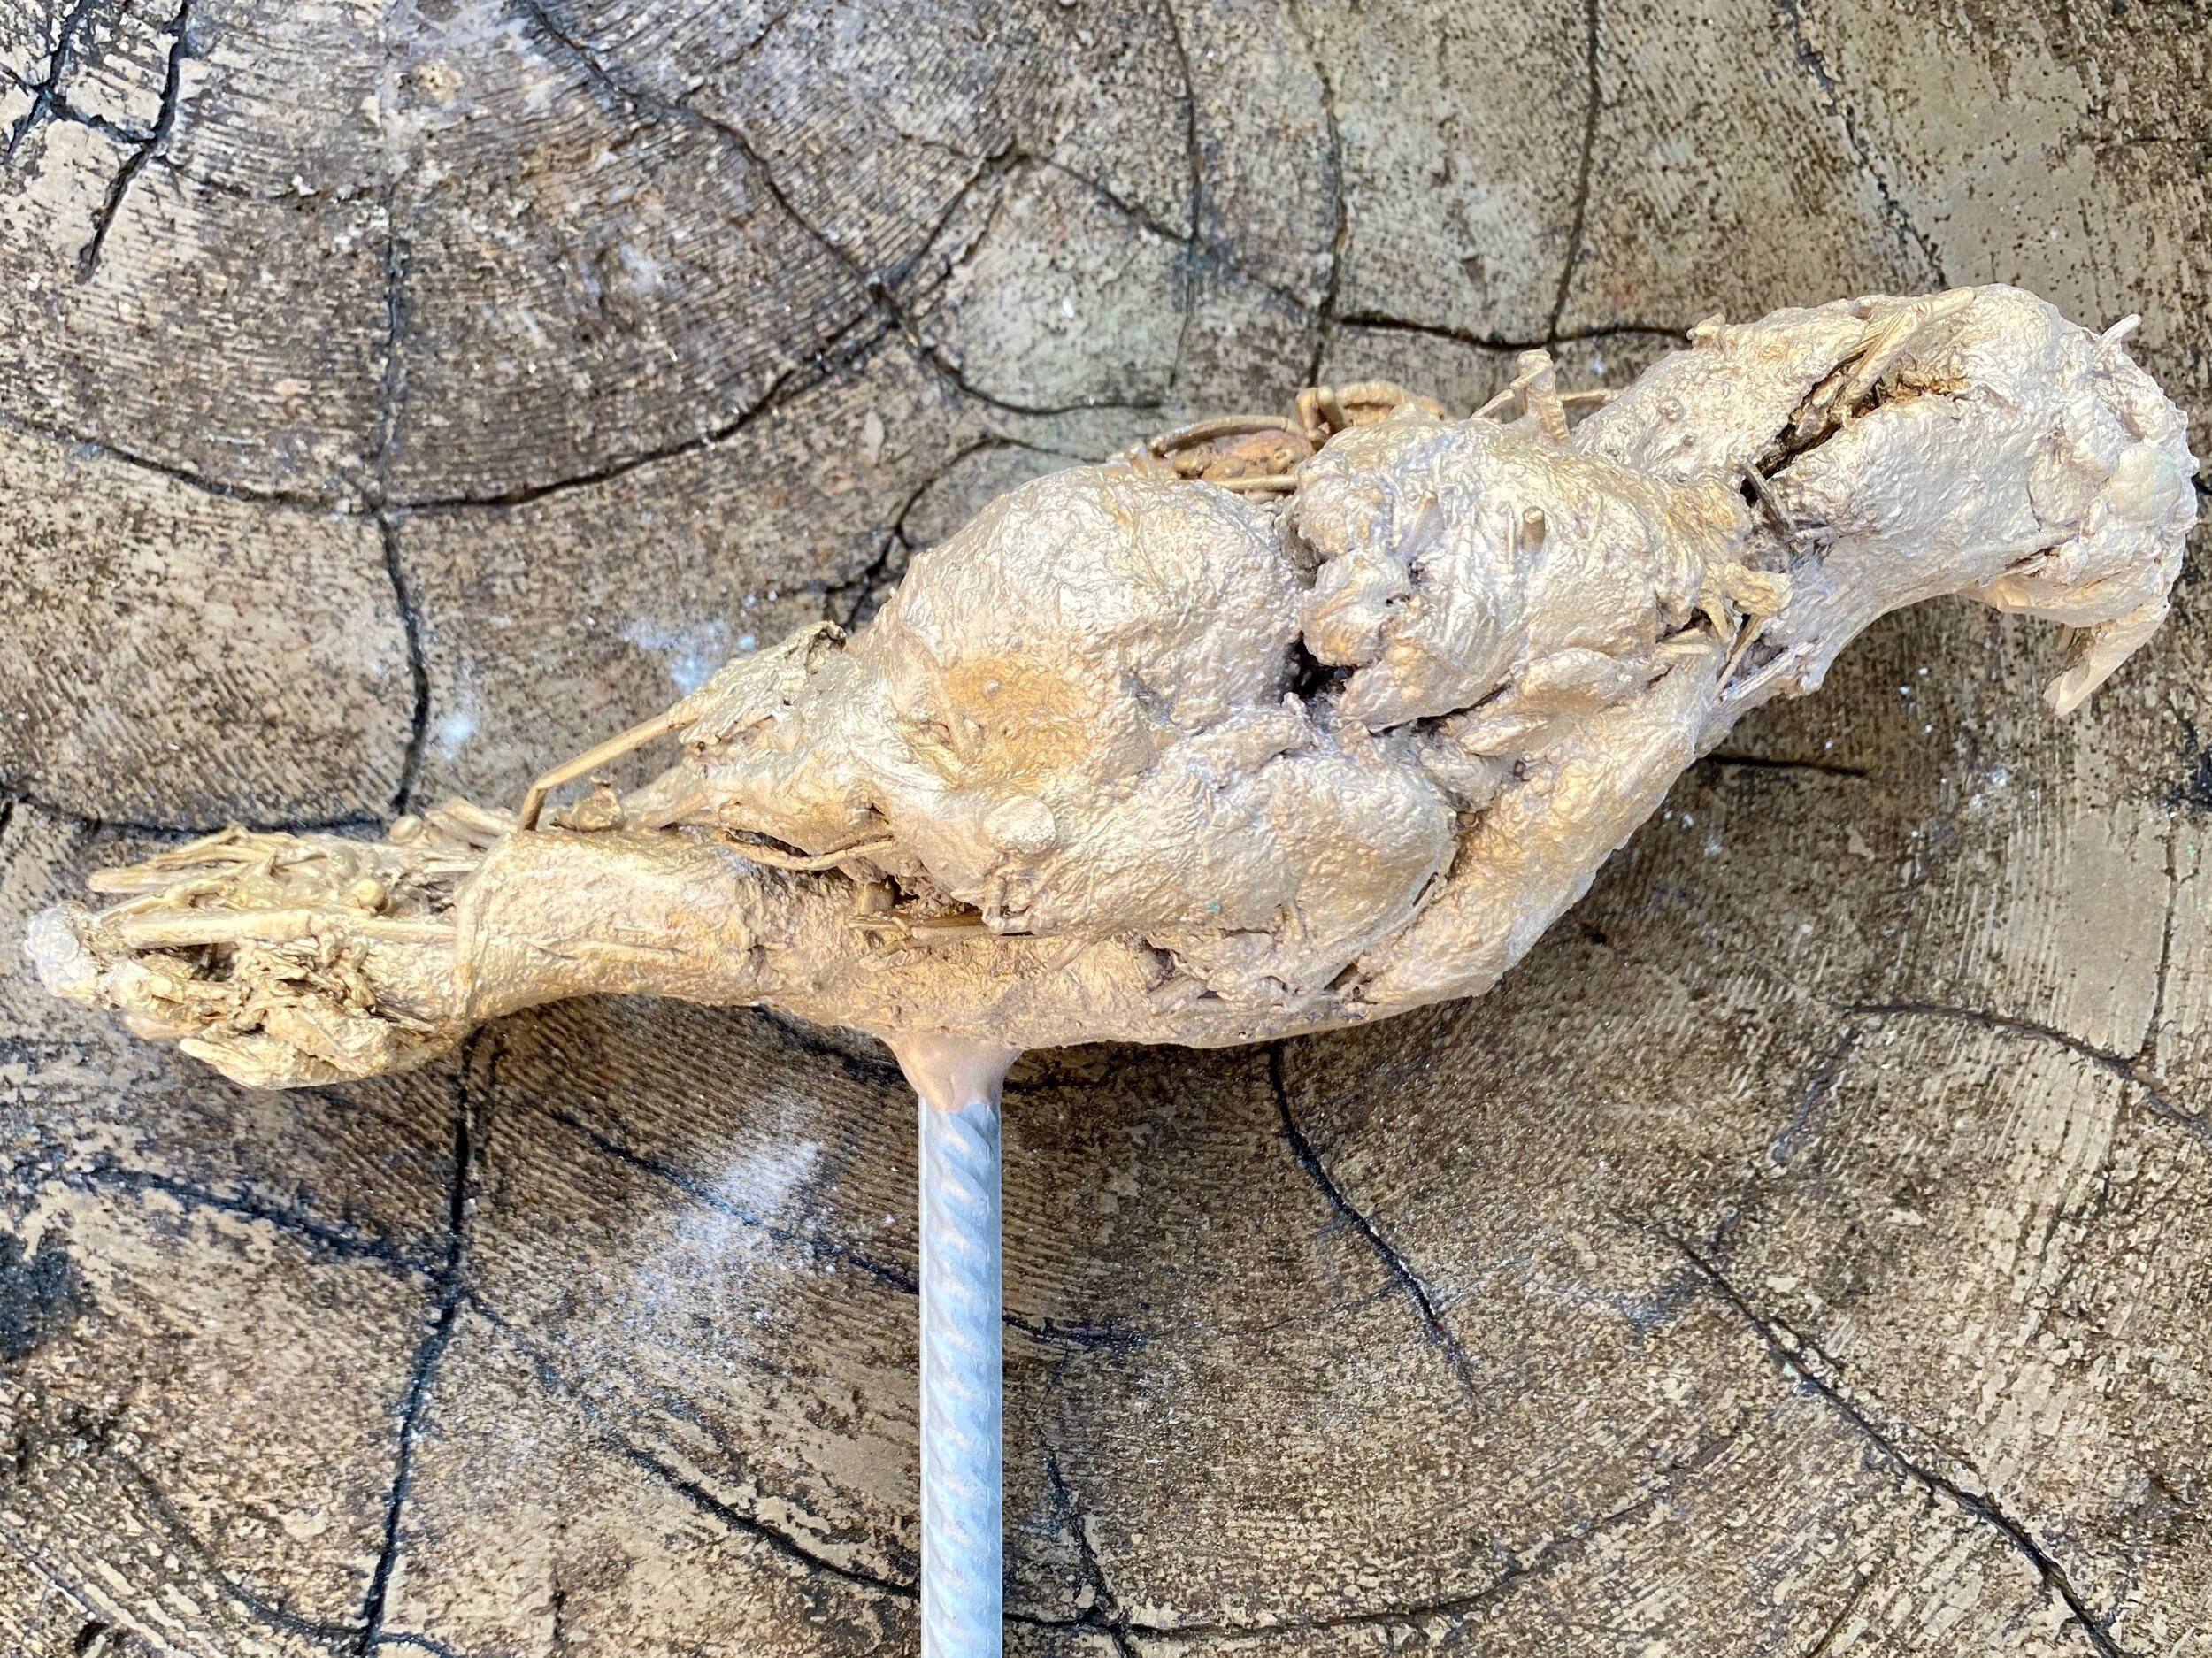
As I recall this one gas some bluebonbet seeds in it's back feathers.
Bird 5


Texture gives me good goosebumps.
Art/computer work that has interfered with my welding but I never miss an opportunity to collect native plants. I have converted an old kayak rack into a plant drying rack. Stacking up and drying out.
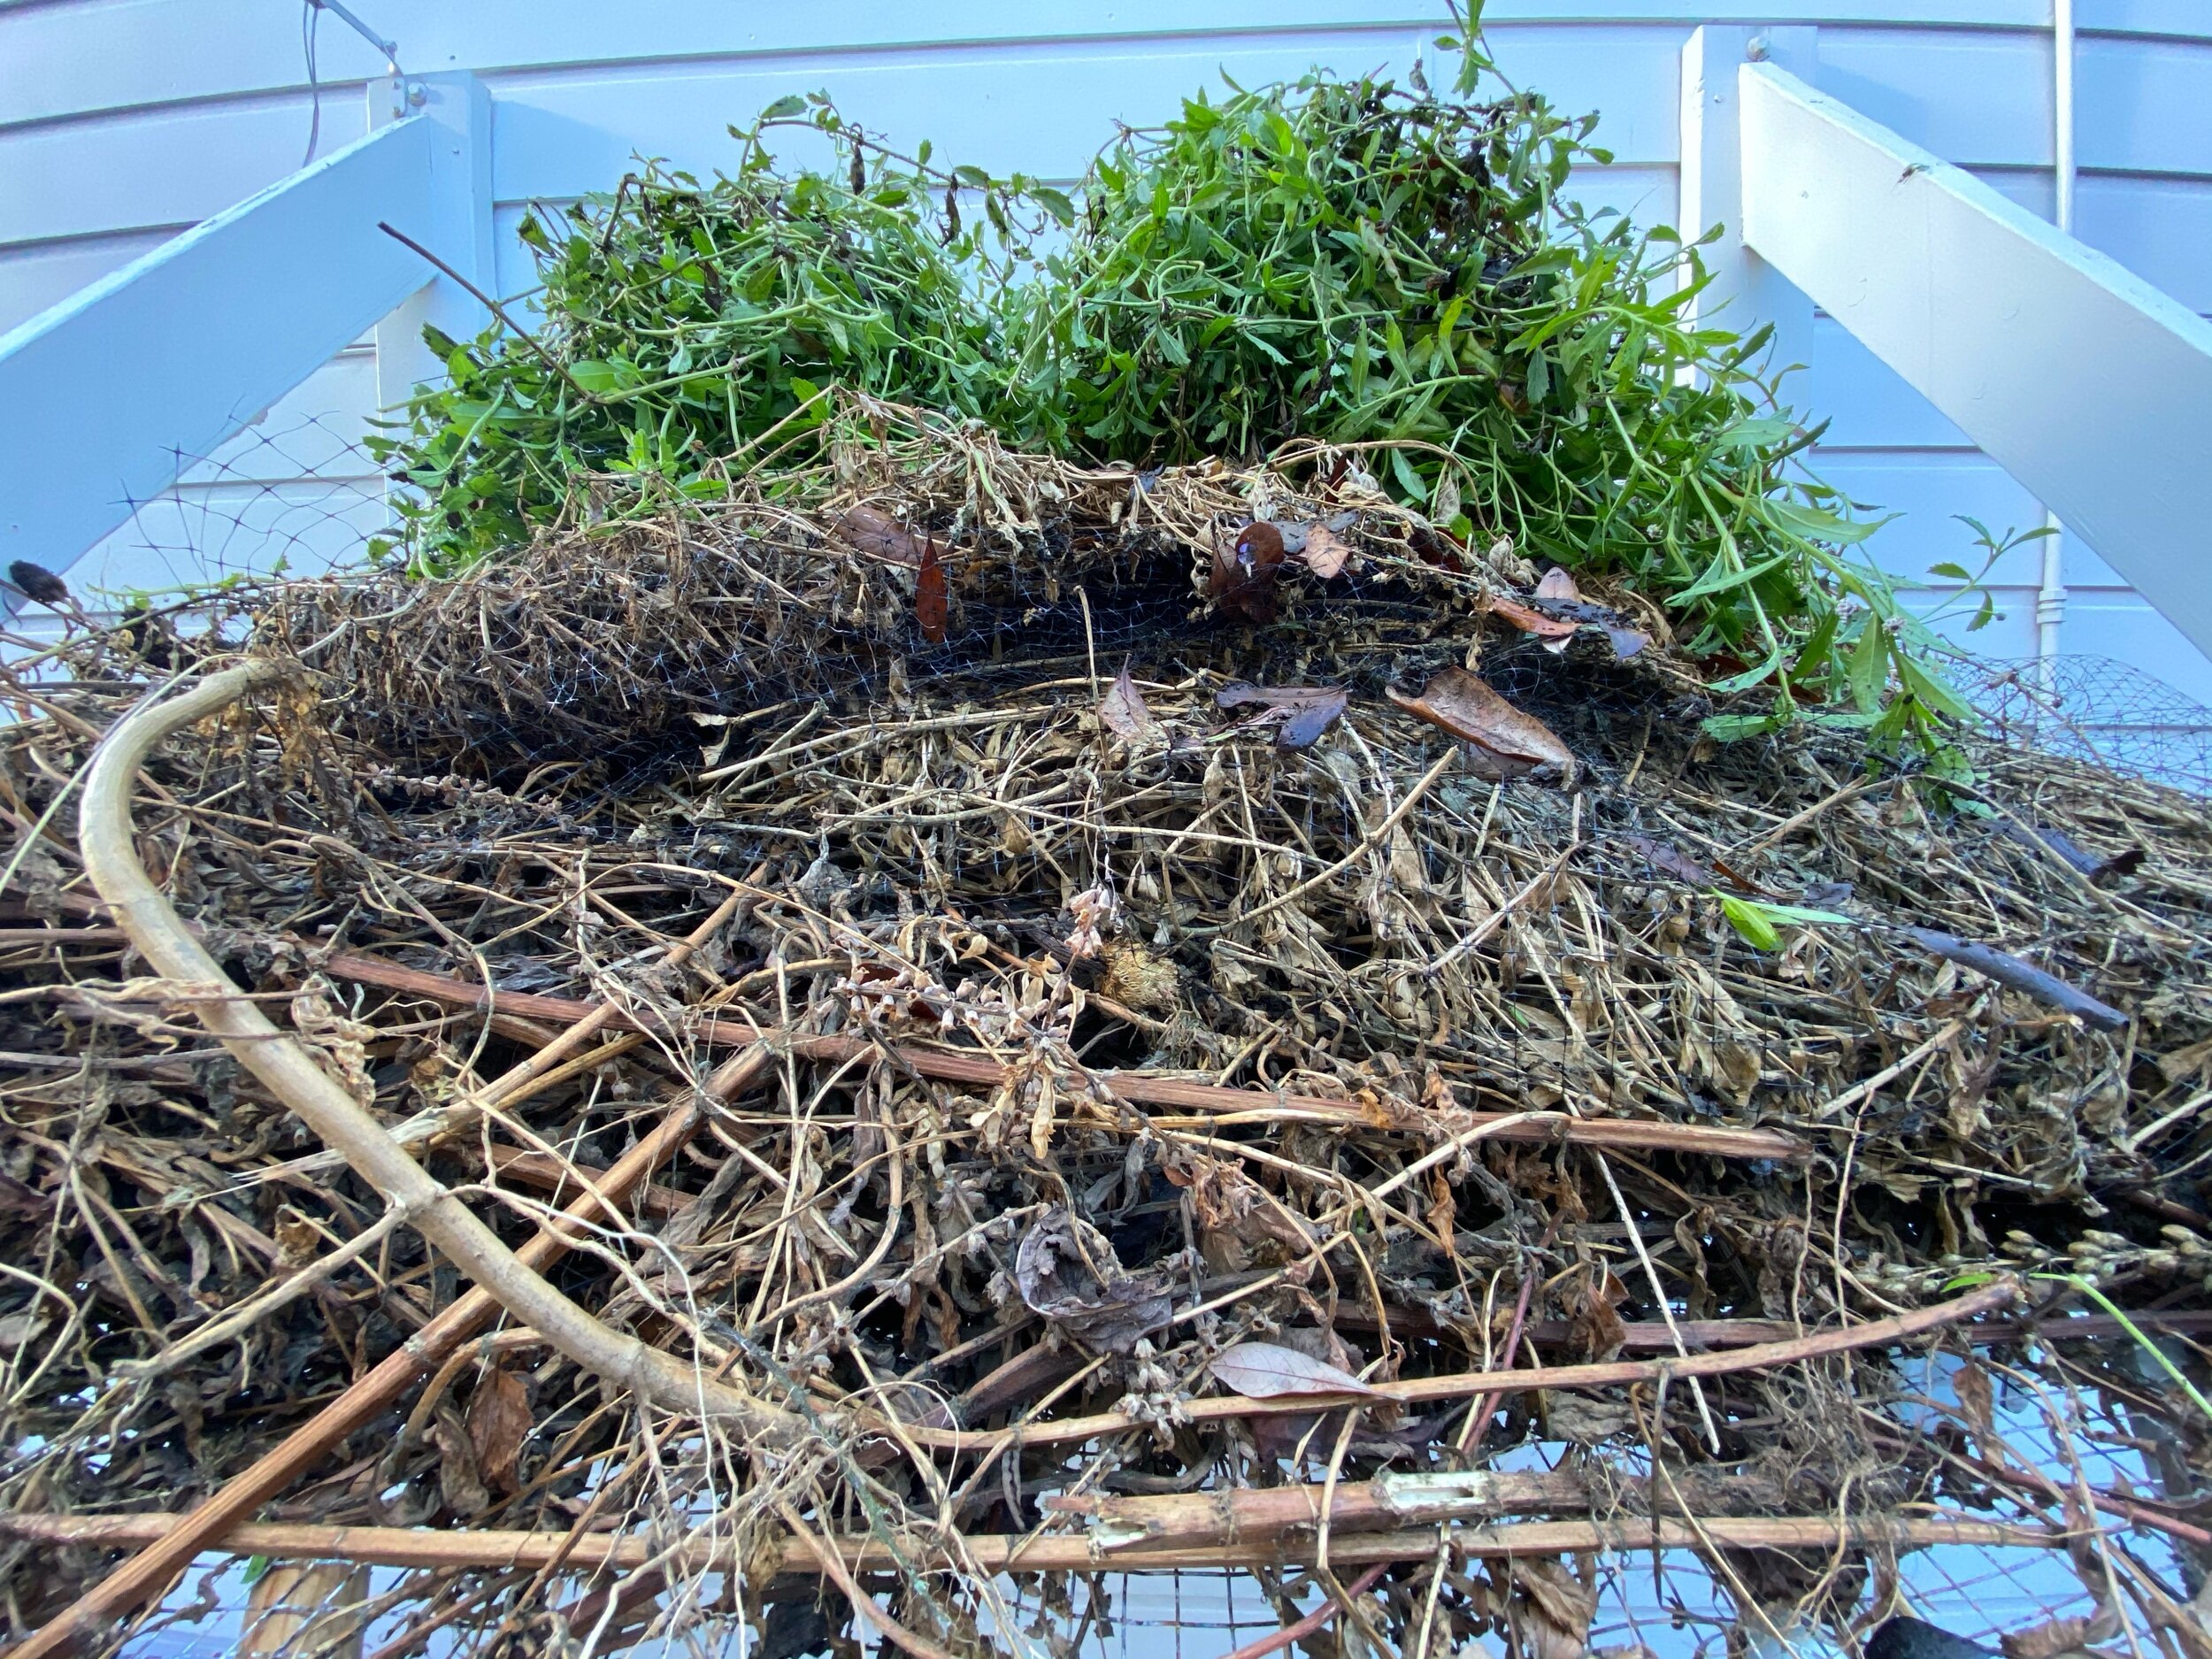
Drying native grasses

Today I worked on the lower part of it's cheekbones and then I added a rear jawbone.
Looking up the mouth and nose of head minus the lower jaw.
The old guys face left side

Looking through the skull
The right profile.

Here is a collection of my reference material.

Bison grab a tuft of grass with their tongue, then they pinch it off by pressing it between their tongue and their front lower teeth. They do not have top front teeth. They then swallow it whole. That is the beginning of a 24-hour digestive process.

I love this image, I took it last January at Roam Ranch right before the roundup. I think this is the one they call Poppy. Poppy is very curious and friendly. She is checking me out as she catches rain drops on her tongue.

You can see the lower jaw through the upper jaw here. It is slightly off to the right of the bison. I want him chewing away and want to exaggerate the movement. I will probably bend it a little more askew this weekend.

Here the chewing lower jaw is more obvious.

View from the rear or top down.

Friday, I am committing to writing the Lawndale proposal- rewriting and rewriting and rewriting.

I needed to make some new concrete sculpting tools. I cut the bristles from a dog brush and glued them to the handle from a sponge 🤞
The small bronze root left a stain on the seat. Oops. I expect I can grind it out.

Work work work
I am getting close to finishing the head and upper jaw. The next step will be to create the lower jaw, then I will put the head aside and start building up the piece from the hooves.

More work on the cheekbones and connecting the horns to the eyes.

Side view of armature
Bottom side view

Bison's left side view
Back of head looking down
For the full story see Endangered Knowledge: The Soul of Humus #1a
My favorite measuring tool when building the armature is a sewing tape measure.


For the full story see Endangered Knowledge: The Soul of Humus
The head is a lot of detail work. Bending small pieces of steel takes time and strength. It is easy to bend large pieces of steel because I can use leverage to bend it. Small parts are too short To get much lecerage. This is the first time in my life strength is an issue., I have not been doing my regular weight lifting due to COVID 19 quarantine. So I have to think of creative ways to make the shapes I need. It takes longer to figure out.

Examining this work I have decided I need to raise the left horn.
I have only welded the horn in one location. This will make it easier to correctly position the horn once the head is connected to the body. I can find them if I want, or I can cut the one weld and resend them in the correct position.

I moved the horn and added the front of the upper jaw.

I added the back of the upper jaw and two pieces to stabilize the head. The stabilizing pieces run through the center of the head, the length of the face to the back If the skull. I used the angle grinder to separate the front and left sides of the front jaw separating the two stabilizing pieces. This will make it easier to make any adjustments in the head structure when it is finished and attached to the body.
The skin and coat of the finished piece is the most crucial part if this piece. This steel armature is purely structural.
For the full story see Endangered Knowledge: The Soul of Humus
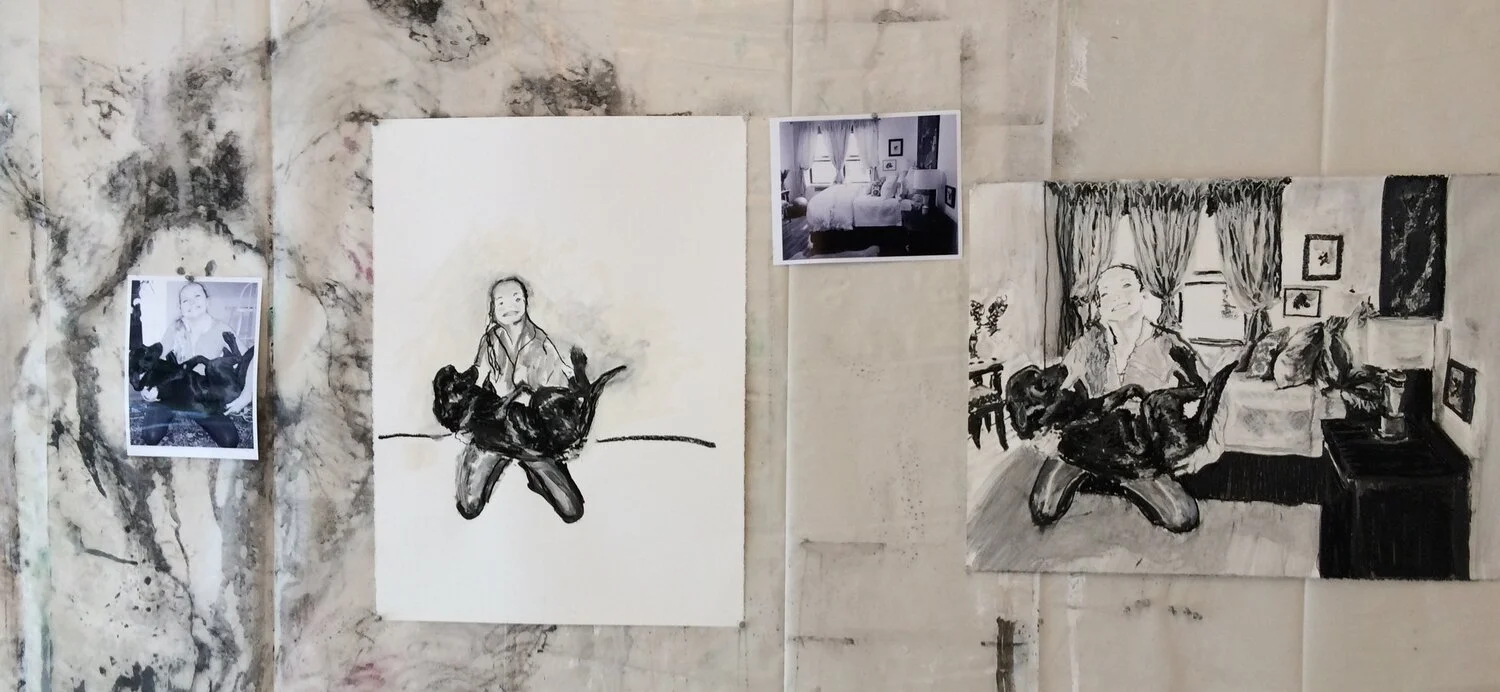
When I start to build a new piece the first thing I do is gather and organize all the reference images and information I am going to need.
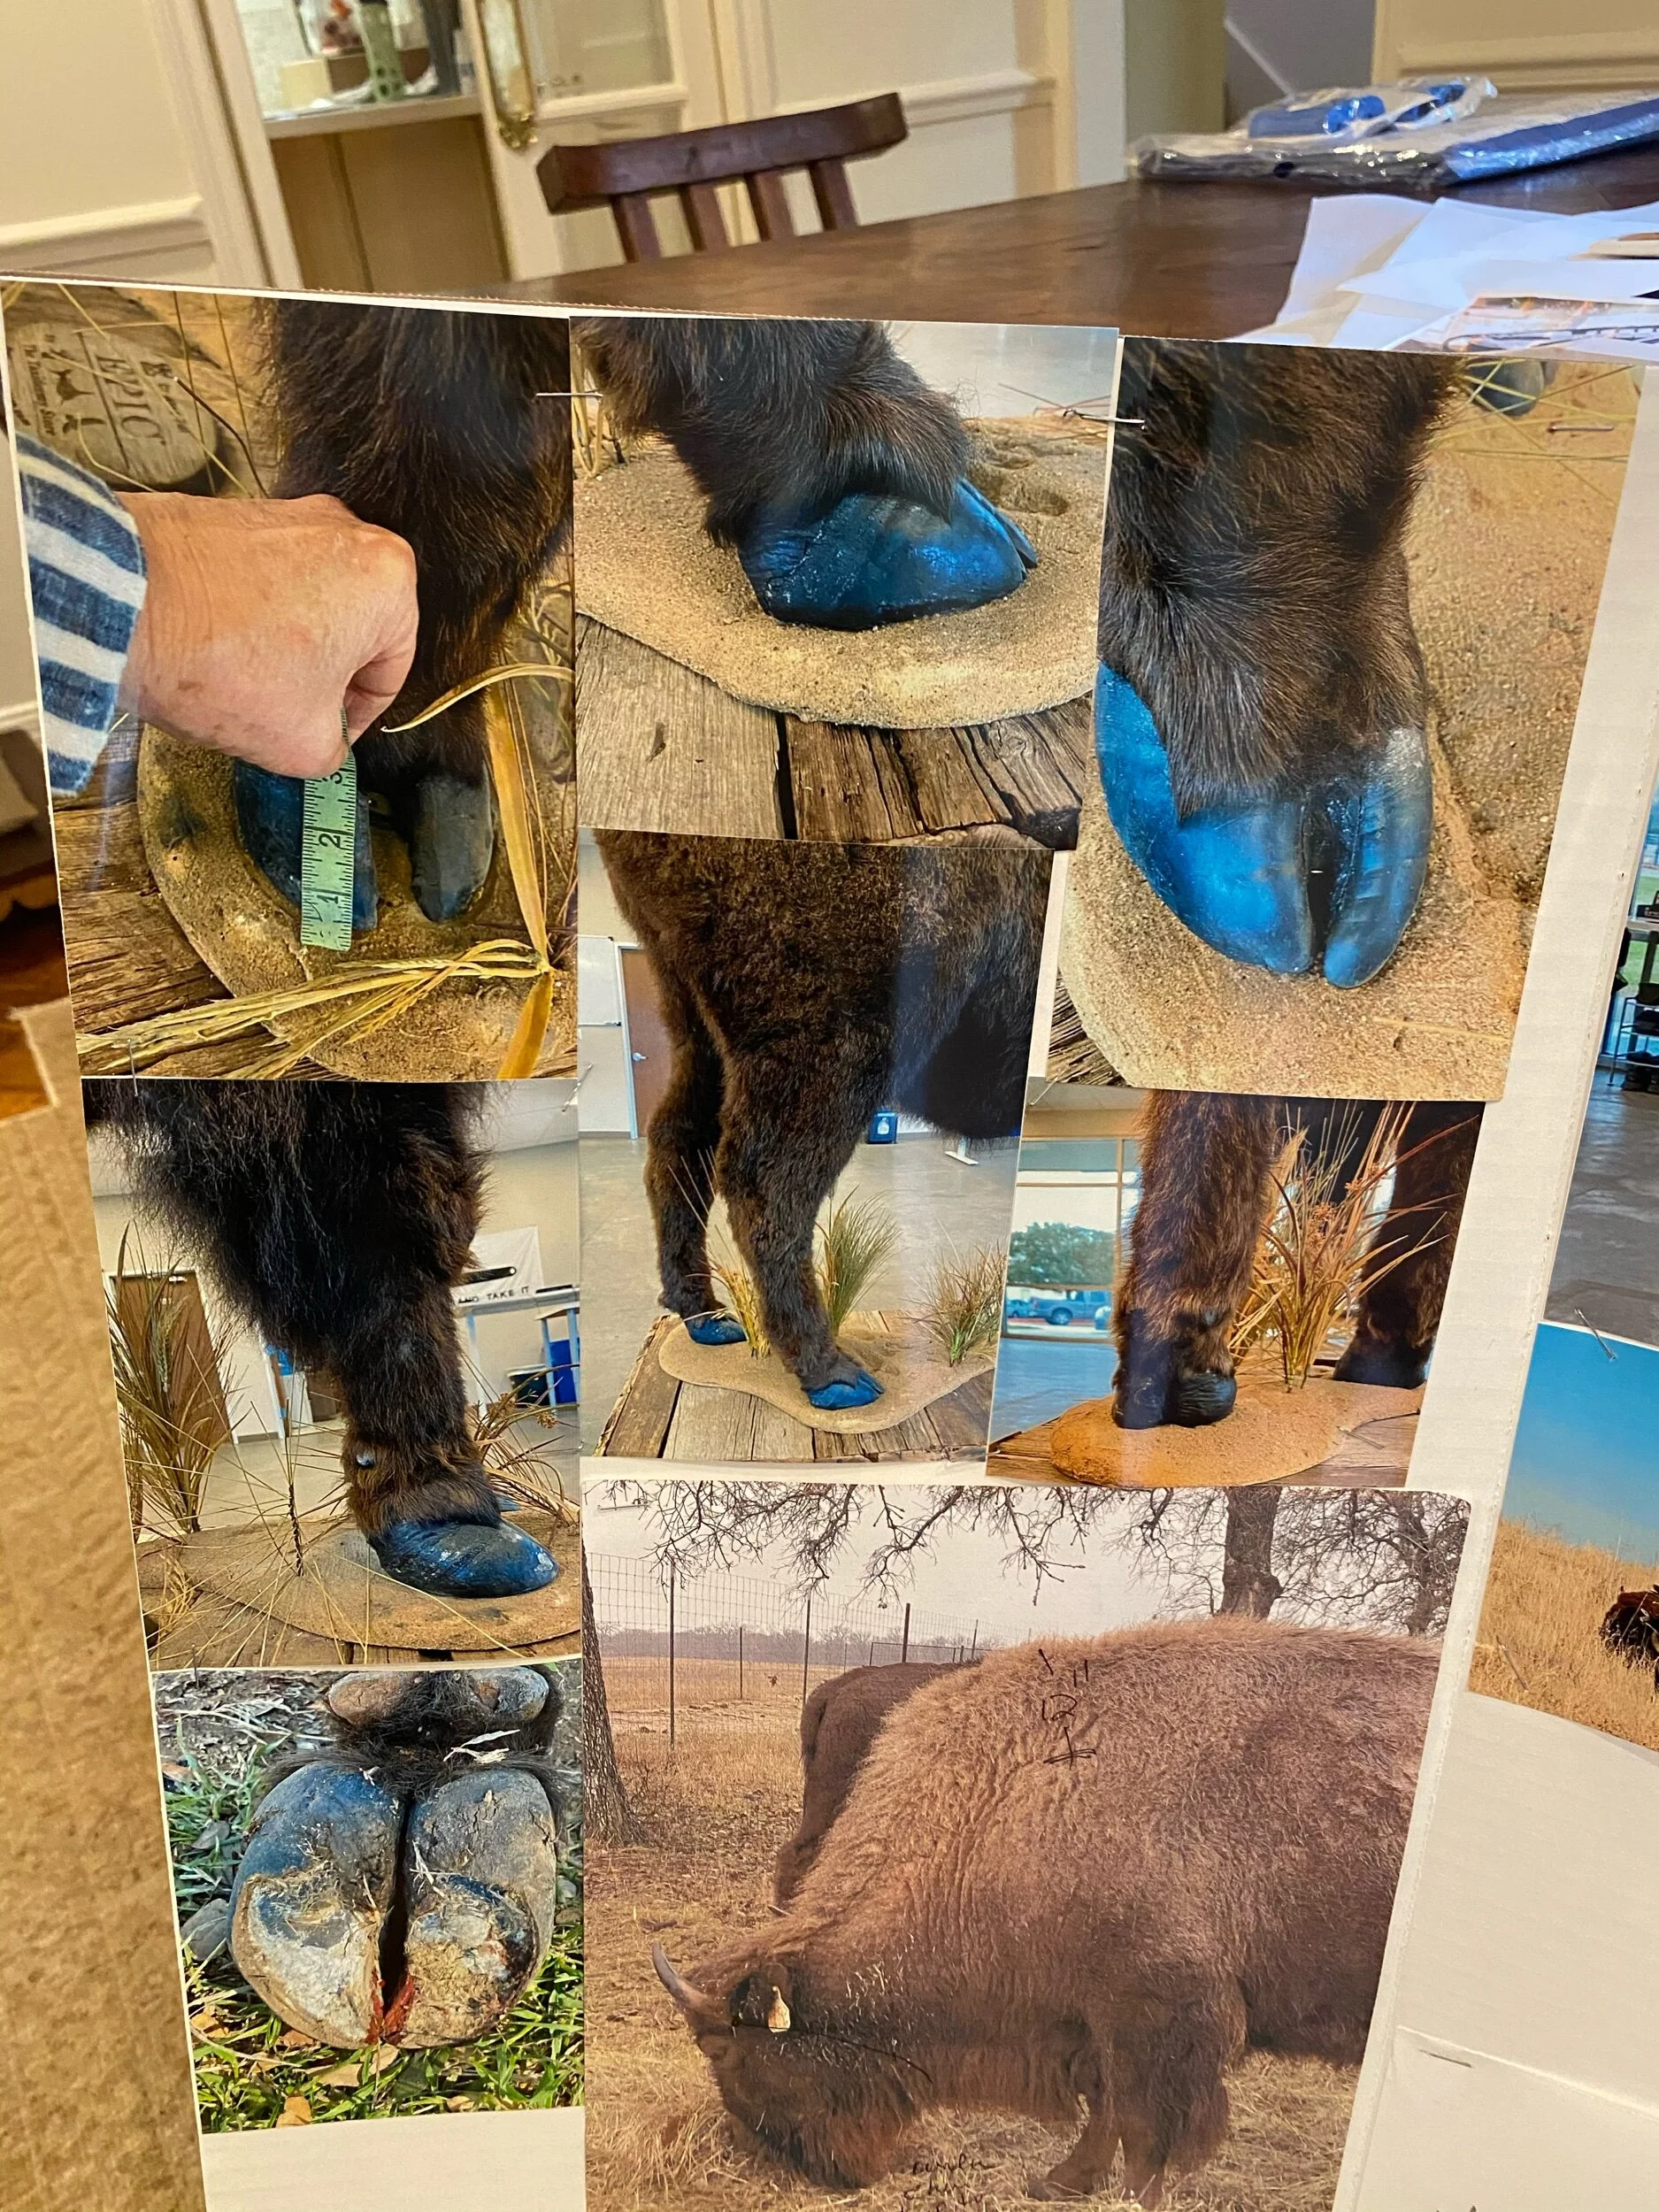
I staple all the images to a piece of cardboard. This way it us easy to see as I work. This secti n focuses on the hoofs. I am starting with the hoofs.
For the full story see Endangered Knowledge: The Soul of Humus